If you make a variety of homemade products that don’t already come in labeled packaging, then you’ve likely come across the dilemma of deciding how to mark them so you can tell them apart! Or worse, you thought you’d remember which product it was, so you didn’t label it at all. And without fail, a week goes by and you don’t remember what in the world is in that jar! Why do we do this to ourselves?! Haha, not anymore. Here’s 5 label design ideas that will keep you sane by reminding you which product it is, while also keeping your space organized!
1. Use a vintage inspired non-electric label maker.
Perhaps the easiest and least complicated way to label your own homemade products is to use this non-electric label maker. It comes with the black tape as well as the red tape for making labels. You simply use the handle to emboss the letters into the tape, and then peel the back of the tape off to stick it onto your products. The label maker even has a built-in cutter so that you don’t even need scissors. It’s an all-in-one solution, and the tape refills are very affordable!
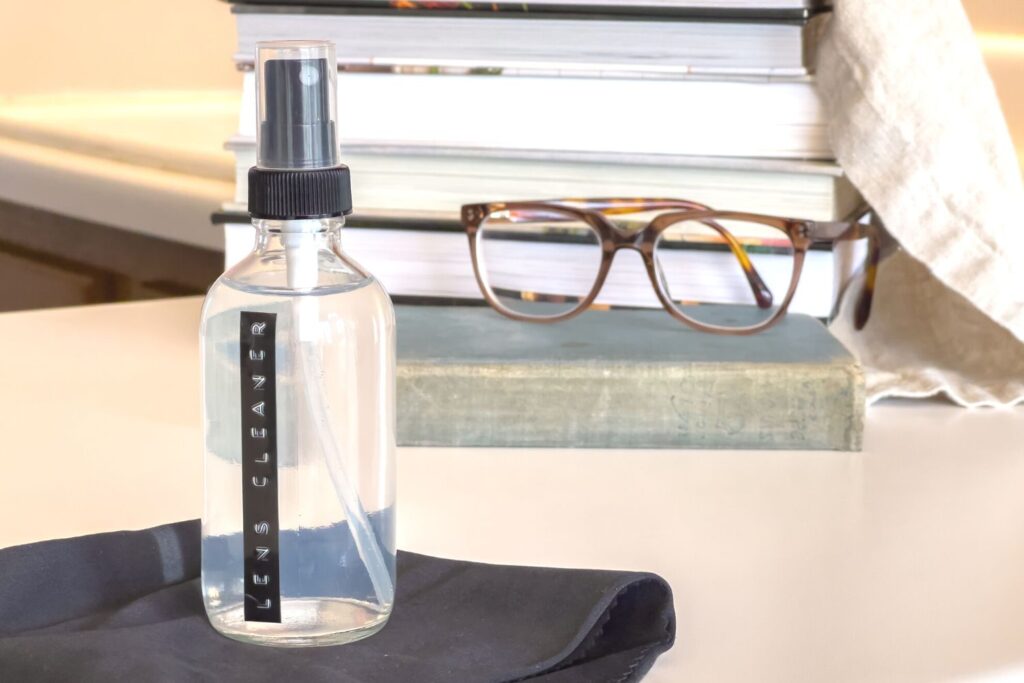
For an example, see my DIY lens cleaner post.
2. Print your own label tags, and tie them on with twine.
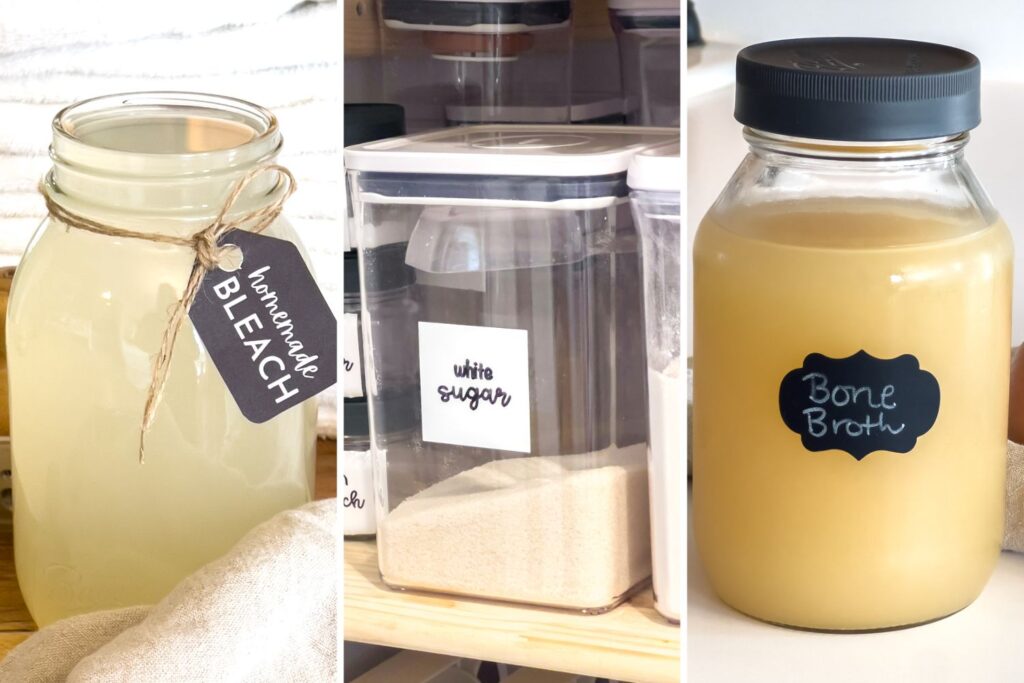
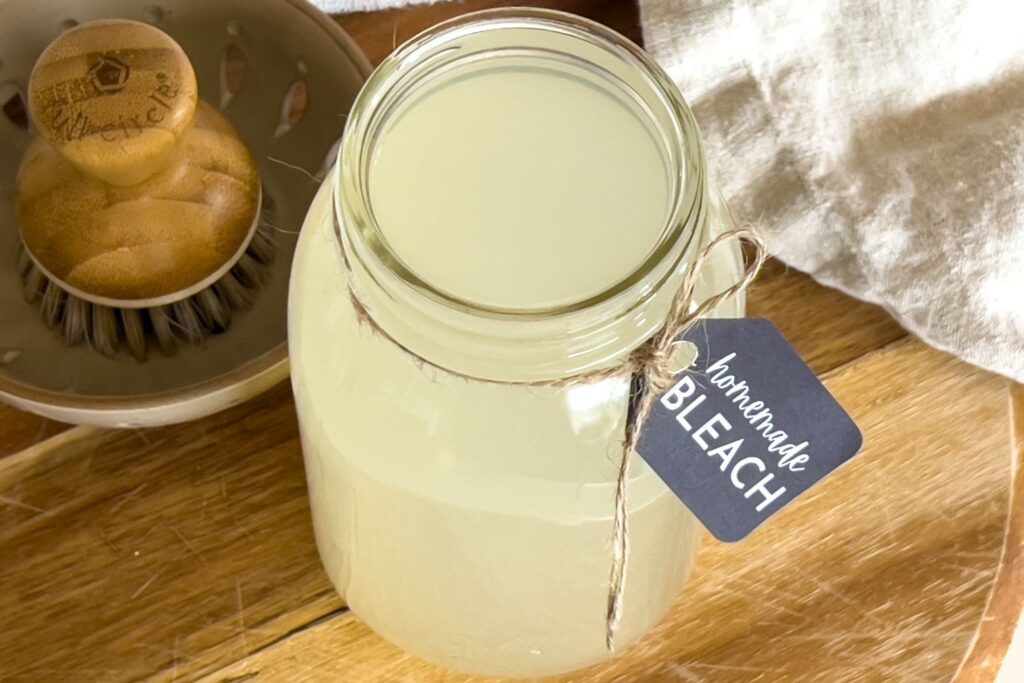
You can easily print your own tags onto white cardstock and then cut them out. You do not even need a color printer for this. In order to make the tag more unique than a standard white tag with black letters, try designing the tag with white letters on a black background. Once printed, cut it out and use a hole punch to remove the center of the tag, and then finally tie it onto your jar or basket with twine.
For an example, see my homemade bleach alternative post.
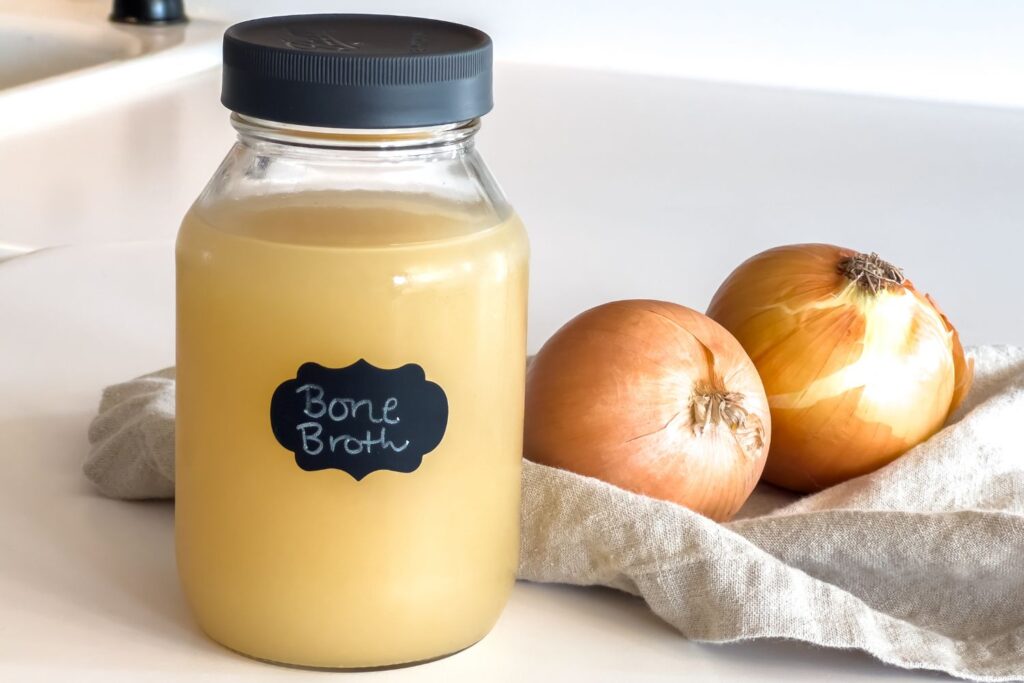
3. Use chalkboard stickers and a chalk marker.
These chalkboard stickers are so cute yet affordable! Believe it or not, they’re even dishwasher safe, making them perfect for labeling food containers, mason jars, pantry containers, and more! Not only can you use these to write the contents of the container, but you can also place one on the bottom of the container and write the date that an item was made or opened. This way, you aren’t wracking your brain later trying to remember how old it is. Also, do yourself a favor and skip the standard powdery chalk, and use a chalk marker instead! It keeps your fingers clean and stays put way longer.
For an example, see my homemade bone broth jars.
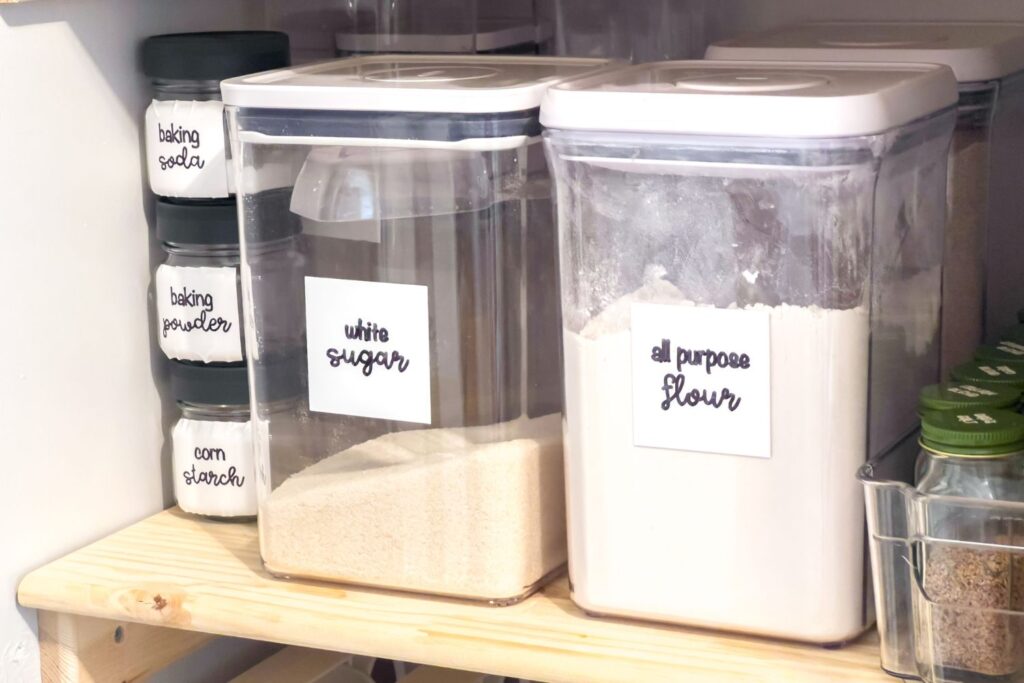
4. Use a machine to write your own labels.
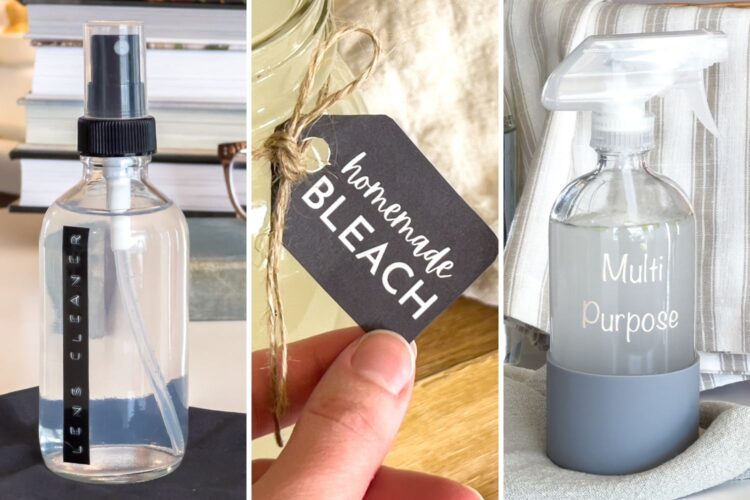
Unlike the chalkboard stickers that are hand-written, you can use a machine (such as a Cricut Maker) to cut out and write labels for you. I used white permanent vinyl to cut the square label design, and then used a black sharpie in the machine to write the words. In order to be able to use a sharpie brand marker in the Cricut machine, you must have these adapters. It’s worth the extra work though, because now the labels always look beautiful, and the marker will not wash off!
For an example, see my pantry renovation post.
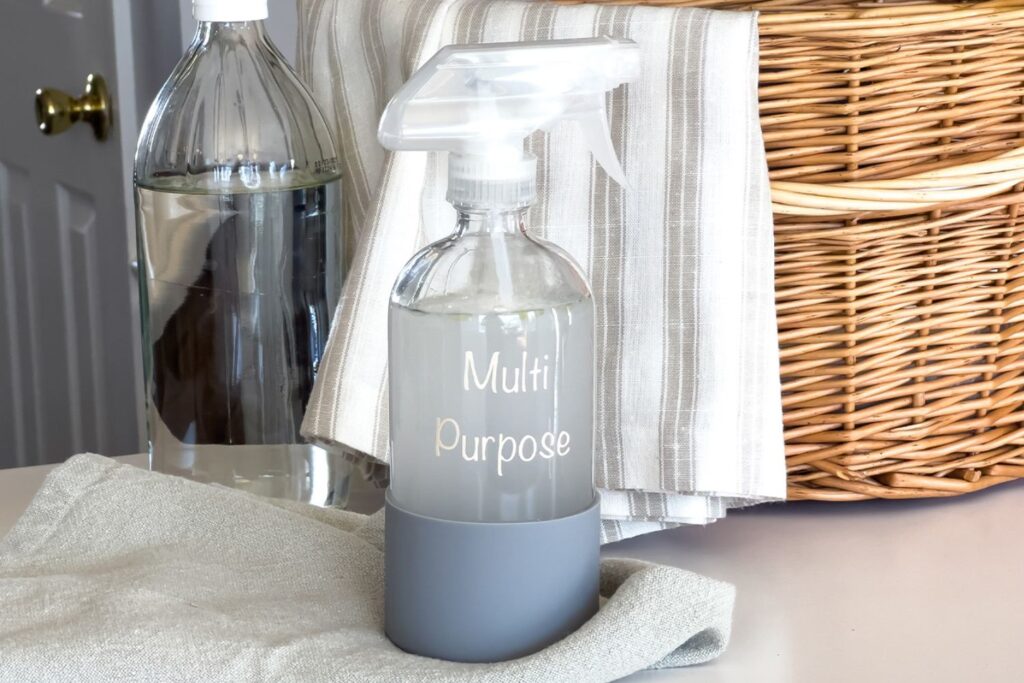
5. Use a machine to cut your own letters.
Of course, another way to use a Cricut machine for labels is to cut the individual letters out and stick them to spray bottles, containers, and more. My favorite vinyl to use for this application is the permanent ivory pearl vinyl. It’s subtle, yet easy to read. It has a softer look than a black vinyl. And since I store many of my labeled containers out where they are visible, this is a nice way to have them look nice but not draw attention to themselves. To do this type of label, you’ll need a weeding tool and transfer tape to successfully get the letters on.
For an example, see my multi purpose cleaning spray post.