
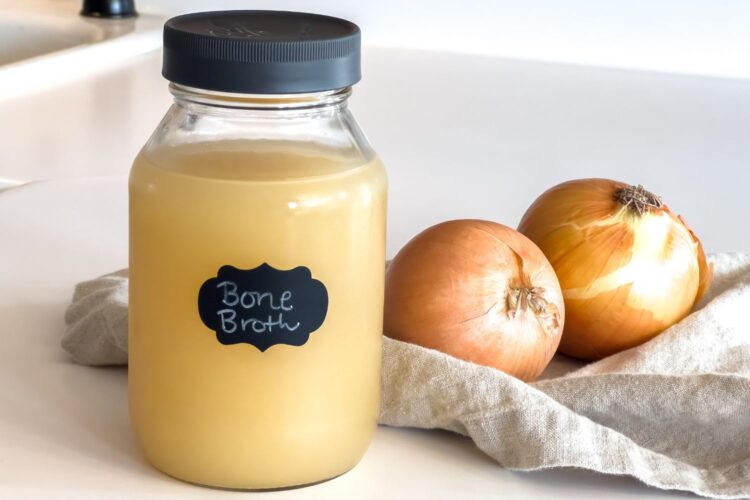
The first time I made bone broth from scratch, I was so surprised by how much better it tasted than the boxed store-bought options! It’s far more nutritious, heartier, and bursting with rich flavor. Here, you’ll learn how to make homemade bone broth from food scraps, without any special equipment, and without having to buy any special ingredients!
What is Bone Broth and Why You Should Make It
Bone broth is technically a stock that has been cooked for an extended period of time to extract the most nutrients from animal bones. It’s made with water, bones, vinegar, and many times vegetables to enrich the flavor.
Making your own homemade bone broth from scraps is so easy, and you shouldn’t feel intimidated by it at all. The little effort it takes pays off big time, considering how flavorful and nutritious it is!
Most of the health benefits of making bone broth at home are lost in the manufacturing process of broths and stocks that are sold in stores. This is why it’s crucial to make your own! And even better, I consider it to be basically free since I only make mine with scraps that would have otherwise gone to waste.
Homemade bone broth nutrients:
- Gelatine: a protein found in bone broth that aids in digestion, making it gut healthy!
- Glycine: improves sleep quality.
- Collagen: great for joint and skin health!
- Amino acids: contain anti-inflammatory properties that help ease inflammation in the body.
- Bone marrow: is nutrient-rich and provides necessary iron, vitamins A and K, manganese, selenium, fatty acids, and zinc. Using a variety of bone types increases the nutritional content.
- High mineral content: makes it healthy for the digestive and immune systems. This is why it’s traditional to eat chicken noodle soup when you feel under the weather!
What is the difference between stock and broth?
The ingredients in stock and broth are similar, but there is one main difference between the two. Broth is typically made from meat, while stock is made with bones.
Technically speaking, “bone broth” is actually considered a stock, but is so high in collagen that it is actually a gel consistency when cooled rather than a liquid. Bone broth is typically simmered for a longer period of time than your average stock, to draw the most nutrients out of the bones.
How to Make Bone Broth
You only need a few supplies to make your own bone broth at home. And my favorite part, the ingredients are scraps from previous meals! So I never have to go out and specifically buy ingredients for my broths.
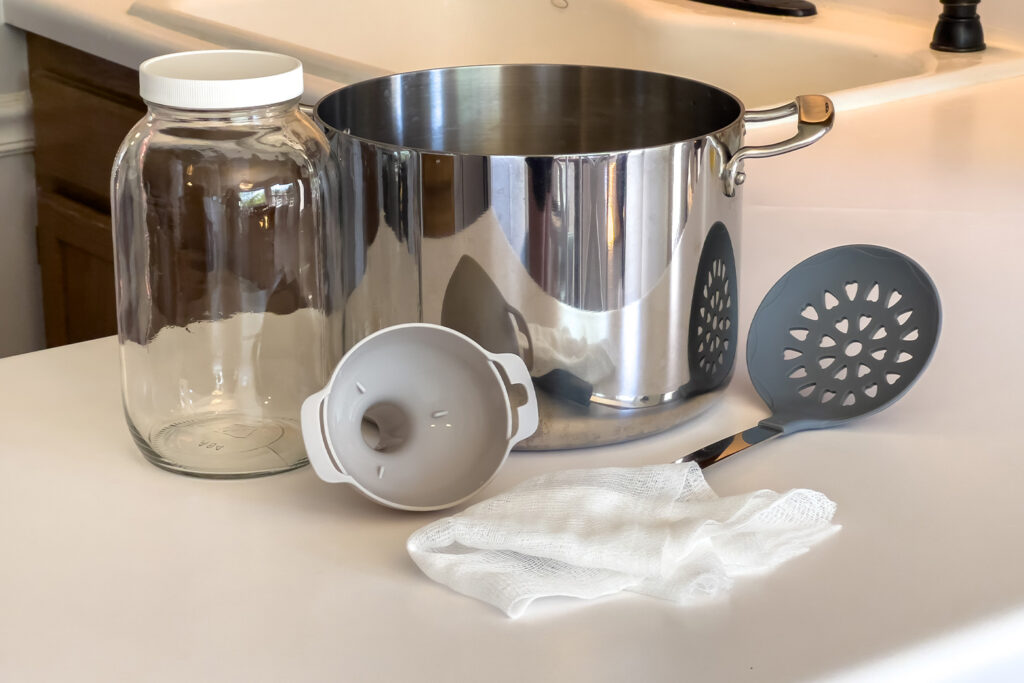
Supplies Needed
- Stockpot: I just use the largest (8qt.) pot from my stainless steel set. The larger the pot, the more bone broth you’ll end up with at the end.
- Strainer or skimmer spoon: I use my silicone one, but you can use whatever you have, even just a pair of tongs if that’s what you have on hand.
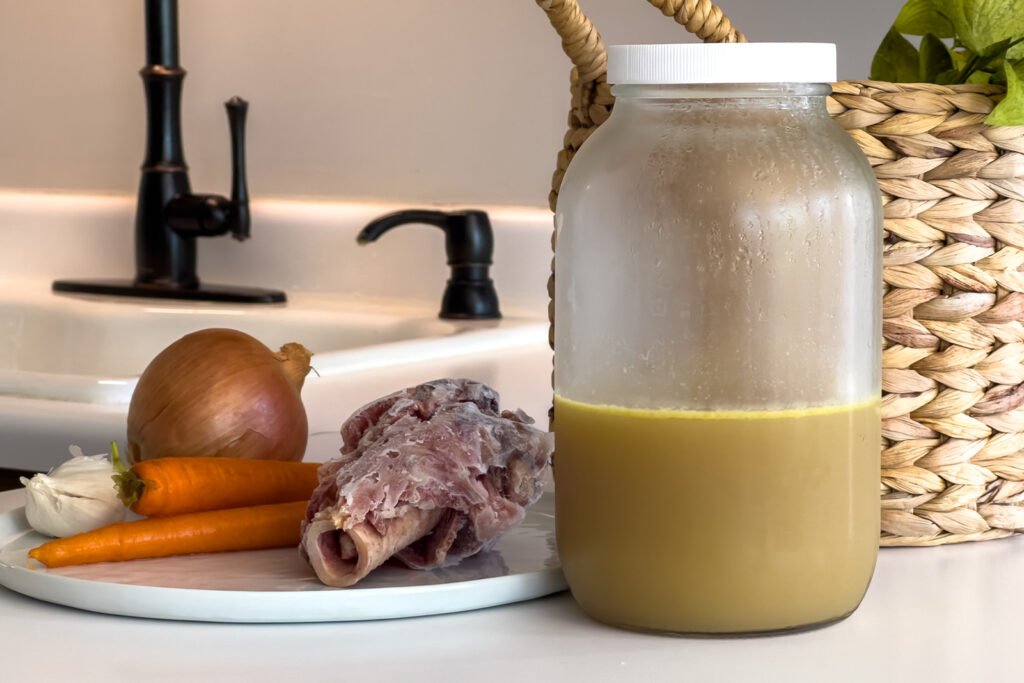
- Storage jar or container: for storing the broth. I love my extra-large gallon mason jar for bone broths or even other liquids like soup.
- Cheesecloth: I use organic unbleached cheesecloth for straining out the bones and vegetable scrap remnants at the end. You’ll want to use a cheesecloth instead of a regular strainer, so you end up with a clean broth that doesn’t have any bits of leftover scraps in it.
- Funnel: I use the large funnel from my set.
Ingredients Needed
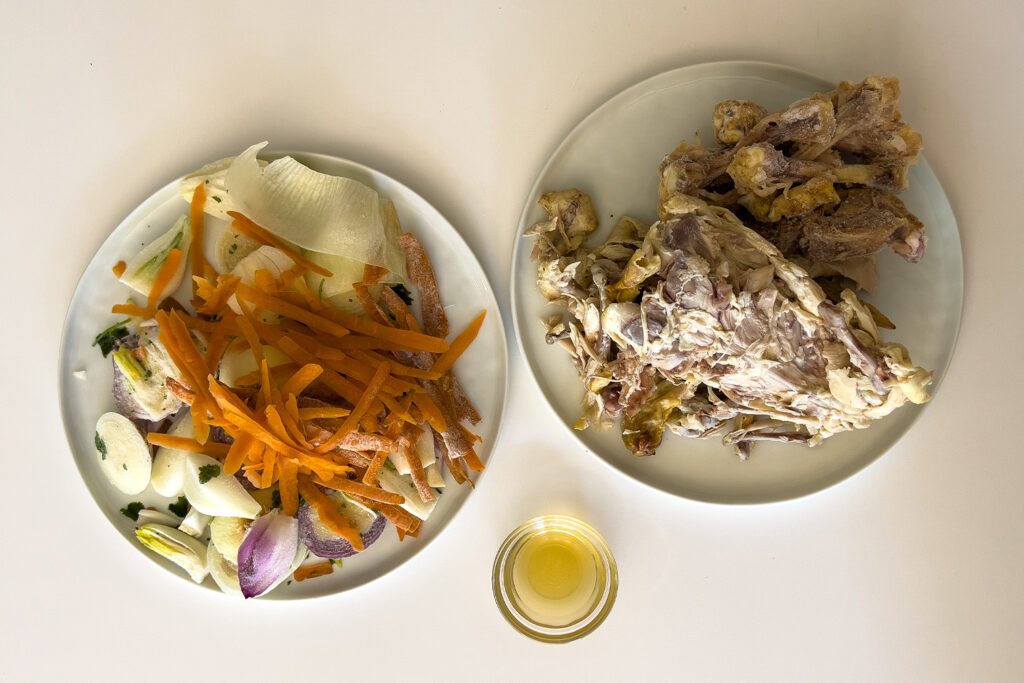
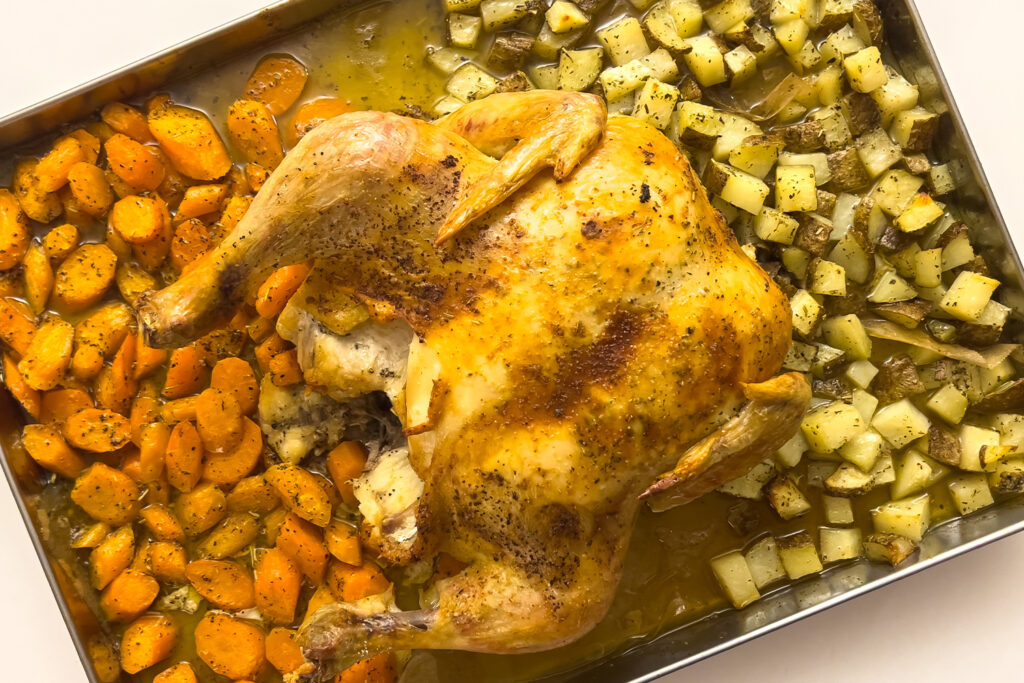
- Bones: I use various types of bones, all of which are leftover from other meals. When I cook a whole chicken, I use the left behind bones in my broths. Note: The bones must be cooked before making the broth, either by using leftover bones from meals that were cooked, or roasting raw bones if you’re buying them for the sole purpose of making broth.
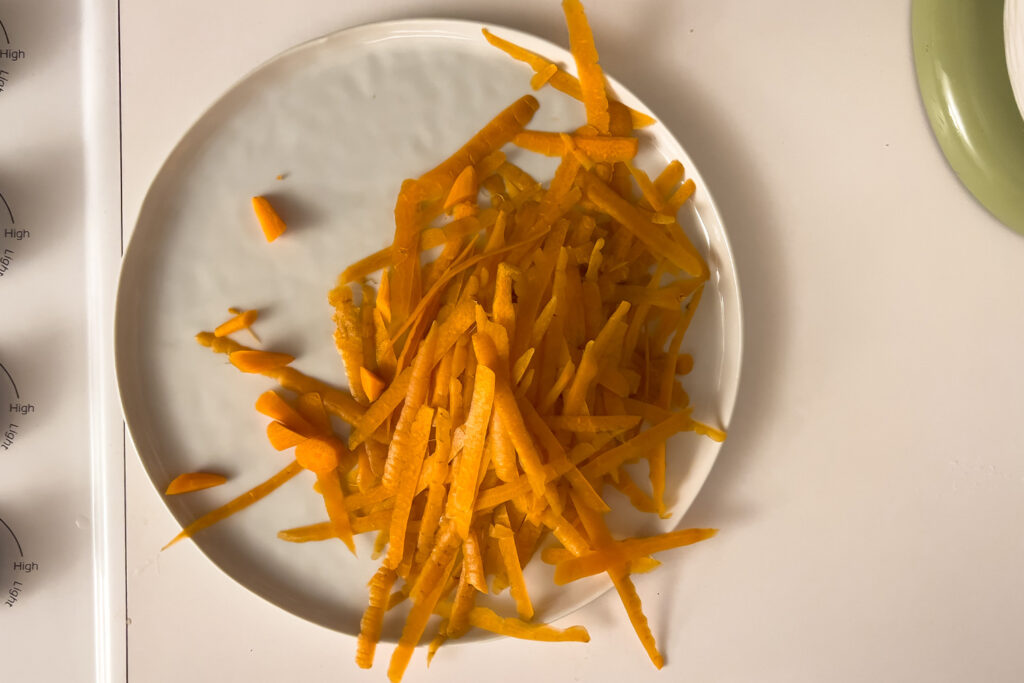
- Vegetable and herb scraps: I keep leftover scraps in the freezer from peeling carrots, onion tops, wilted herbs, etc. to deepen the flavor of my broths.
- Apple cider vinegar: This helps to draw the most nutrients out of the bones. You’ll need about 2 tbsp. per stockpot
- Water: Filtered tap water is perfectly fine for this.
- Optional: Salt and pepper to taste.
Directions
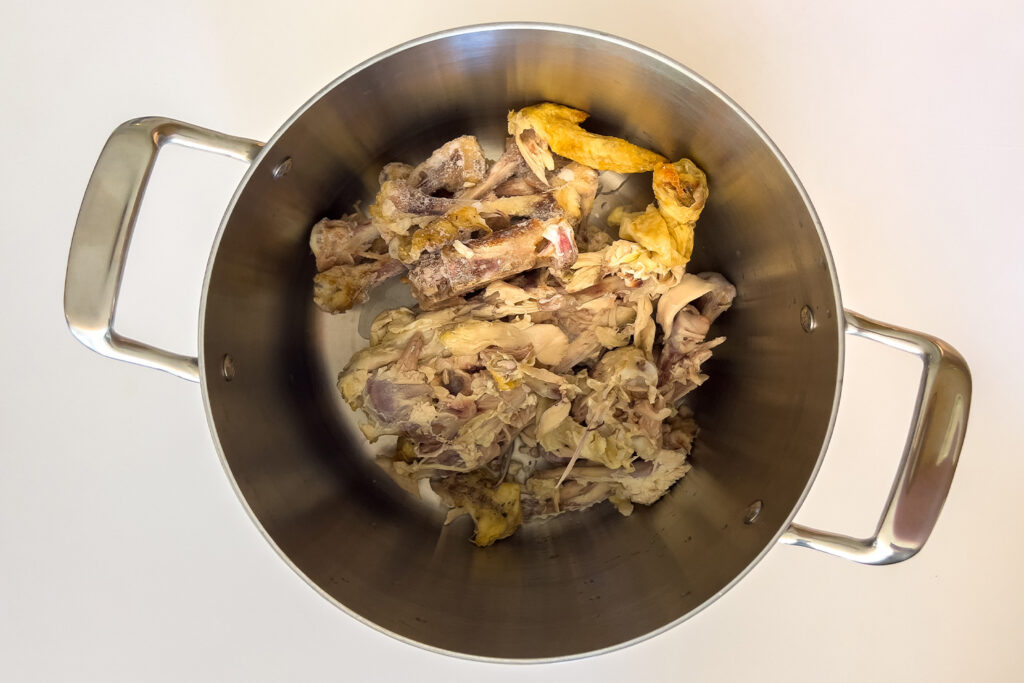
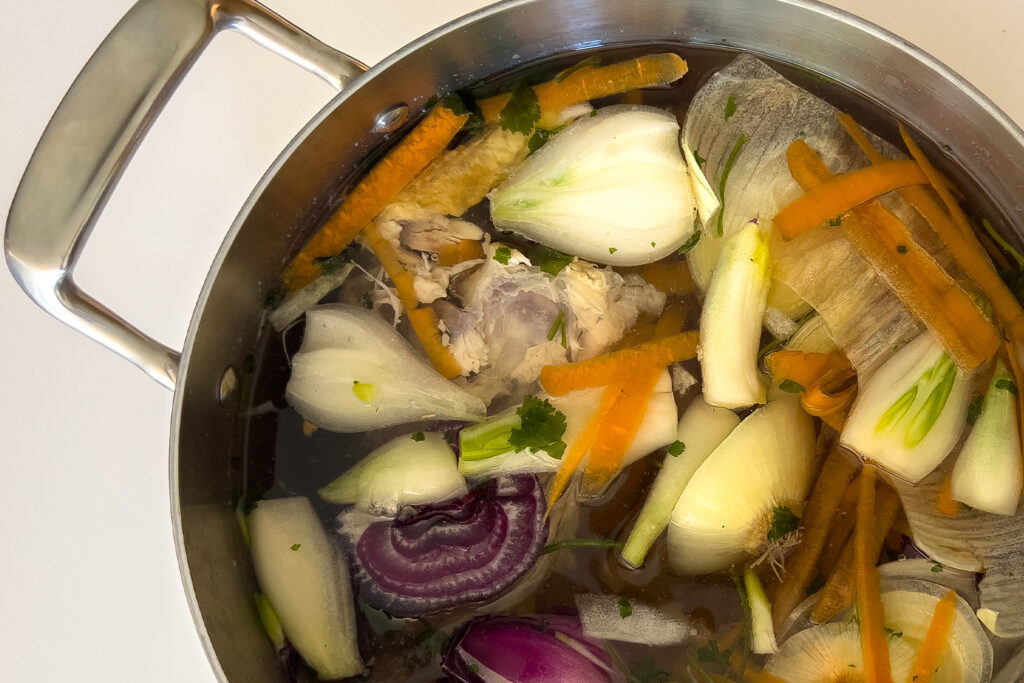
Place your bones in the bottom of your empty stockpot.
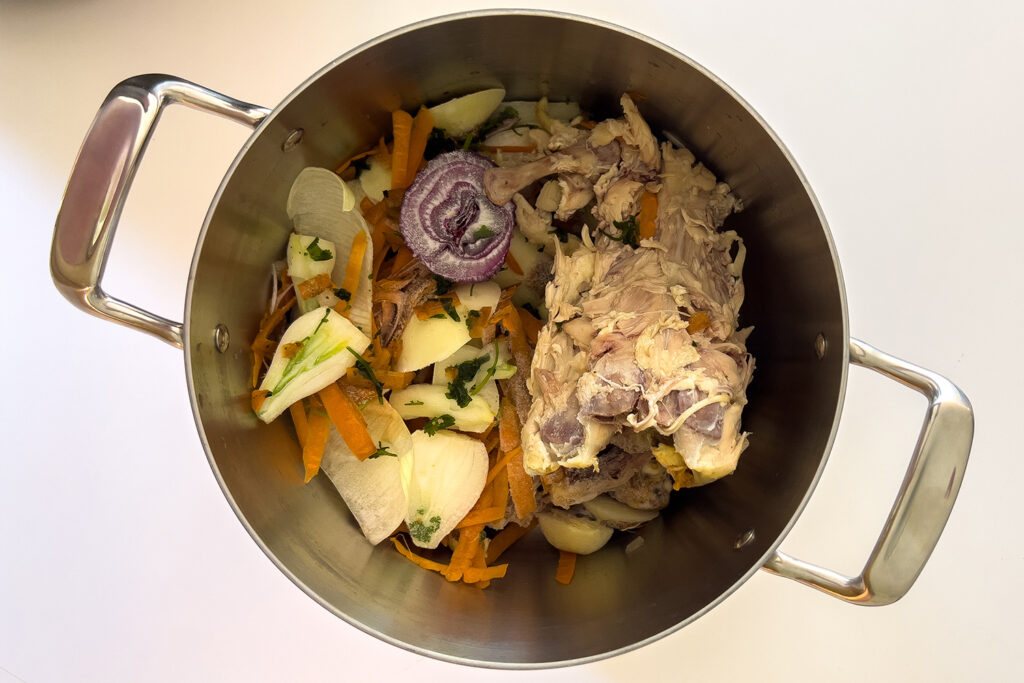
Add your vegetable scraps to the stockpot.
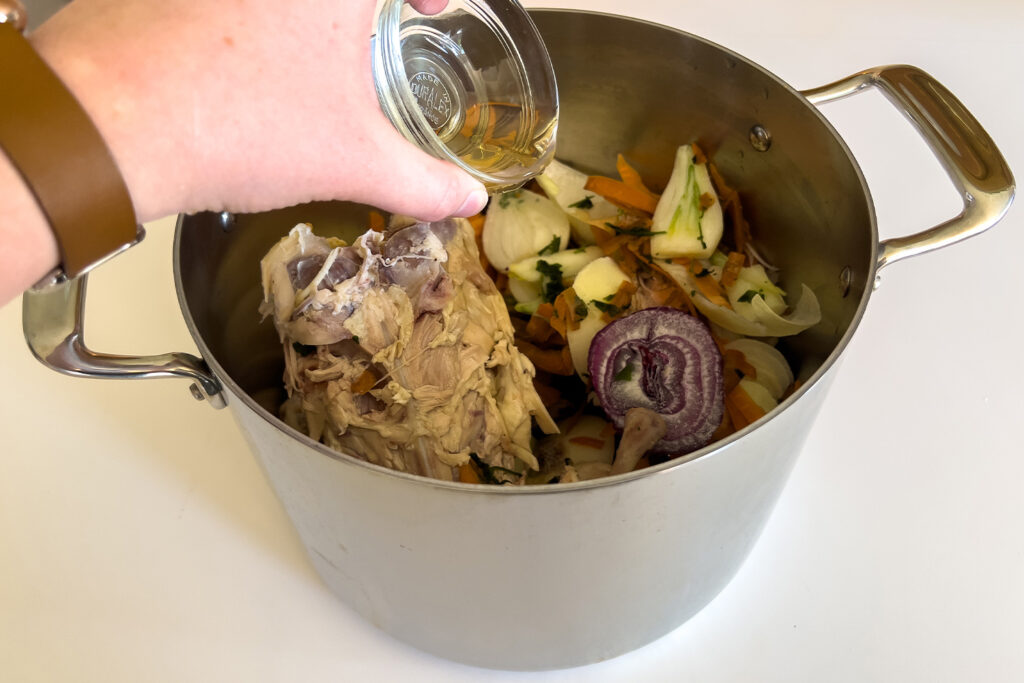
Pour the apple cider vinegar over the bones and vegetable scraps.

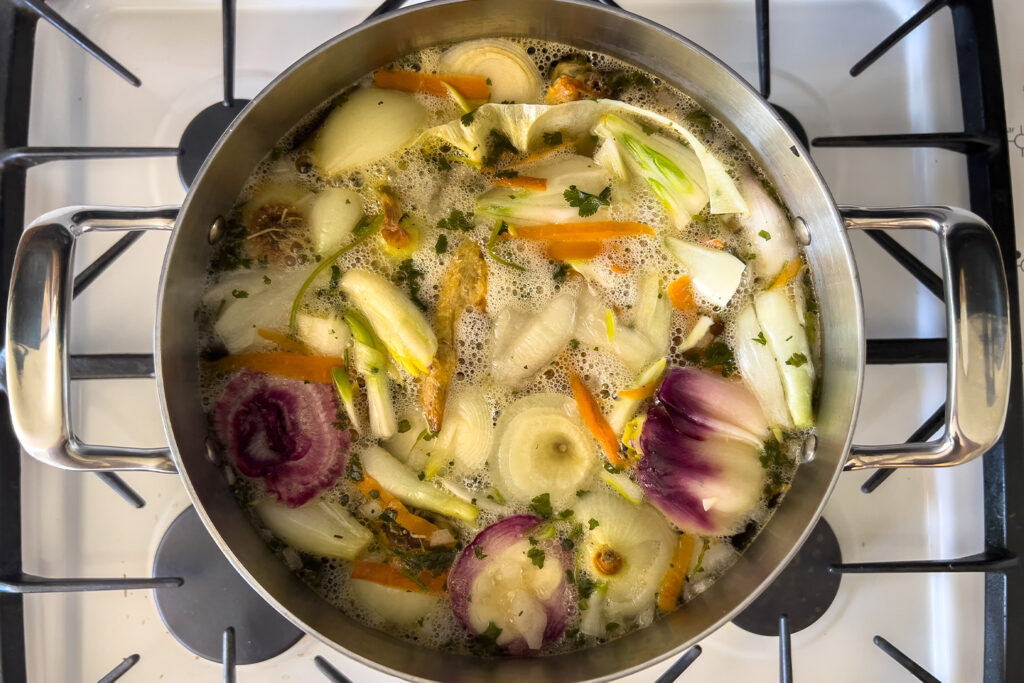
Fill the stockpot with cool filtered water, making sure to leave a gap at the top to make room for it to simmer without bubbling over.
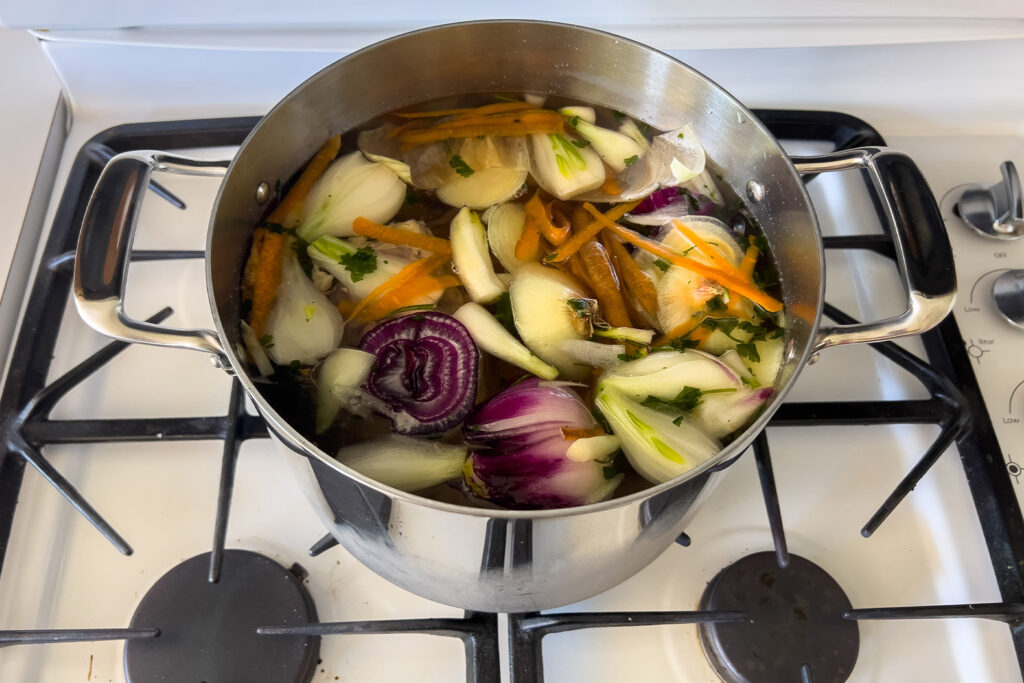
Place on a burner on low heat, and allow to come to a simmer slowly (this could take a while depending on how much water you have in the pot).
Let it simmer as long as you’re able to. This could be anywhere between 8 and 48 hours. The longer you’re able to let it cook, the more nutritious it will be.
Once you are done allowing it to simmer, remove it from the heat and allow it to cool down to where the pot can be handled.
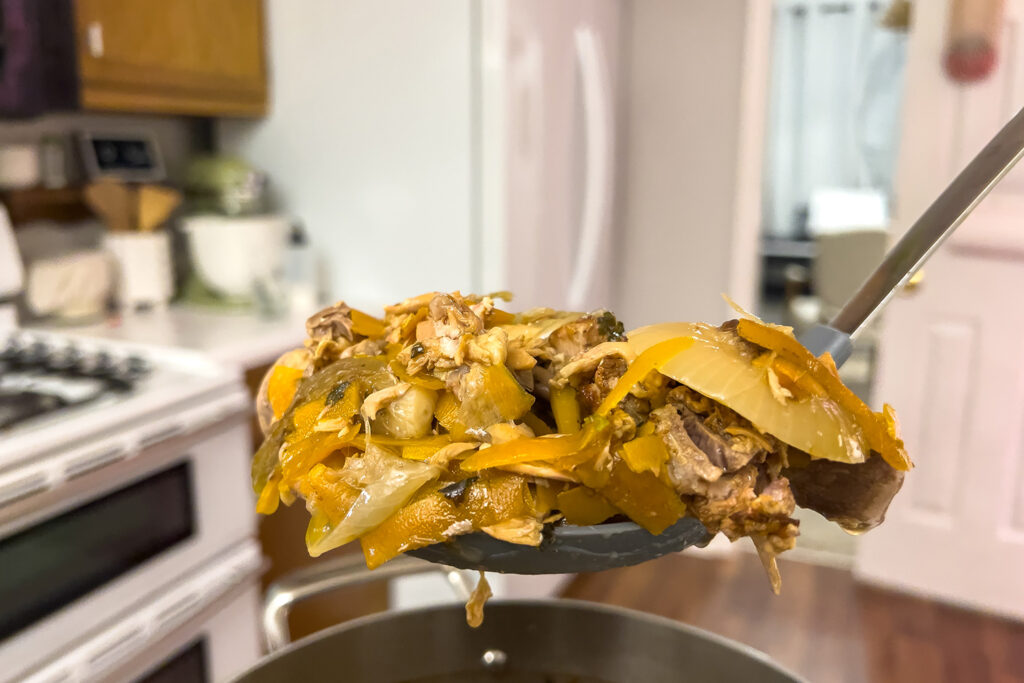
Using the skimmer, remove the bulk of the bones and vegetable scraps.

Place the cheesecloth in the funnel and put the funnel in your storage jar.

Pour the bone broth through the funnel. Make sure to go slow so as not to overwhelm or overflow the cheesecloth.
Optional: Add salt to taste.
Make sure it has cooled to the touch before putting a lid on the jar and placing it in the refrigerator!
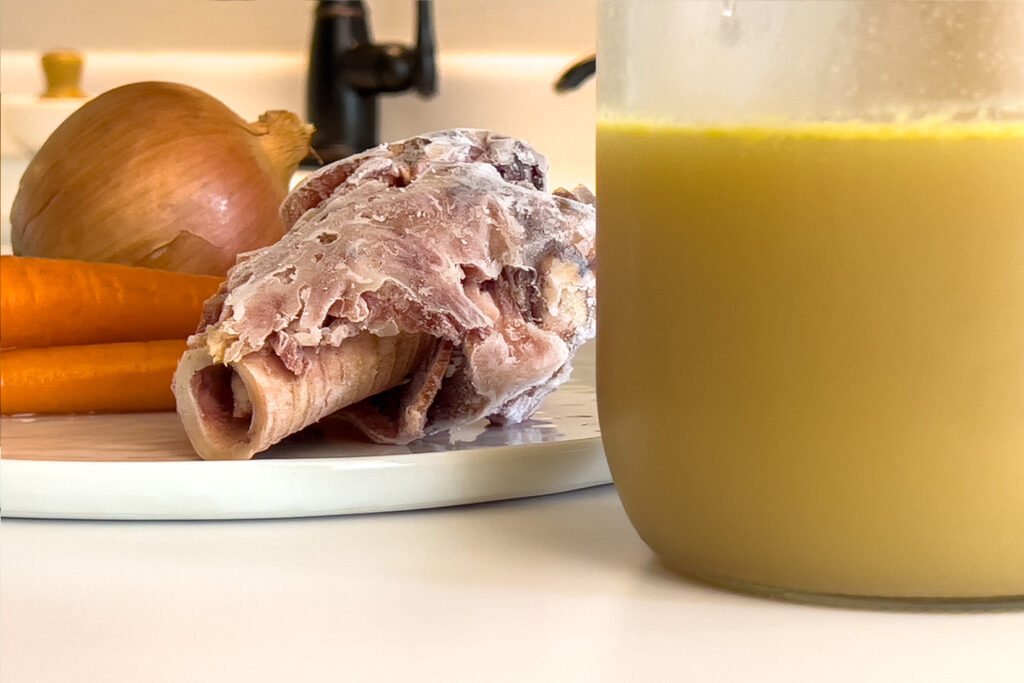
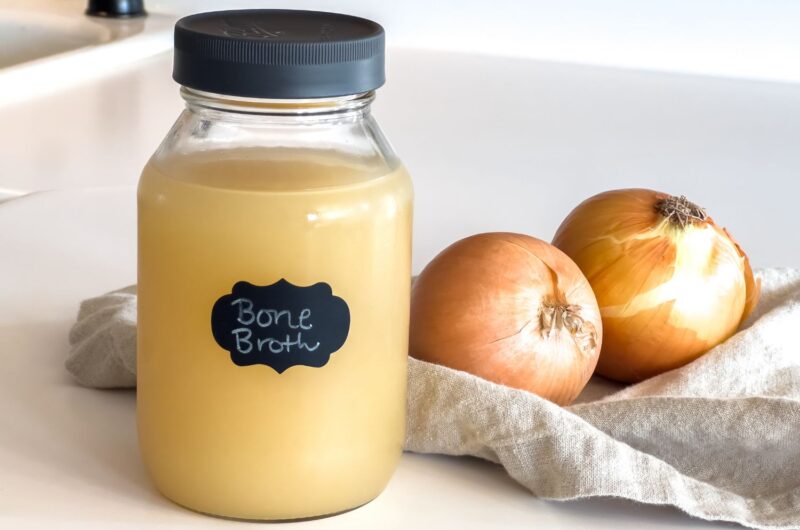
As long as you got a nice fat layer on top, your homemade bone broth from scraps can be stored for up to 6 days in the refrigerator or up to 6 months in the freezer.
What vegetables are good for homemade broth or stock?
There are a variety of vegetables and herbs that are great for improving the flavor of homemade broth. You may use raw vegetables in the broth, or you can optionally roast them beforehand to enhance the flavor if you’d like.
Some of the best and most common vegetables are:
- Carrots (including tops and skins)
- Onions (yellow, white, red, or shallots, including tops and skins)
- Celery (including leaves)
- Garlic (including skins)
- Bay leaves
- Parsley
- Thyme
- Rosemary
- Scallions
I personally save the scraps from my vegetables and herbs, and I use those for my homemade broths. Curious how to store your scraps for use later? Keep reading to find out how I have mine stored, always ready to make broth! Because of this, I typically don’t buy vegetables for the sole purpose of making broth!
What vegetables are NOT good for homemade broth or stock?
Some vegetables you can use if you’d like, but they may give off a strong flavor or change the texture/color of the broth, so choose carefully!
These include:
- Tomatoes
- Mushrooms
- Acorn squash (try peels only)
- Asparagus
- Beets (gives a dark color to the broth)
- Bell peppers
- Carrot top leaves (can be bitter)
- Chives
- Basil
- Cilantro
- Corn
- Cucumber
- Lettuce
- Oregano
- Potato peels
- Spinach
- Squash peels
What bones are good for homemade bone broth from scraps?
Different bones will give different flavors to your broth, and you can use bones from just about any animal. I typically don’t give it any thought, as I just use scrap bones from previous meals when I make mine. This typically includes a chicken carcass, chicken wings and tips, bones from pork chops, ham bone, etc. You can also include meat if you’d like.
Know that the different animal bones will give you different nutritional benefits, and having a variety of bone broths in your diet will help give you the most nutrients.
You can use bones from:
- Beef (and veal)
- Pork
- Chicken
- Turkey
- Venison
- Buffalo
- Bison
- Lamb
- Fish
Do I have to blanch the bones before making the broth?
You do not have to blanch the bones before making bone broth. I personally skip this step, as I find it to be unnecessary.
The main reason people like blanching the bones is to give a clear broth as the end result. This may matter for someone who is drinking the broth straight, but if you’re just adding it to your meals like I am then you may not care at all.
If you choose to blanch your bones, here is how you can do so:
- Place all of the bones in the stockpot and cover them with water.
- Bring to a boil, and let simmer for about 15-20 minutes.
- Remove from heat and strain the water out of the pot.
- Rinse the bones off well.
- Wash the stockpot thoroughly.
Now the bones are ready to be used as normal in the recipe, and you are much more likely to have a clear broth in the end instead of a cloudy one.
Can I make it in a slow cooker or pressure cooker?
Yes, you can!
To use a slow cooker, simply place your ingredients in it and cook on low for anywhere between 12-18 hours. Everything else about this recipe is the same as cooking it on the stovetop!
To use a pressure cooker, you can cook it on high pressure for 4-5 hours. Let the pressure release naturally.
Note that with either of these options, you will likely not be able to make as much broth at one time as when you cook it on the stovetop in a stockpot.
Can I start bone broth today and finish it tomorrow?
Yes! If you aren’t comfortable leaving your broth simmering overnight but it’s not ready yet, then you can refrigerate the broth (bones, veggies, and all), and pick up where you left off tomorrow.
Can I use the same bones multiple times?
Yes! There are different recommendations for different bones, but essentially you can reuse bones multiple times in a row until they are so soft that they crumble when touched. Once they’re crumbling, it means that you have extracted all of the nutrients out of those bones, so it is best to start fresh with new bones. I personally find that most of my bones only get one use. For each consecutive batch, the flavor will dwindle more and more though, so just keep that in mind.
As far as vegetables and herbs go, you’ll want to use fresh ones for each batch, and of course new water and apple cider vinegar as well.

How To Use Bone Broth
There are so many healthy ways to use bone broth in your diet! It’s so nutritious, and getting creative with how you use it can increase the number of times you’re having bone broth each week.
Some of the ways that you can use your broth are:
- Drink it straight. Think of it like chicken noodle soup…without the chicken and the noodle. Ha!
- Cook your grains in it. Instead of adding water to your rice or quinoa, try cooking it in your bone broth instead.
- Make soup. Use it instead of water or store-bought broth to make delicious and deeply flavored soups.
- Any recipe that calls for broth or stock. You can use it in any recipe that you like that calls for stock or broth. It will enrich the flavor of any dish, and boost the nutritional content too. Win-win!
- Freeze it for later. You can freeze your bone broth for up to 6 months. It thaws and reheats well!
Tips For Making Homemade Bone Broth From Scraps
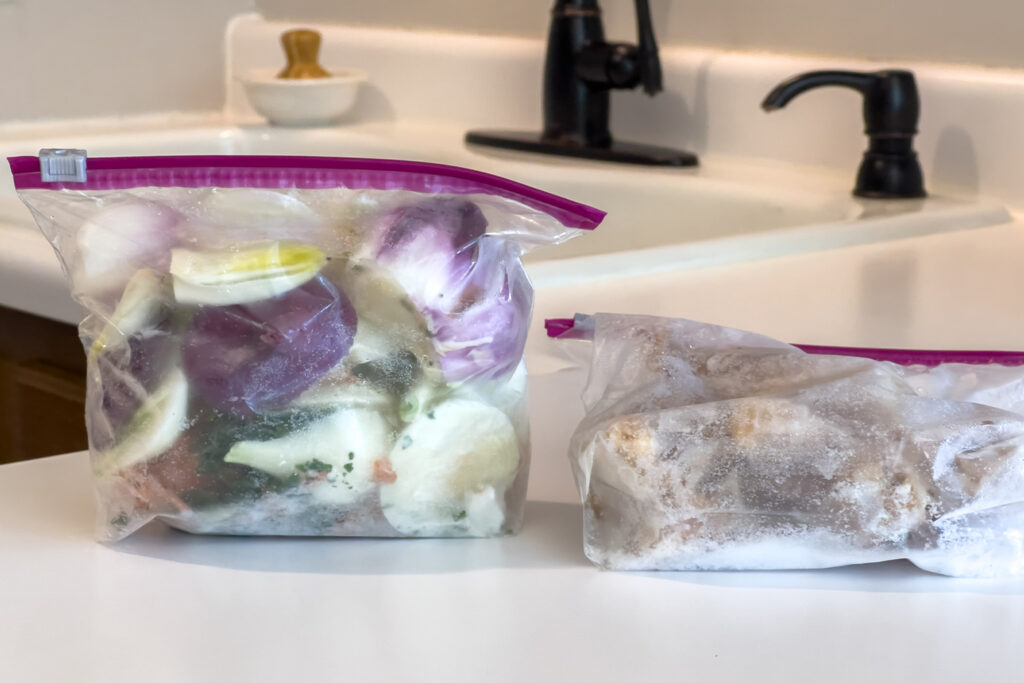
Freeze Vegetable Scraps As You Cook Other Meals
I love to freeze my vegetable scraps that would otherwise go to waste. I keep a freezer storage bag easily accessible in my freezer. Then, as I prepare meals over the days and weeks, I toss all my scraps in the bag to keep them good for later!
Carrot peels, carrot tops, onion tops and skins, garlic clove ends, herbs that are about to spoil, you name it! It feels so good to use every portion of my food.
Freeze Bones As You Cook Other Meals
Just like the vegetable scraps, I keep a freezer storage bag for bone scraps. Cooked a whole chicken? I toss the carcass in the bag. Made pork chops? I toss the bones in the bag. Chicken legs as an easy dinner? Bones in the bag.
I just make sure to rinse off any seasonings or sauces before freezing them. That way they can go straight from the freezer to the stockpot! I also only include cooked bones in the bag, as any raw bones would need to be roasted before adding to the broth.
Add Salt
You will likely need to add more salt than you think to your broth in order for it to taste good. This is because most store-bought broths already come pre-salted, which is what we are accustomed to. To make mine taste the best, I typically take the shaker cap off my salt, pour some in, and then taste. I repeat this process until it’s salted to my liking.
Homemade Bone Broth From Scraps – Getting the Most From Your Food
5
minutes8-24
hoursHomemade bone broth is hearty, delicious, nutrient-dense, and so easy to make!
Keeps your screen on while viewing recipe
Ingredients
Bones – can be scraps from previous meals, your bones should take up about 1/4-1/3 of your pot
Vegetables and herbs – can be scraps from previous meals, the more you add the more flavor you’ll get in the end
Apple cider vinegar – about 2 tbsp. for a stockpot
Water – enough to fill your pot
Optional: salt and pepper to taste
Directions
- Place your bones, vegetable scraps, and apple cider vinegar in the empty stockpot.
- Fill the stockpot with cool filtered water, making sure to leave a gap at the top to make room for it to simmer without bubbling over.
- Place on a burner on low heat, and allow to come to a simmer slowly (this could take a while depending on how much water you have in the pot).
- Allow to simmer for as long as you’re able to. This could be anywhere between 8 and 48 hours. The longer you’re able to let it cook, the more nutritious it will be.
- Once you are done simmering it, remove it from the heat and let it cool down to where the pot can be handled.
- Using the skimmer, remove the bulk of the bones and vegetable scraps.
- Place the cheesecloth in the funnel, put the funnel in your storage jar, and pour the bone broth through the funnel. Make sure to go slow so as not to overwhelm or overflow the cheesecloth.
- Optional: Add salt and pepper to taste.
- Make sure it has cooled to the touch before putting a lid on the jar and placing it in the refrigerator!
Recipe Notes
- As long as you got a nice fat layer on top, your homemade bone broth can be stored for up to 6 days in the refrigerator or up to 6 months in the freezer.
Like this recipe?
Follow @everypurposehome on Pinterest for more!
