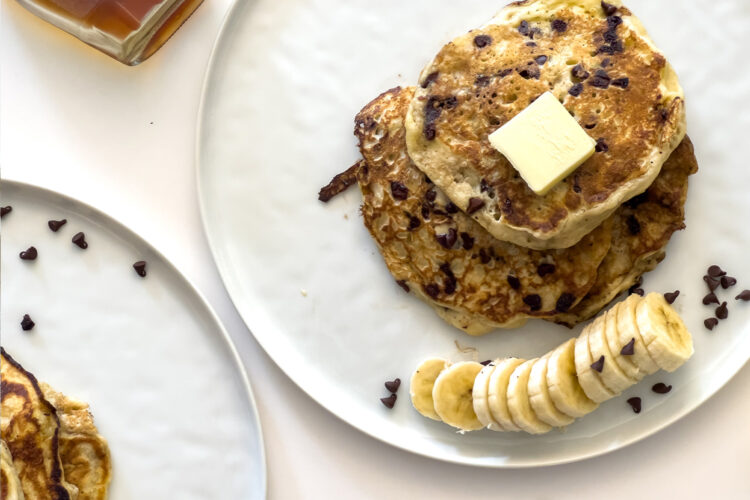
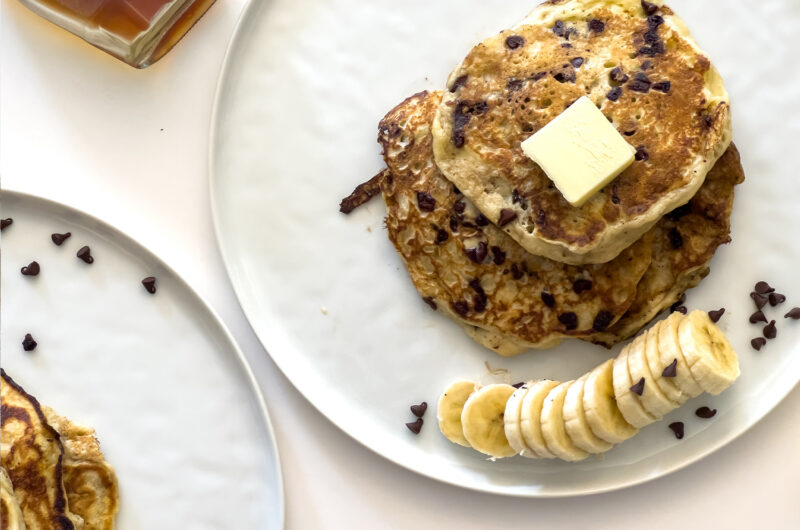
I’ve never been able to figure out why banana and chocolate go so well together, but I can’t get enough of that combination! These no-wait, easy sourdough banana pancakes taste delicious with chocolate chips, and maybe even chocolate syrup if you’re feeling adventurous! Keep reading to see how to make these melt-in-your-mouth pancakes, as well as the best breakfast combo.
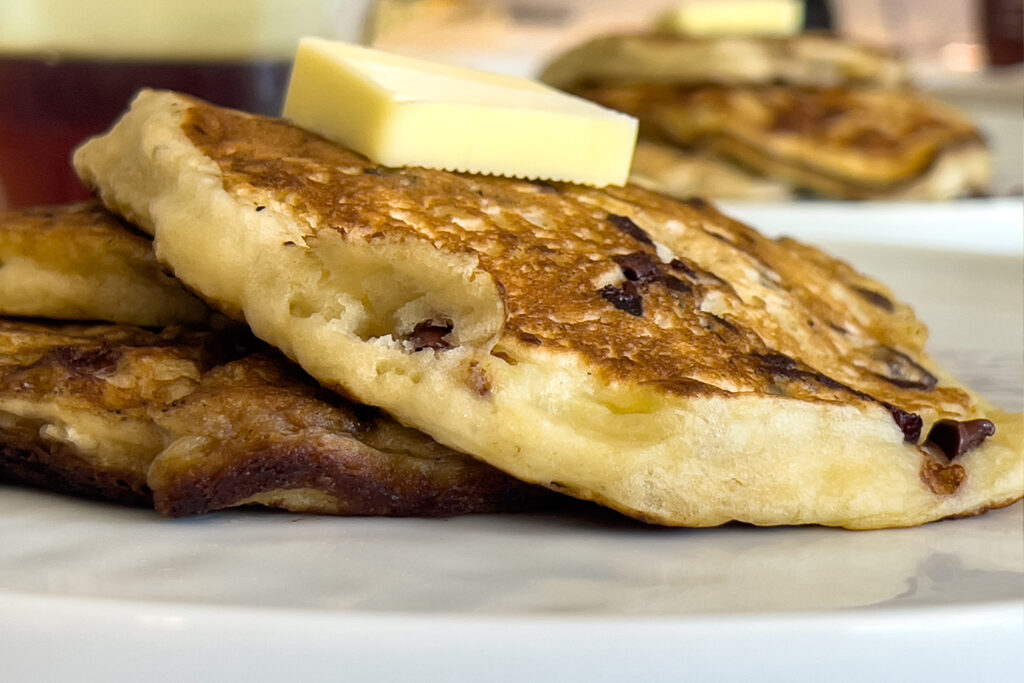
Why Sourdough
As seen in my post on how to make a sourdough starter, there are so many benefits to using sourdough in your recipes recipes as opposed to commercialize yeast!
The colony of yeasts in a sourdough starter is a natural probiotic, making it gut healthy. It is also much easier to digest because the grains (flours) are partially broken down, which leaves less work for your digestive system to do! In addition to these benefits, sourdough contains a variety of vitamins such as calcium, magnesium, folate, potassium, niacin, antioxidants, and more.
Supplies Used
- A bowl: I used a medium bowl from my glass bowl set.
- A fork: I just use the fork from our silverware set.
- Measuring cups and spoons: I use these measuring cups and these measuring spoons.
- Something to stir with: I used my silicone spatula.
- Skillet: I use my cast iron skillet, and find that it gives the best result for making pancakes! I have used the 10” cast iron skillet and the 12” cast iron skillet interchangeably for this.
- Flipper spatula: You’ll need a flipper spatula to turn the pancakes over!
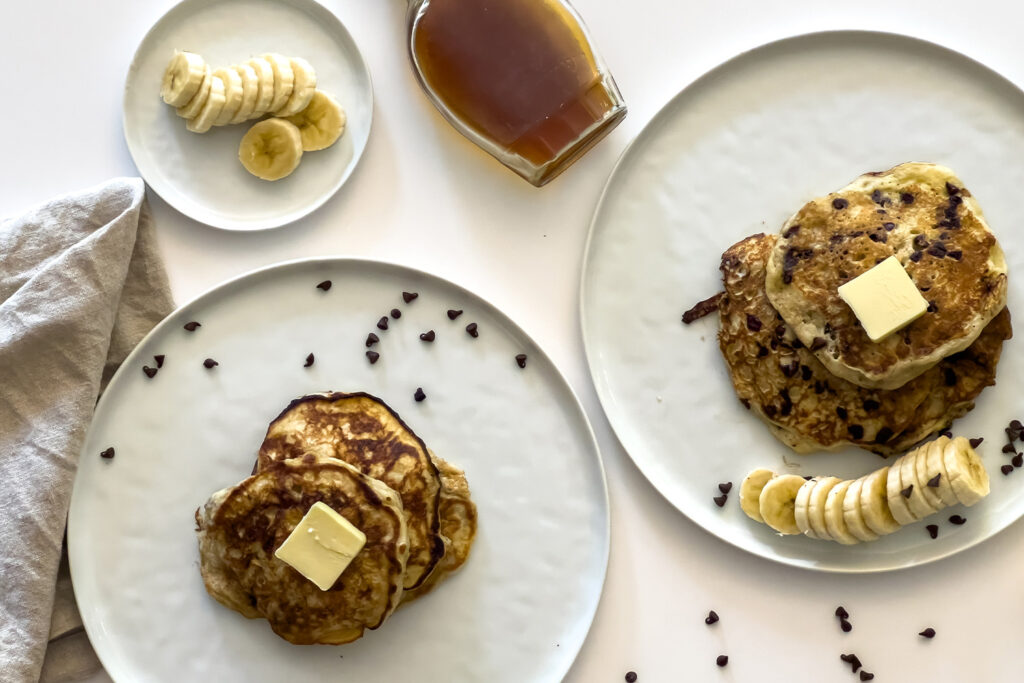
Ingredients
- Ripe bananas
- Eggs
- Salt: I use sea salt
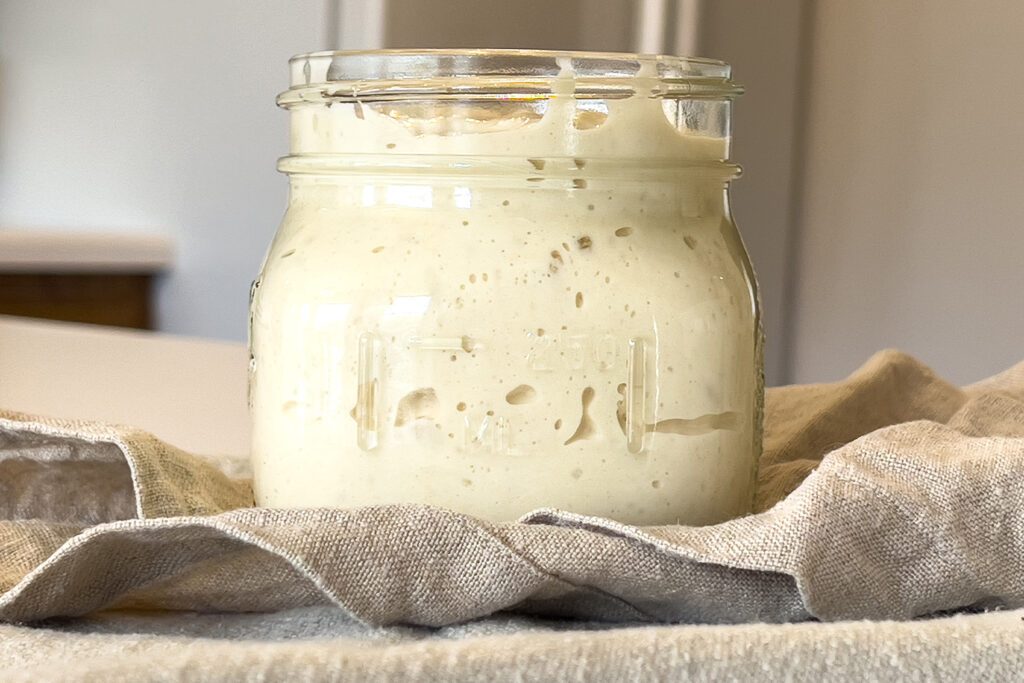
- Sourdough starter: fed and active (I feed my sourdough starter the night before and then use it for pancakes the next morning!)
- Baking soda
- Butter or neutral flavored oil: for frying
- Mini chocolate chips, or other toppings: optional but delicious!
Directions
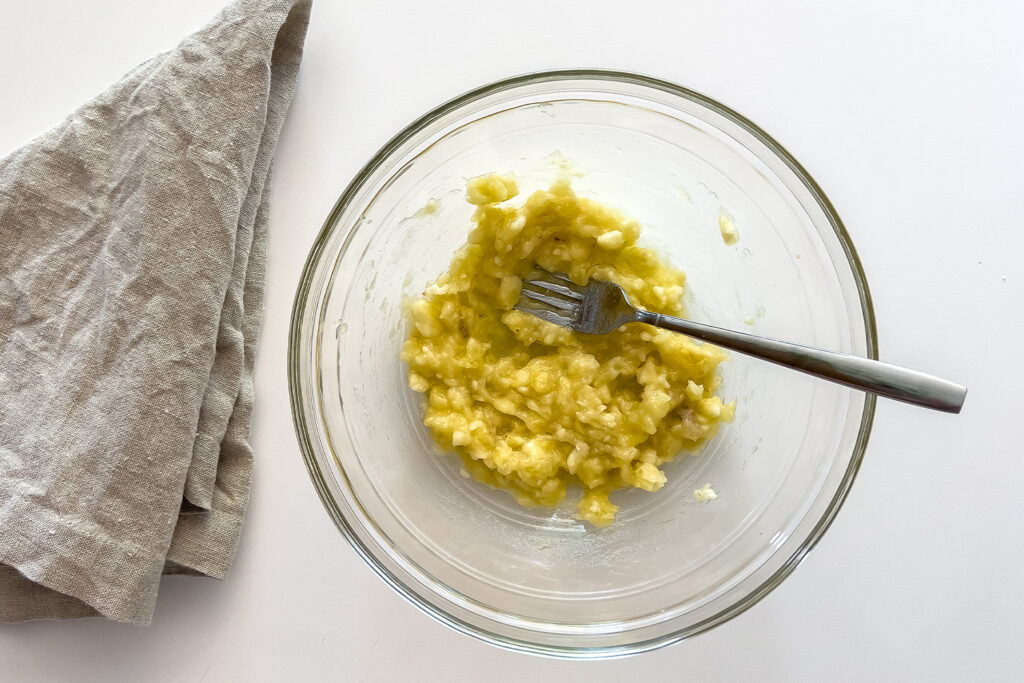
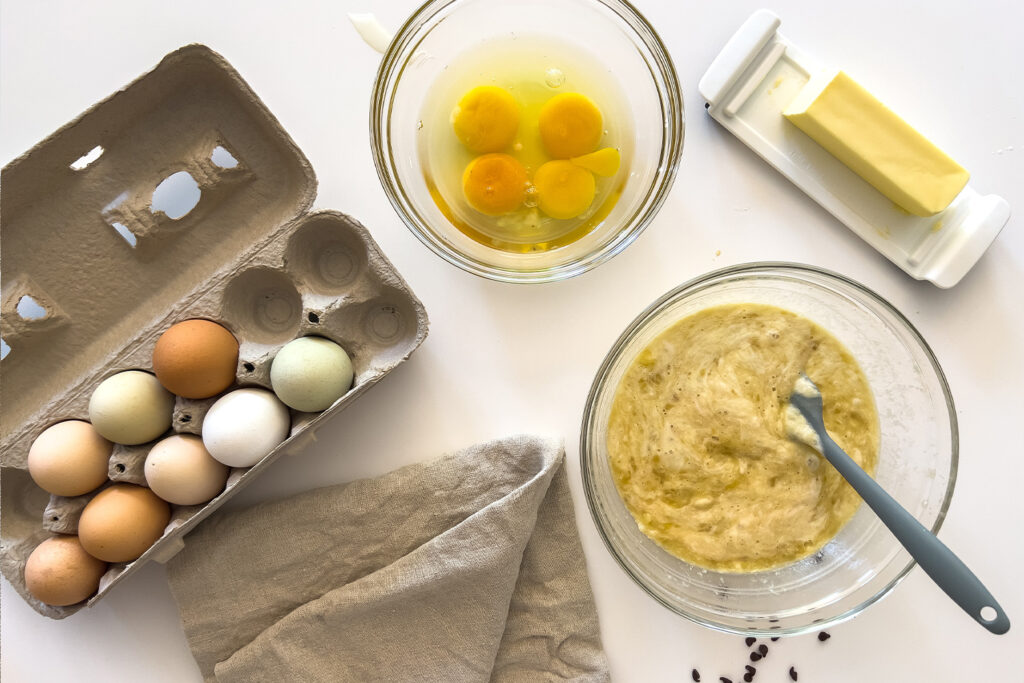
In a medium mixing bowl, mash the banana using a fork. I prefer it to be mashed until smooth, but you may like to leave larger banana chunks for a more textured pancake in the end! This is entirely up to personal preference.
Add the egg and salt, and stir to combine.
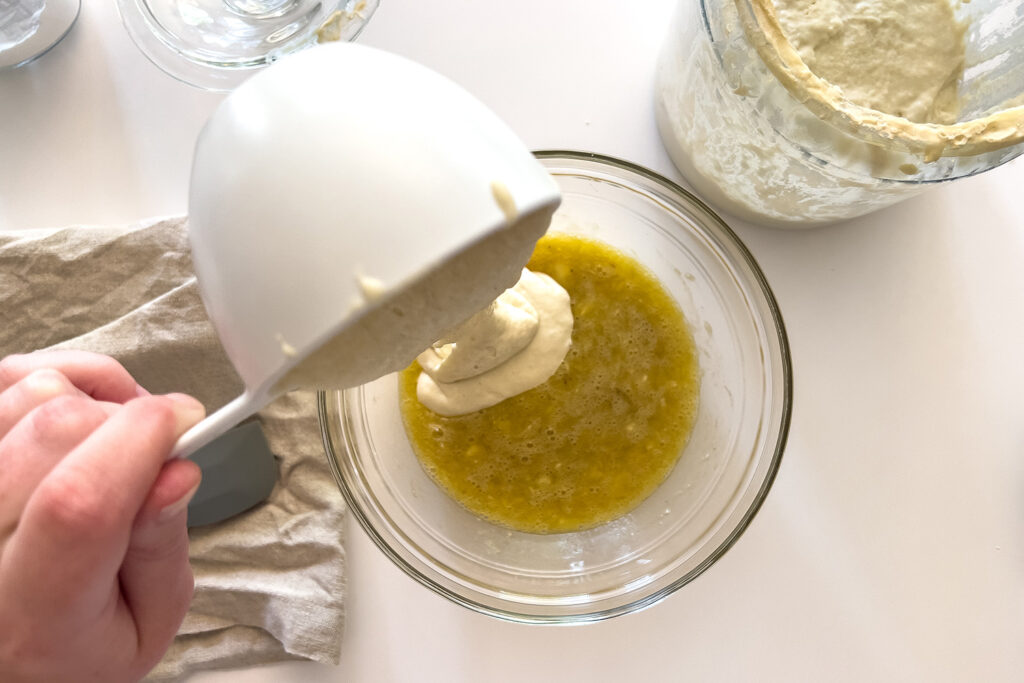
Add the sourdough starter, and gently stir. Try to get the mixture to be mostly uniform, but don’t over beat or else you will deflate the bubbles in the sourdough. You may want to use a danish dough whisk for this process!
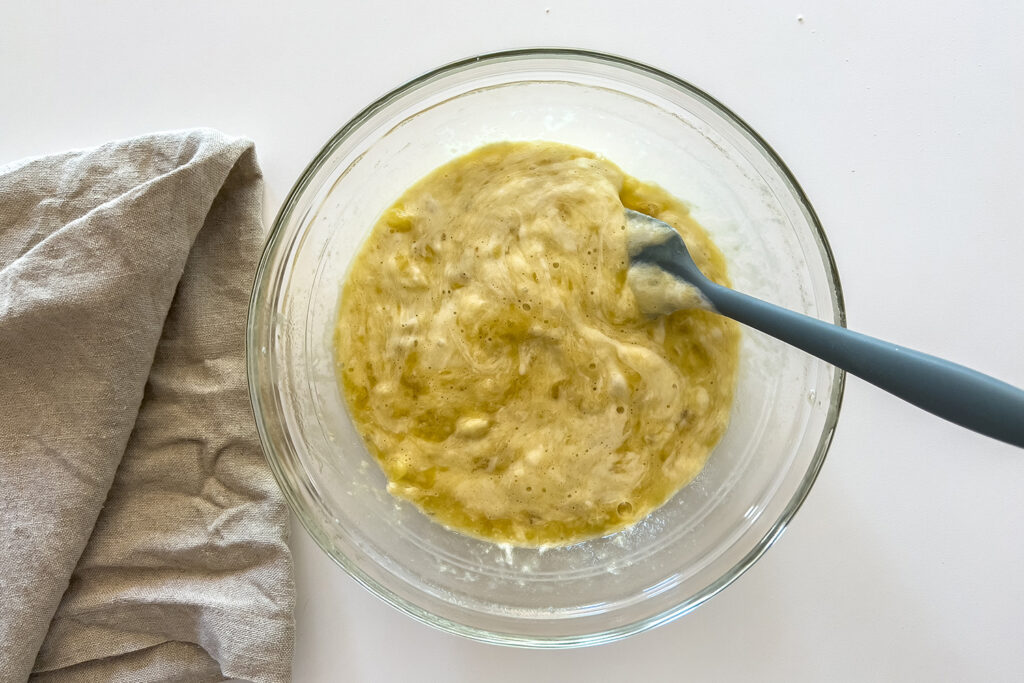
Add the baking soda, stir gently to incorporate, and allow to rest, untouched, for about 5 minutes. You should see (and maybe even hear!) some foaming as the baking soda reacts with the sourdough starter. This will make your pancakes fluffy!
Note: While the batter is resting, this is a great time to feed your sourdough starter. You always want to feed your starter after you’ve used it!
Preheat your cast iron skillet over low-medium heat. I prefer to fry my pancakes in a little butter, but you can use coconut oil or other neutral oil if you prefer.

Use a 1/3 cup measuring cup or scoop to pour the batter into the center of the preheated skillet.
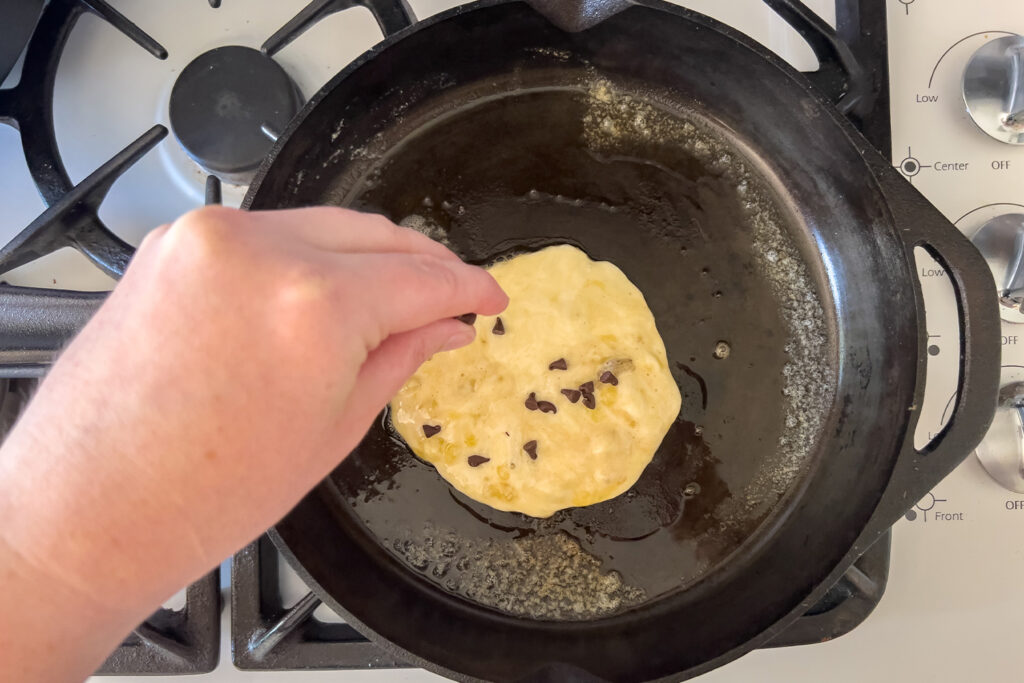
Immediately sprinkle the pancake with mini chocolate chips if desired. Once the pancakes begin to bubble at the top, it’s time to flip them over.
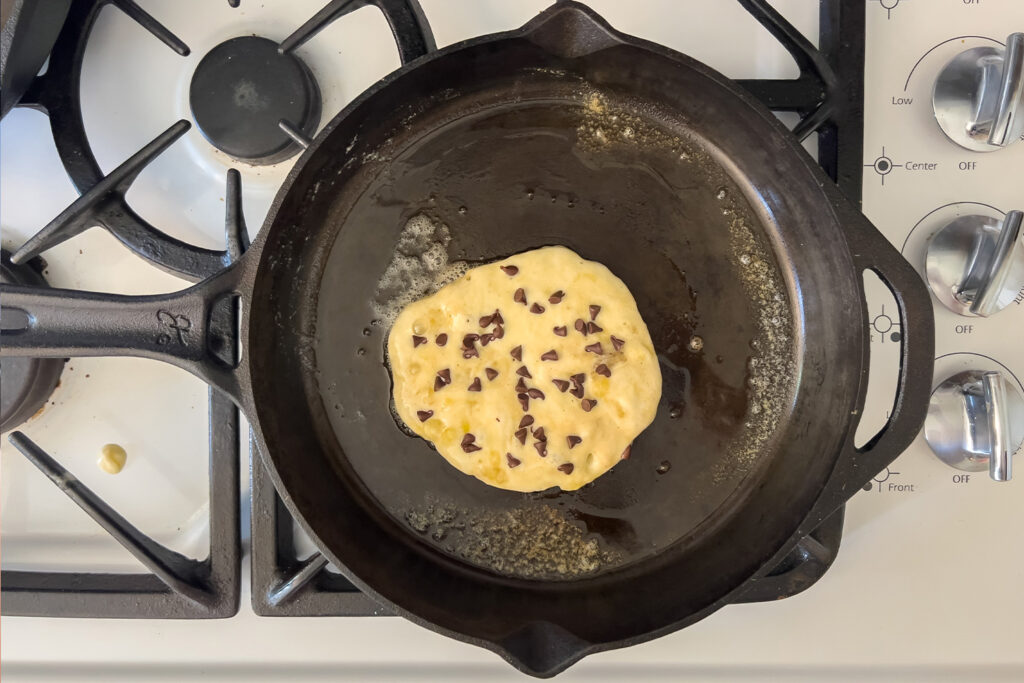
Tip: Do not press the pancakes down as you cook them! Not only does this not speed up the cooking process at all, but it makes your pancakes…well…flat as a pancake. But not in a good way! Light and fluffy pancakes are the way to go, so don’t squash away those air bubbles.
Once both sides are light golden and the inside is cooked, remove from the pan.
Repeat this process for all remaining pancakes!
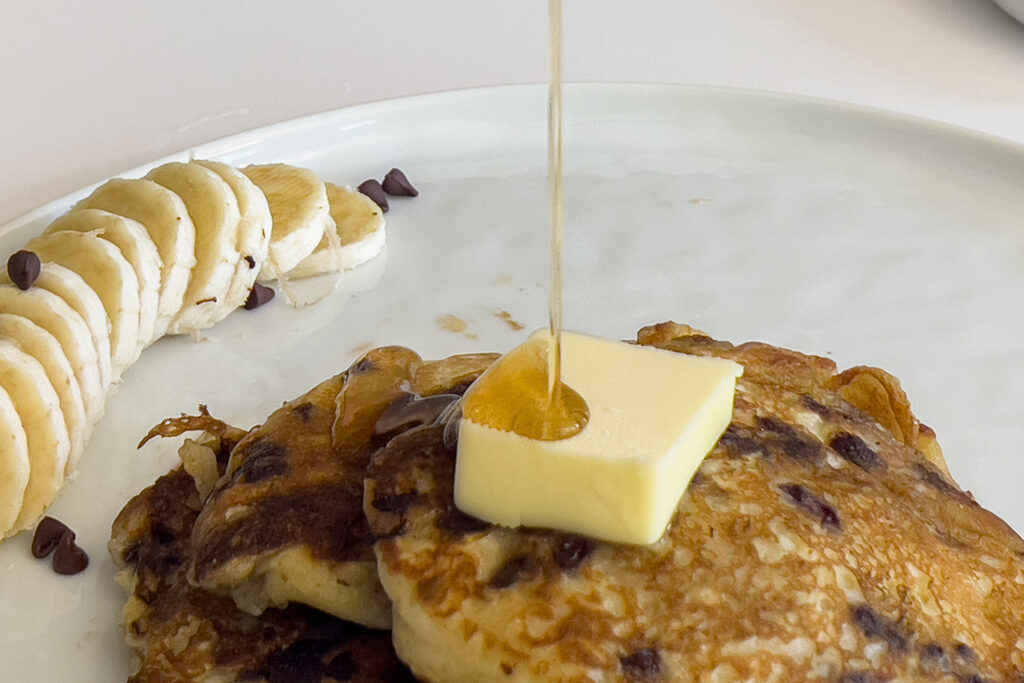
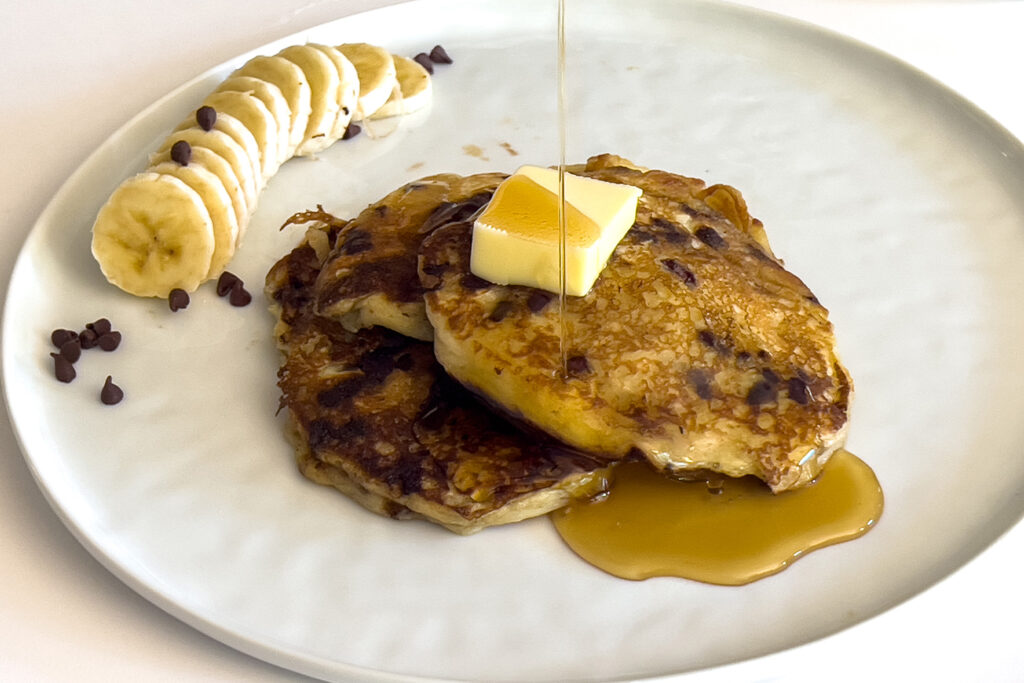
Serve with soft butter and pure maple syrup.
Other Flavor Options
This recipe would also work great with other fruit combinations and flavors!
Try these:
- Replace the banana with strawberries
- Replace the banana with blueberries
- Use canned pumpkin instead of banana
- Add 2 tsp. cocoa powder to the batter for chocolate banana pancakes
- Skip the chocolate but add 1 tsp. cinnamon to the batter instead
- Drizzle with honey peanut butter
- Drizzle with a salted caramel sauce
- Top with a chocolate nut spread
- Add rolled oats or oat flour for extra texture and health benefits
- Top with caramelized bananas for a bananas foster pancake
- For an extra sweet treat, top with whipped cream or vanilla bean ice cream!
How to Store Leftovers
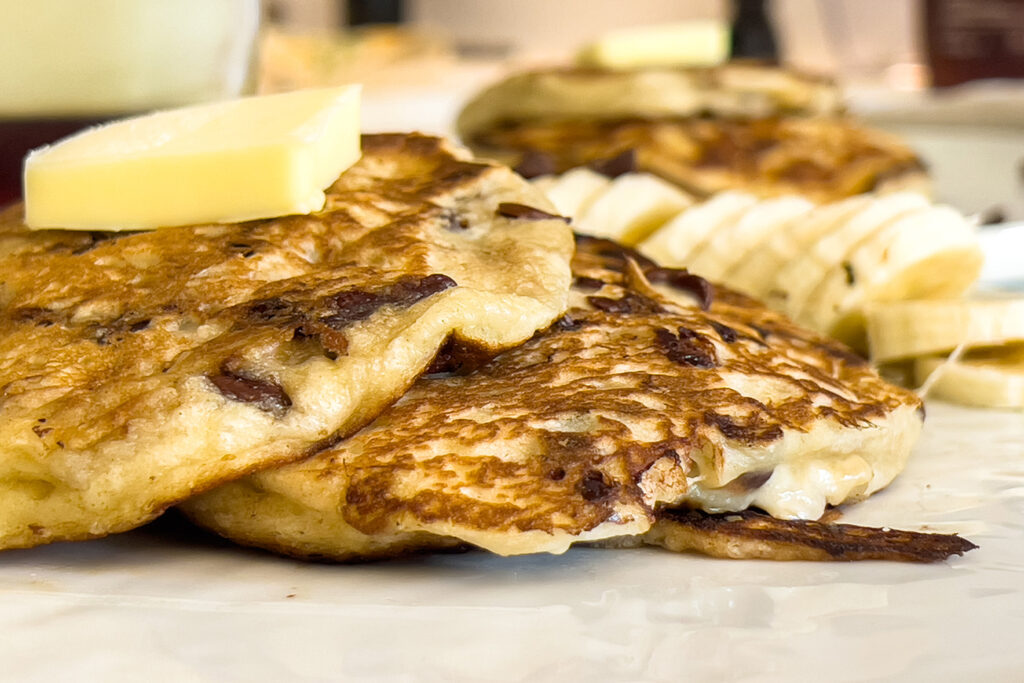
You can store cooked pancakes in an airtight container in the refrigerator for up to 3 days. The banana inside the pancake will turn brown, but it will still taste good!
You can also freeze sourdough banana pancakes for later, but the texture may change when they are reheated. The flavor will still be delicious though. To freeze, layer parchment paper between each pancake, and place in a freezer safe airtight container. They can be stored this way for up to 3 months. To reheat, place in the oven on a low temperature until thawed, or in a toaster oven.
The Best Breakfast
I could eat breakfast food all day every day! The best breakfast of all time is sourdough banana pancakes with soft butter and pure maple syrup, eggs cooked sunny side up with salt and paprika on top, and thick sliced crispy bacon. And to top it off, pour a glass of cold iced coffee. If your mouth is watering, you’re welcome.
You can find more of my breakfast recipes here!
Other Uses for Sourdough Starter
- Pie crust
- Focaccia bread
- Chicken pot pie
- Chicken and dumplings
- Cinnamon rolls
- Same day sourdough rolls
- and more!
Sourdough Banana Pancakes with Chocolate Chips
Course: Natural Food2
servings of three pancakes10
minutes10
minutes385
kcalEach batch of these delicious, fluffy, sourdough banana pancakes makes about 6 total pancakes! Serve warm with your favorite breakfast sides, and you’ll have the entire family flocking to the table.
Ingredients
1 ripe banana
1 egg
1/2 tsp. salt
1 cup sourdough starter, fed and active
1/2 tsp. baking soda
Butter or neutral flavored oil, for frying
Optional: mini chocolate chips, or other toppings
Directions
- In a medium mixing bowl, mash the banana using a fork. You can mash it until smooth, or leave larger banana chunks for a more textured pancake in the end! This is entirely up to personal preference.
- Add the egg and salt, and stir to combine.
- Add the sourdough starter, and gently stir. Try to get the mixture to be mostly uniform, but don’t over beat or else you will deflate the bubbles in the sourdough. You may optionally want to use a danish dough whisk for this process!
- Add the baking soda, stir gently to incorporate, and allow to rest, untouched, for about 5 minutes. You should see (and maybe even hear!) some foaming as the baking soda reacts with the sourdough starter. This will make your pancakes fluffy!
Note: While the batter is resting, this is a great time to feed your sourdough starter. You always want to feed your starter after you’ve used it! - Preheat your cast iron skillet over low-medium heat. I prefer to fry my pancakes in a little butter, but you can use coconut oil or other neutral oil if you prefer.
- Use a 1/3 cup measuring cup or scoop to pour the batter into the center of the preheated skillet.
- Immediately sprinkle the pancake with mini chocolate chips if desired. Once the pancakes begin to bubble at the top, it’s time to flip them over.
Tip: Do not press the pancakes down as you cook them! Not only does this not speed up the cooking process at all, but it makes your pancakes…well…flat as a pancake. But not in a good way! Light and fluffy pancakes are the way to go, so don’t squash away those air bubbles. - Once both sides are light golden and the inside is cooked, remove from the pan. Repeat this process for all remaining pancakes, and then serve with soft butter and pure maple syrup.
Notes
- Approximate Nutritional Information Per Serving (of 3 pancakes with mini chocolate chips): 385 calories, 68g carbs, 8g fats, 12g protein, 946mg sodium, 15g sugars
- You can store cooked pancakes in an airtight container in the refrigerator for up to 3 days. The banana inside the pancake will turn brown, but it will still taste good!
- You can also freeze sourdough banana pancakes for later, but the texture may change when they are reheated. The flavor will still be delicious though. To freeze, layer parchment paper between each pancake, and place in a freezer safe airtight container. They can be stored this way for up to 3 months. To reheat, place in the oven on a low temperature until thawed, or in a toaster oven.

