

“DID I KILL MY SOURDOUGH STARTER?!” might be a question you’ve asked yourself in the past, or you might even be asking that right now! Let’s walk through how to know if your sourdough starter is actually dead or not, and what to do about it. It’s most likely not completely dead, it just needs a little reviving.
Spoiler Alert: You Starter Isn’t Dead, It’s Just Inactive
It’s a common misconception that sourdough starters are fragile. I’ve heard so many people say “if I had a starter, I would probably kill it in the first week!”. What people don’t realize is that sourdough starters were made and maintained for thousands of years with none of our modern conveniences, yet people had fresh bread on a daily basis. Sourdough starters are resilient, and almost anything that we can do to them can be fixed.
I will be the first to tell you that there have been seasons where I left my sourdough starter in the fridge unfed for weeks or even months, and I was able to revive it quickly. It’s not hard, and it’s totally possible to get it back on track once you know how to revive sourdough starter! You can do it!
Let’s walk through what to do if you find your self in that scenario.
Step-By-Step Guide to Revive Sourdough Starter
- Get a fresh and clean jar, as well as a clean spatula and measuring cup ready to go.
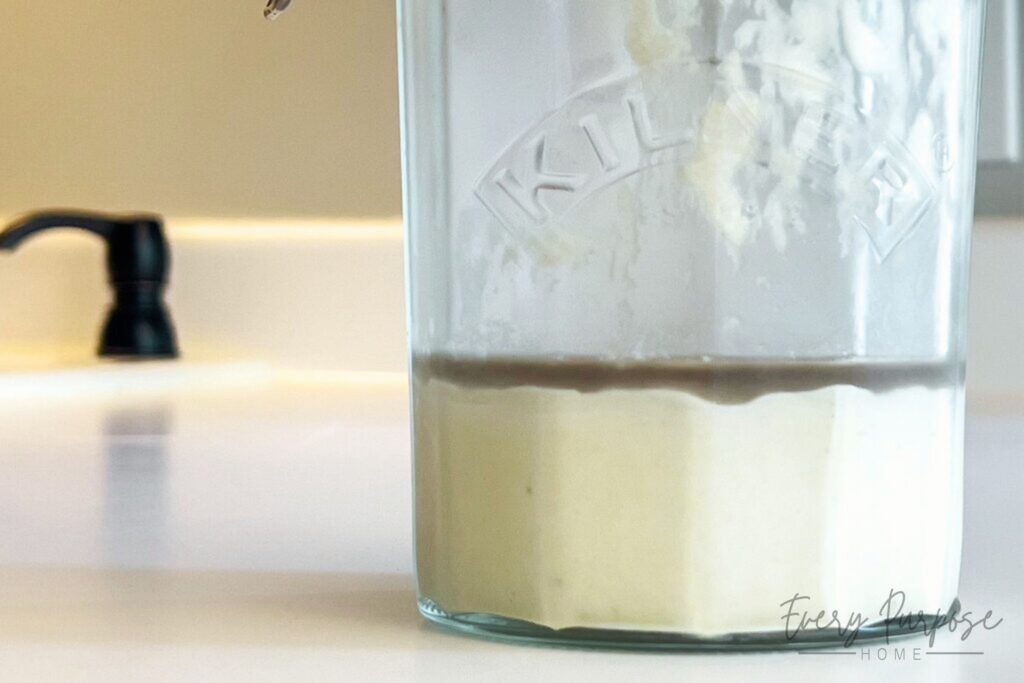
- If there is any black/gray liquid (called hooch) floating on top of your starter, dump this off and discard it in the garbage or down the sink. Now, give your starter a good stir.
- Transfer about 1/4 cup of your starter to the new clean jar. You may reserve the rest of the starter to use in discard recipes, or you can compost/toss it.
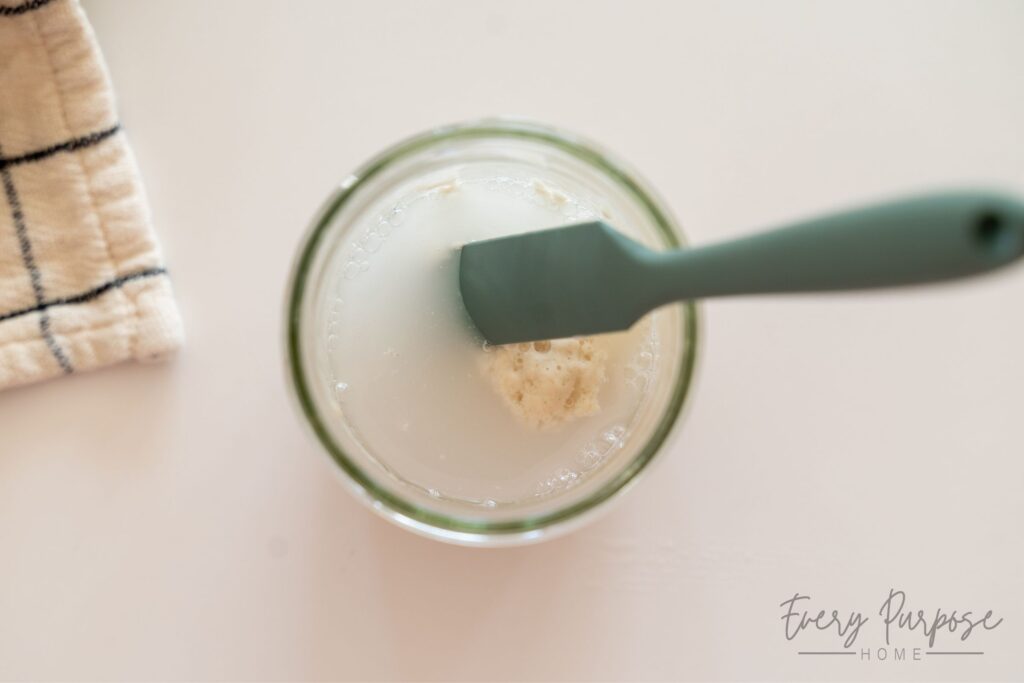
- Add 1 cup of water and 1 1/4 cup of all-purpose flour to your 1/4 cup of starter.
- Stir these together well, and allow to sit at room temperature for 8-12 hours. You may see some bubbles after several hours, or you may not. If the starter was very inactive for awhile, it may take two or three feedings like this to see it fully revived.
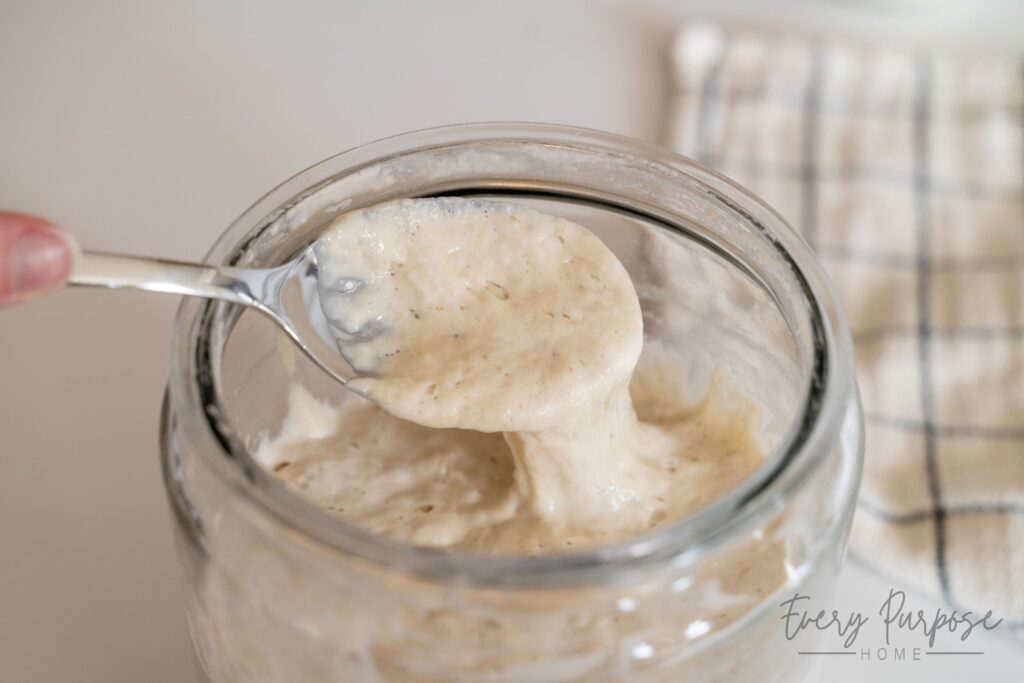
- As needed: Repeat the steps above as many times as needed, until the starter becomes active and bubbly. Once it gets to that point, it is ready to use in recipes again!
Is My Sourdough Starter Too Far Gone?
You may be seeing this after you left your starter for a year in the back of the fridge. Or you left it on the counter for a few days without feeding it. The truth is, there’s only one way to know if your starter is too far gone, and that is to try the steps and see if they work! And most of the time, they will. Keep reading to see how to know if it’s gone bad (unsafe to eat).
Bad Sourdough Starter
There are only a few instances in which it is definitely best to toss your sourdough starter out and make or acquire a new one. The only reason to completely start over is if the starter is no longer unsafe to eat. Starters that have mold growth on or in them, or starters that develop an orange streak (due to bad bacteria overgrowth) should undoubtably be tossed. It’s better to be safe than sorry, and making a sourdough starter from scratch only takes about a week!
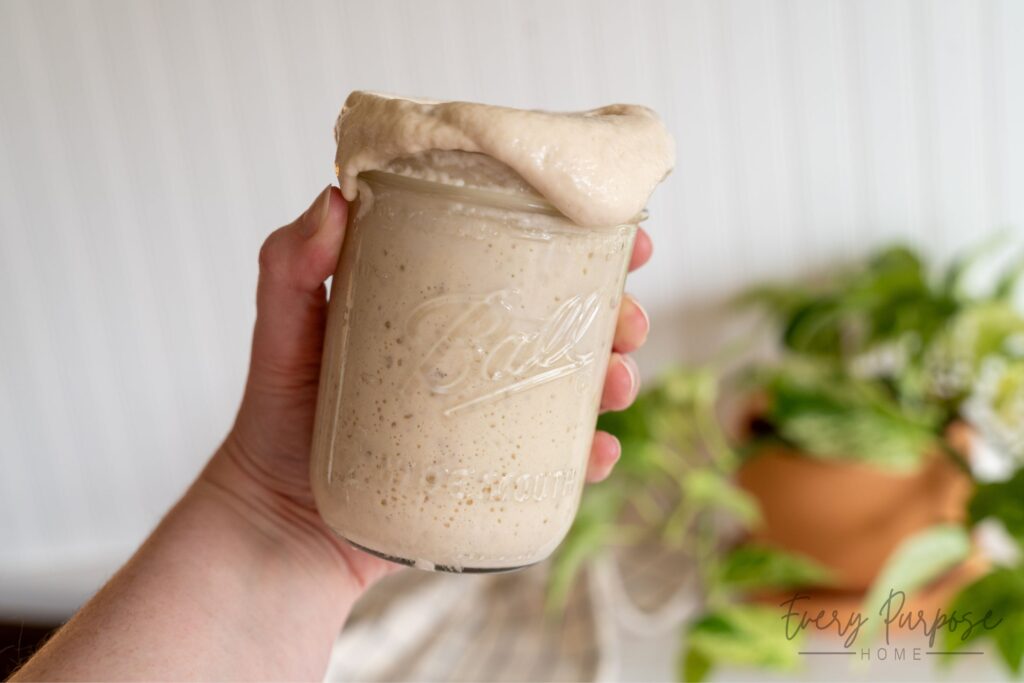
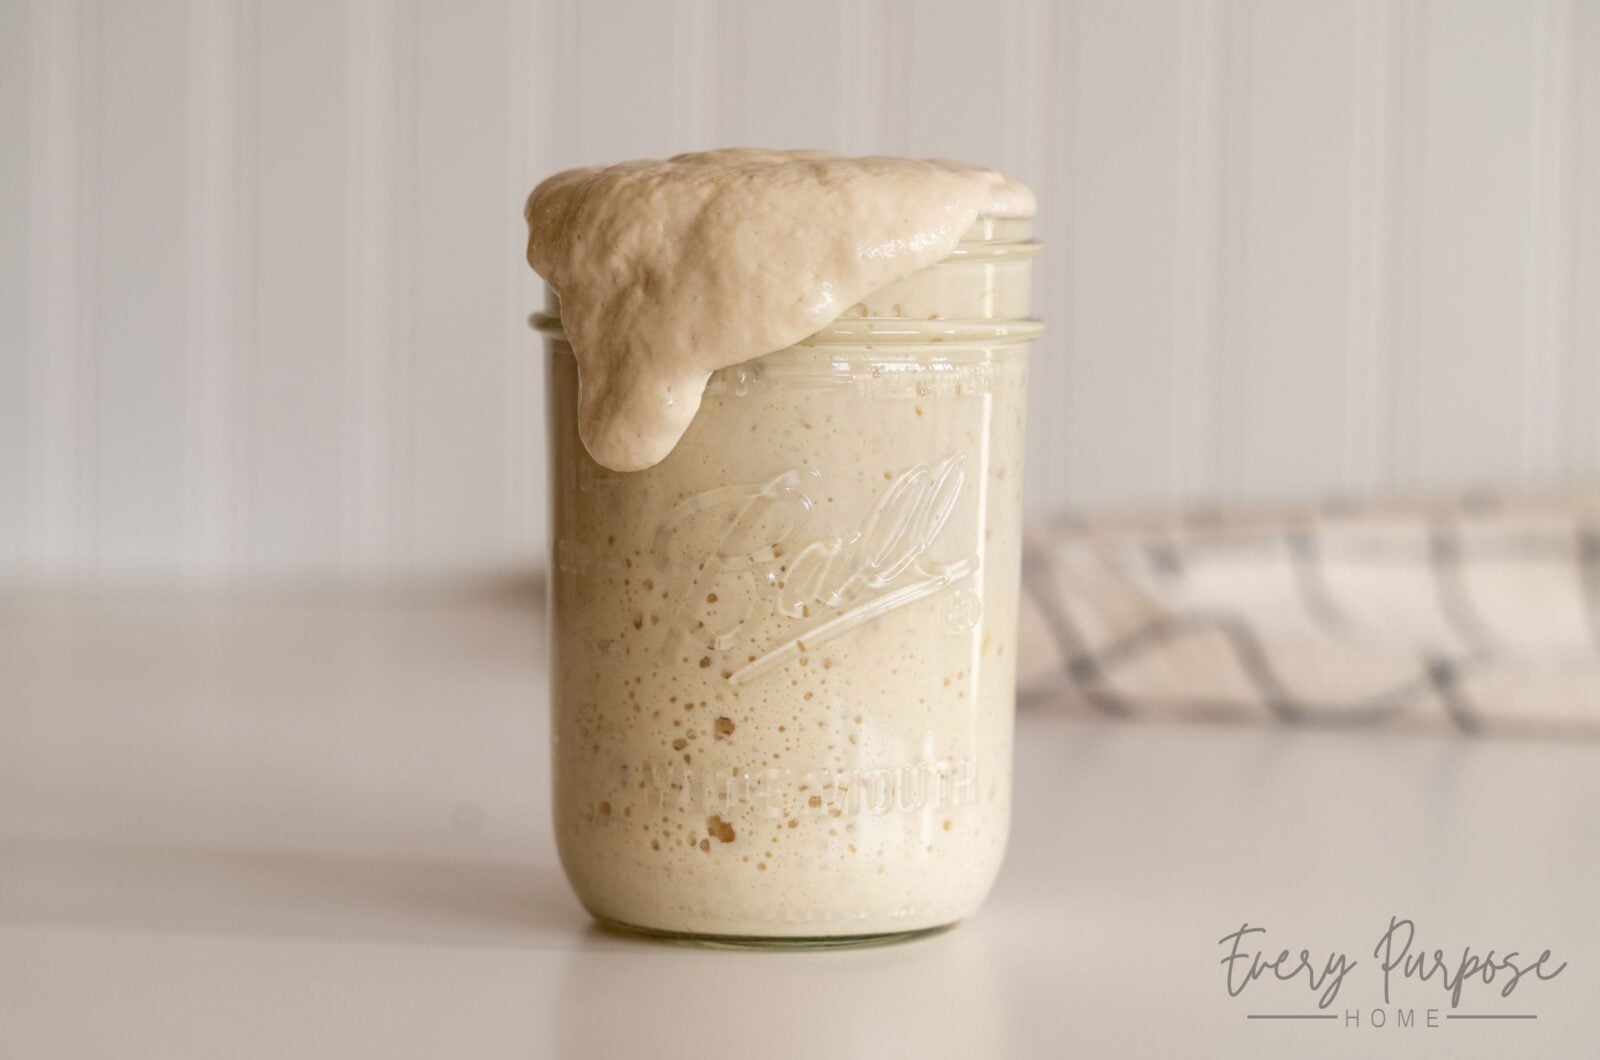
What My Sourdough Starter Should Look Like
A healthy sourdough starter can vary in appearance based on the type of flour used, the ratio of flour to water, and the size of the jar. However, a good rule of thumb is that if it rises and bubbles up (doubling or sometimes tripling in size) a few hours after it has been fed, and it does not have any off coloring (such as orange streaks), then it is healthy and ready to go! And once you learn how to revive sourdough starter, you’ll be unstoppable. Now go get baking!
How to Revive Sourdough Starter
You might think your sourdough starter is dead, but it is most likely not! It just needs reviving. Here’s a simple step-by-step guide for how to revive sourdough starter, so it can become happy and healthy again!
Keeps your screen on while viewing recipe
Ingredients
1/4 cup neglected sourdough starter (or sourdough starter discard)
1 cup filtered water
1 1/4 cup all purpose flour
Directions
- Get a fresh and clean jar, as well as a clean spatula and measuring cup ready to go.
- If there is any black/gray liquid (called hooch) floating on top of your starter, dump this off and discard it in the garbage or down the sink. Now, give your starter a good stir.
- Transfer about 1/4 cup of your starter to the new clean jar. You may reserve the rest of the starter to use in discard recipes, or you can compost/toss it.
- Add 1 cup of water and 1 1/4 cup of all-purpose flour to your 1/4 cup of starter.
- Stir these together well, and allow to sit at room temperature for 8-12 hours. You may see some bubbles after several hours, or you may not. If the starter was very inactive for awhile, it may take two or three feedings like this to see it fully revived.
- As needed: Repeat the steps above as many times as needed, until the starter becomes active and bubbly. Once it gets to that point, it is ready to use in recipes again!
Recipe Notes
- Important Notes: Always store sourdough starter in the fridge if you are going to go more than 24 hours without feeding it. Be sure to let it sit at room temperature for ideally at least 6 hours after feeding it before storing it in the fridge again. And, if you want to maintain a happy starter, be sure to pull refrigerated starter out to feed it at least once a week!
Like this recipe?
Follow @everypurposehome on Pinterest for more!
