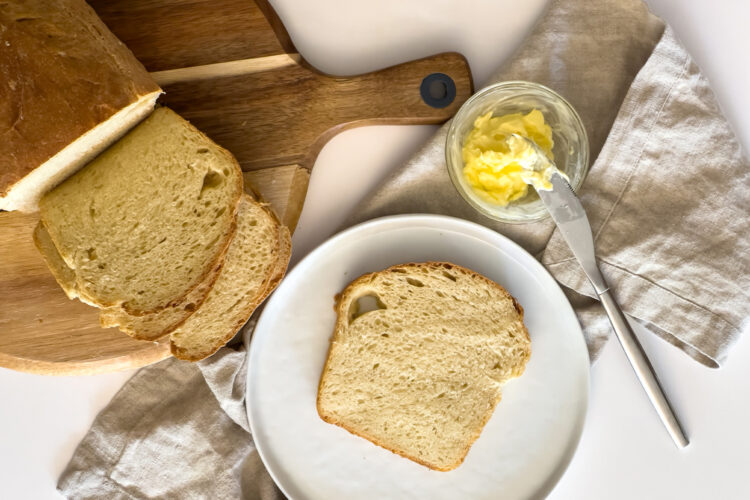
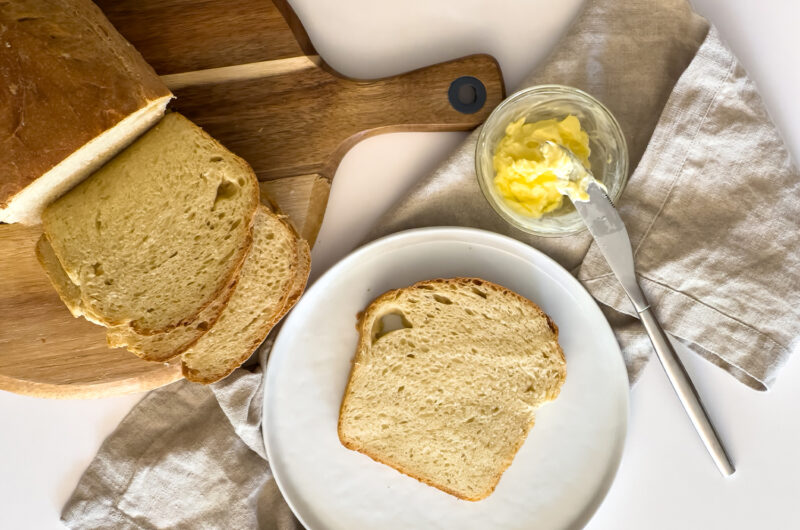
I never thought I would be the type of person that would bake their own bread daily or weekly. It still blows my mind that I don’t even buy sandwich bread anymore! Now that I’ve created the best sourdough sandwich bread, the flavor is so incredible that I can’t believe I ever liked anything else! Not to mention, it’s cheaper for me to make it than to buy the cheapest store-brand loaf. Learn how to make your own Sourdough Sandwich Bread, below!
The Perfect Loaf
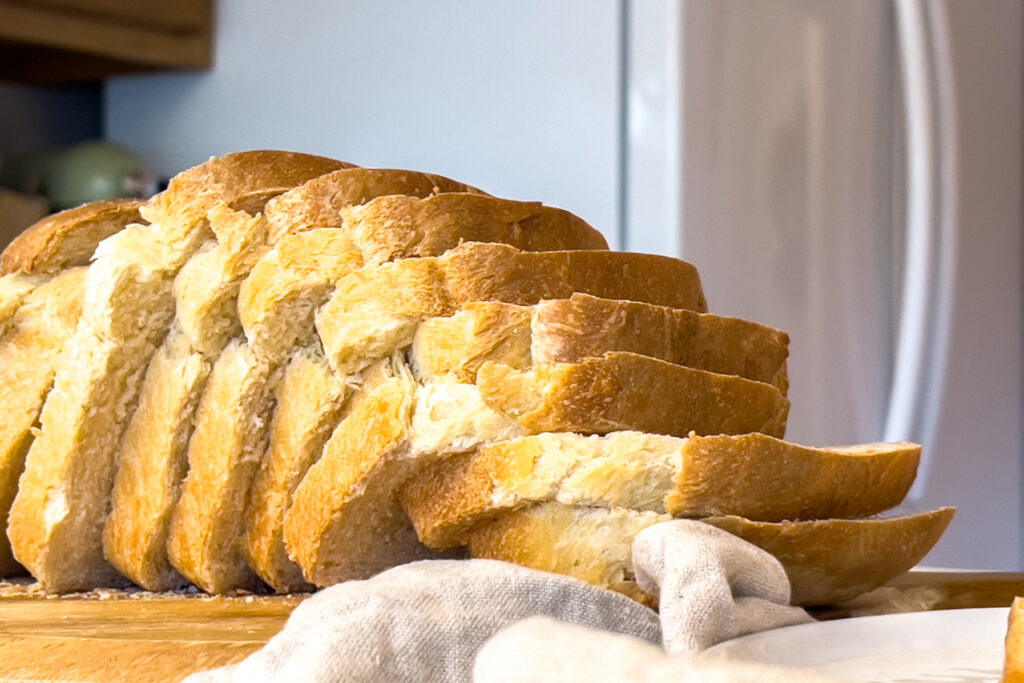
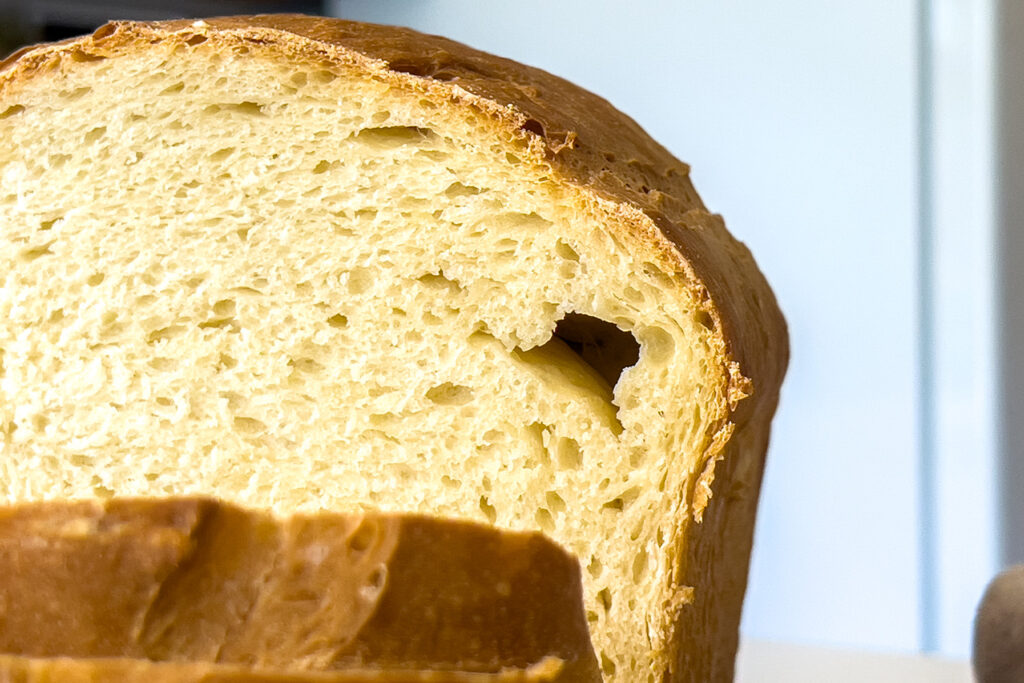
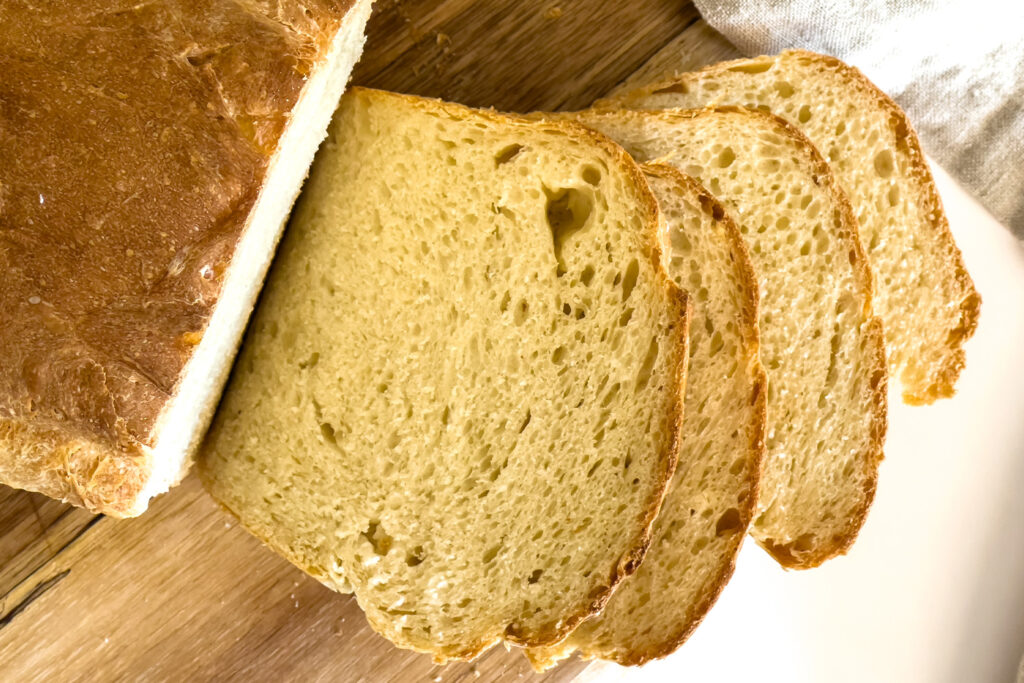
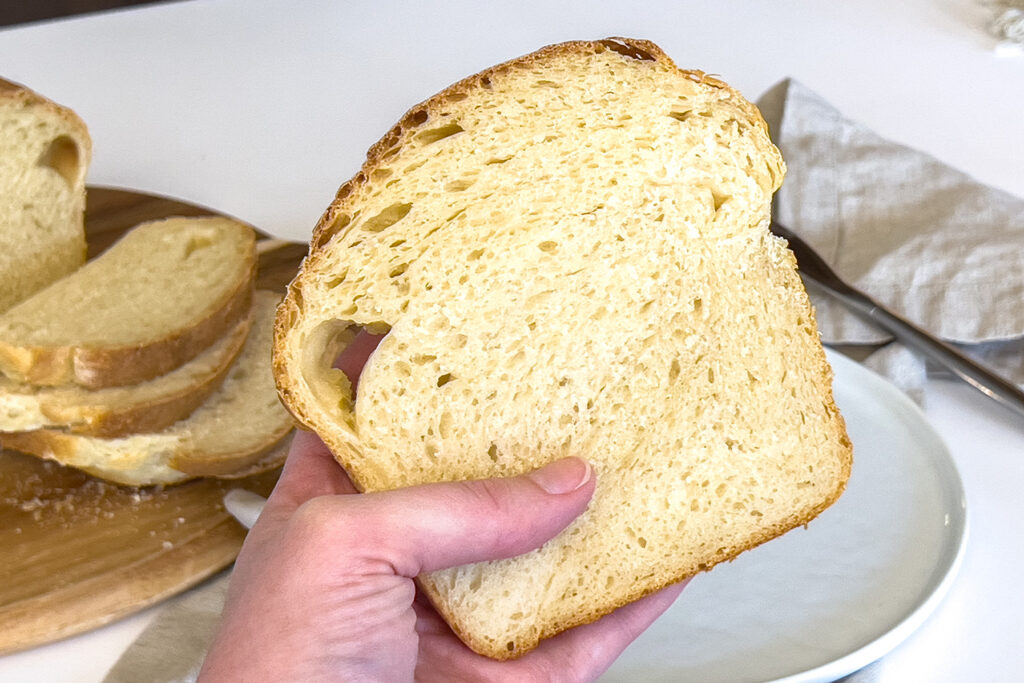
This sourdough sandwich bread recipe makes the absolute perfect loaf every time. It’s soft and fluffy, yet it doesn’t create huge gaping bubbles that lose all your condiments or butter. It’s sweet enough that it can be used for French toast, yet savory enough to be used for sandwiches. And though it is flavorful even on its own, it gladly takes a back seat when you top it with apple butter, or make garlic toast.
It’s simply delicious, and checks every box for a sourdough sandwich bread that you could ever want. And, it’s made in your average bread pan, so no special equipment is required!
Supplies Needed
- A large bowl: I use a bowl from my glass bowl set.
- Spatula: I prefer a silicone spatula for this recipe.
- Measuring cups and spoons: These measuring cups and these measuring spoons are my favorite.
- A bread loaf pan: I love to use a glass bread loaf pan.
- A bread scoring knife: You can use a regular paring knife instead if you’d like, but I’ve always gotten best results with a bread scoring knife!
- A cooling rack: I use this black one!
Ingredients
- Sourdough starter: Active and bubbly. Learn how to make a sourdough starter here!
- Milk: I use our raw cow’s milk, but you can use pasteurized milk if you are comfortable having it in your dough at room temperature overnight. Many people are comfortable with this and do it regularly, while others are not. If you do not have access to raw milk and do not feel comfortable using pasteurized milk, you can substitute the milk for water in this recipe.
- Filtered water
- Sea salt
- Honey: You can substitute sugar or maple syrup if desired.
- All-purpose flour
- Salted butter
Directions

In a large bowl, carefully stir the sourdough starter, milk, water, salt, and honey together with the spatula. The goal is just to start breaking up the sourdough starter. This will not combine uniformly.
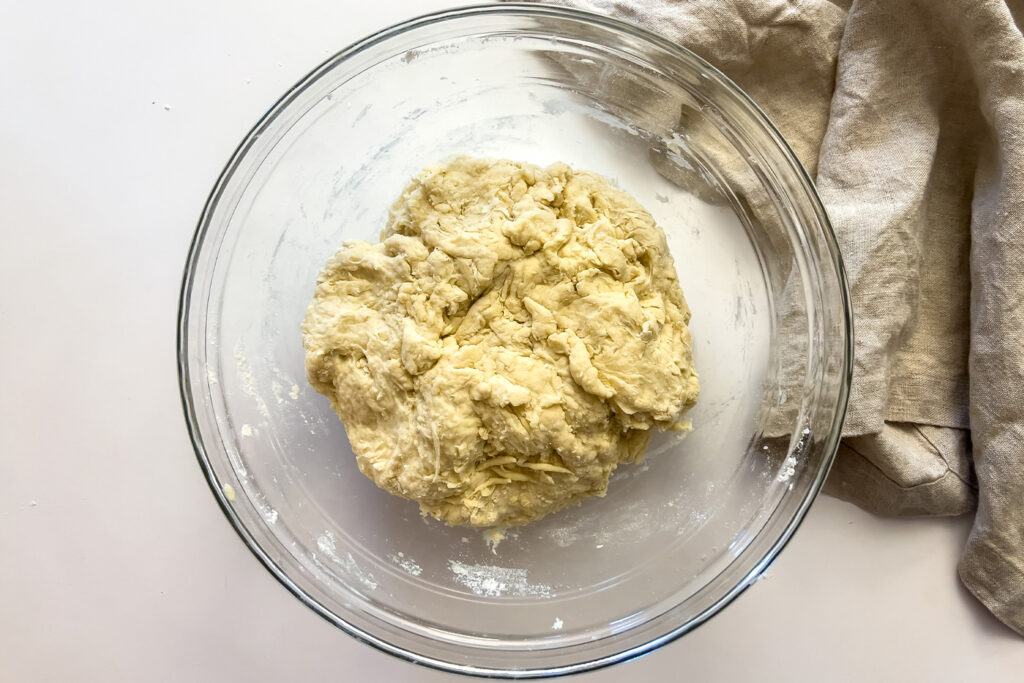
Add the flour, and stir to begin combining everything together. Add the melted butter last, and then use your hands to combine everything thoroughly.
Cover the dough, and allow to sit for about 30 minutes.
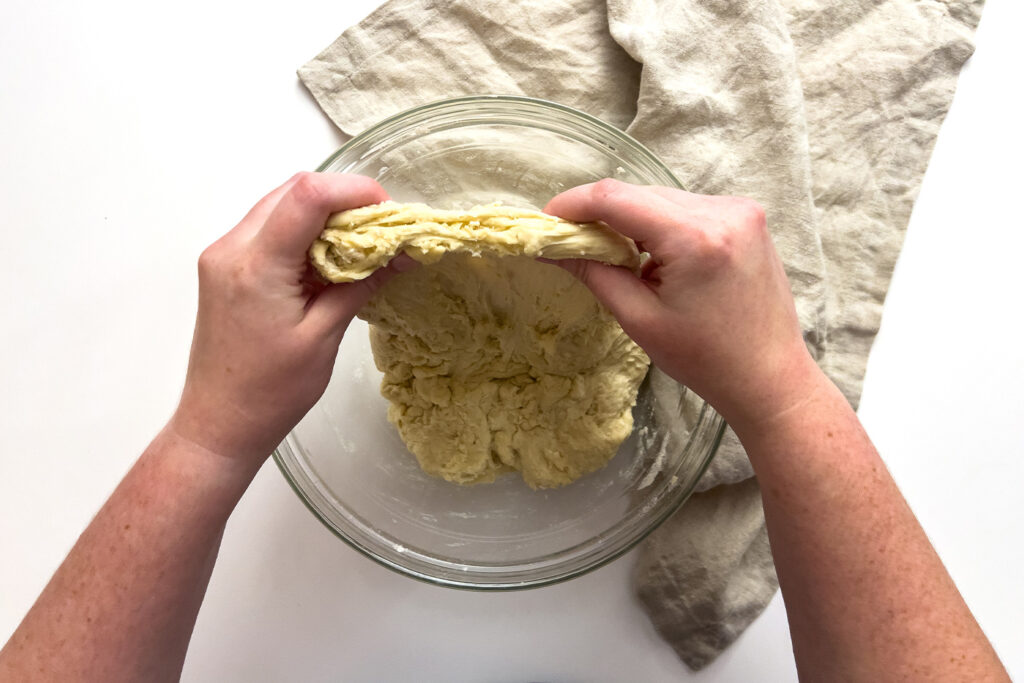
After 30 minutes, perform stretch and folds around the edge of the bowl. Using your hands, stretch the dough from the sides of the bowl and fold it into the center. Rotate the bowl slightly, and repeat until all sides have been folded in (this will take about 6-10 folds).
This helps to develop the gluten, and also incorporates more air into the dough for a fluffy bread in the end.
About an hour later, repeat this stretch-and-fold process, and then once more an hour after that. This is a total of 3 stretch-and-fold sessions.
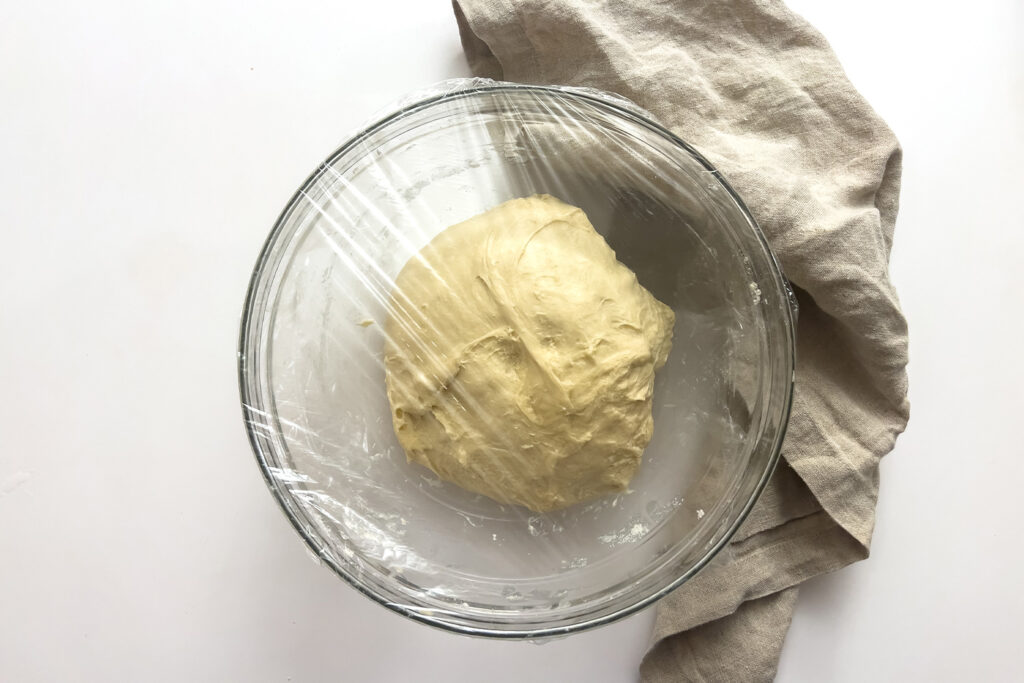
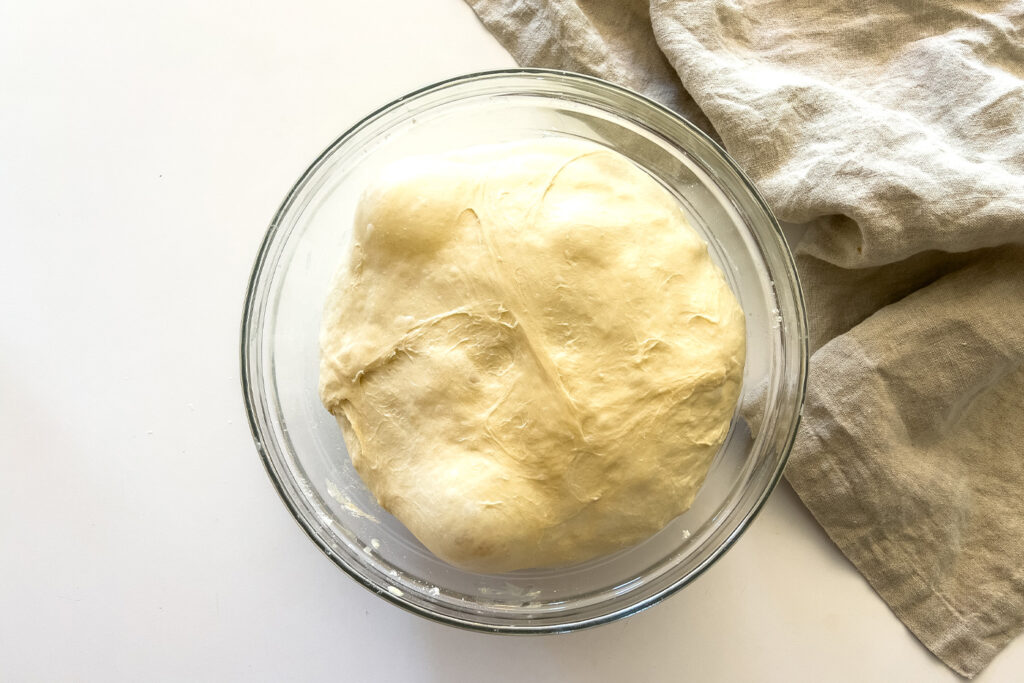
Cover the bowl with wrap or a tea towel, and allow the dough to rise at room temperature for 8-16 hours, or until doubled in size.
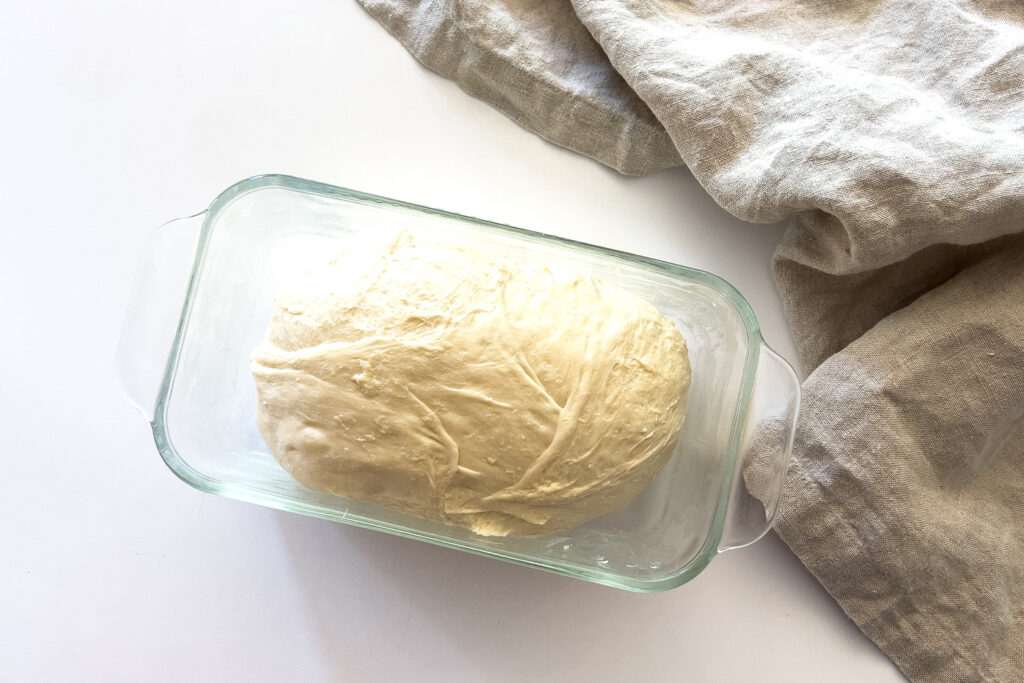
Once the dough has risen, punch it down, and shape it into a taught log.
Place into a thoroughly buttered bread pan, seam side down. Cover and allow to rise for 1-2 hours, or until fluffy and risen.
Preheat the oven to 375 degrees.
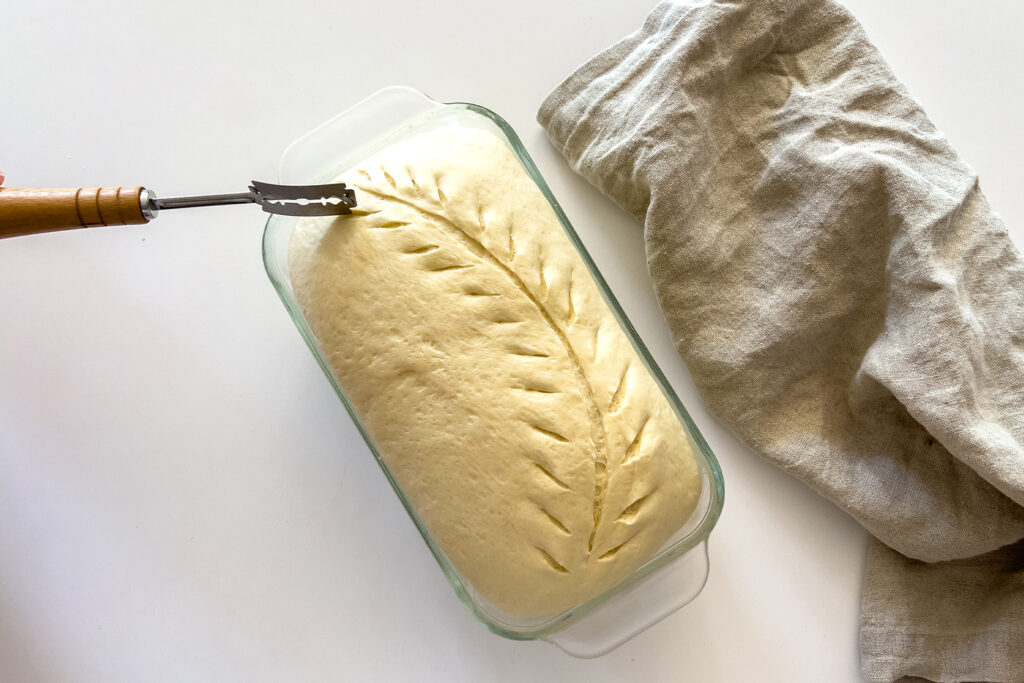
Use a bread scoring knife to cut a design into the top of your bread. Have fun with it! I like to do a simple wheat pattern.
Bake, uncovered, for 40-50 minutes, until bread is baked through and golden brown on top.
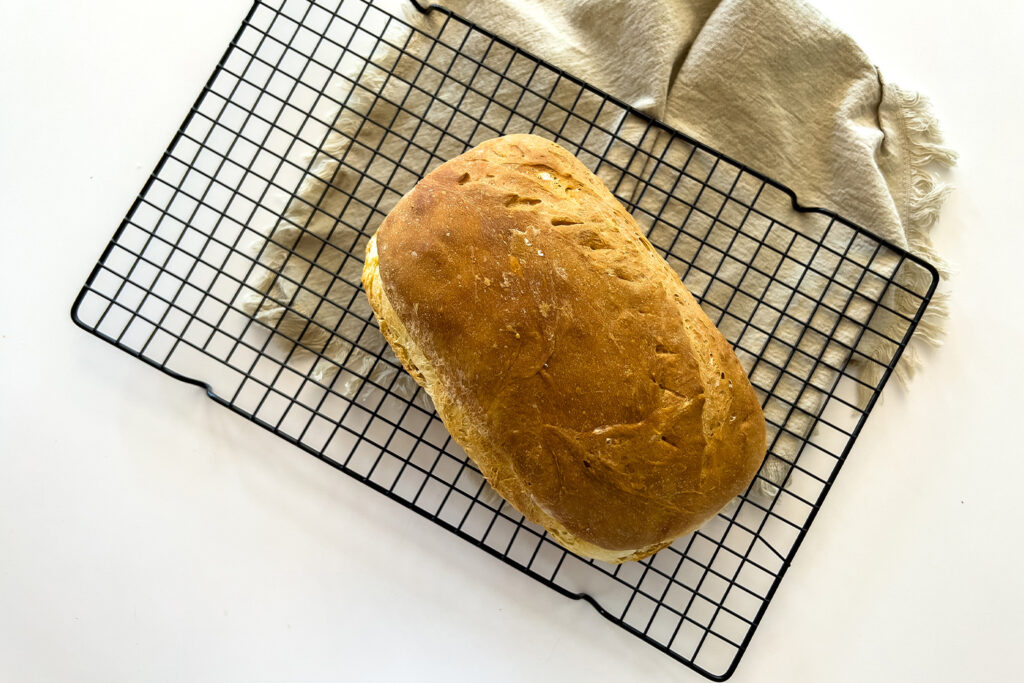
Remove from oven, and allow to cool for 10-15 minutes before removing from the pan and transferring to a cooling rack.
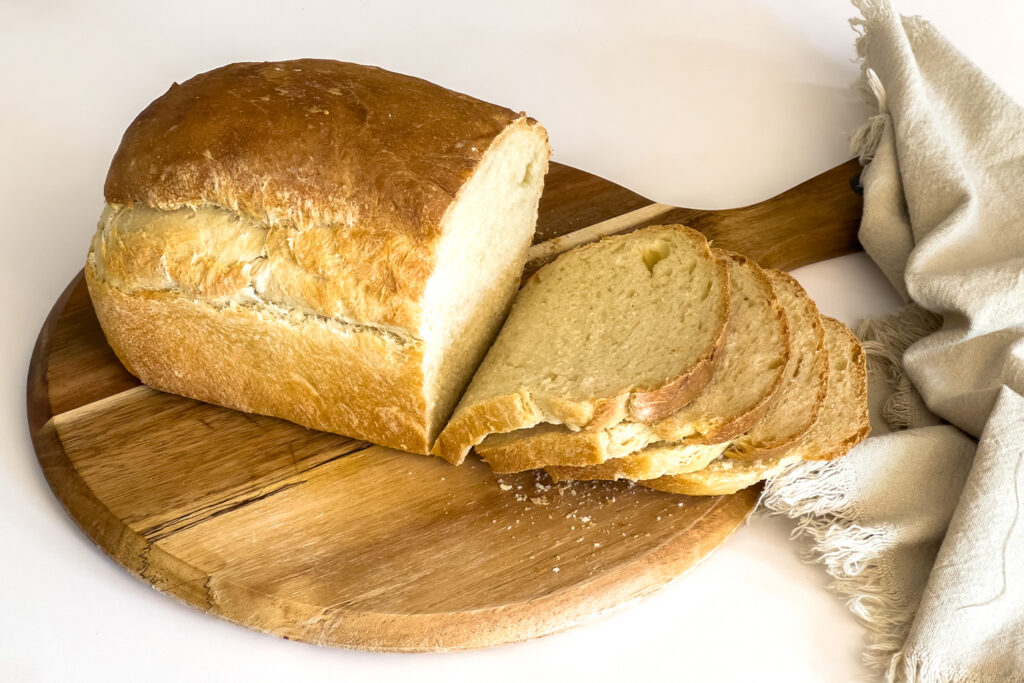
For retaining the most moisture in the dough, do not slice into it until it has completely cooled! You can get approximately 14-18 slices, depending on how thick you like it. You’ll get 18 slices if you cut it into standard 1/2” pieces.
Store leftovers in an airtight bag or container for up to 4-6 days.
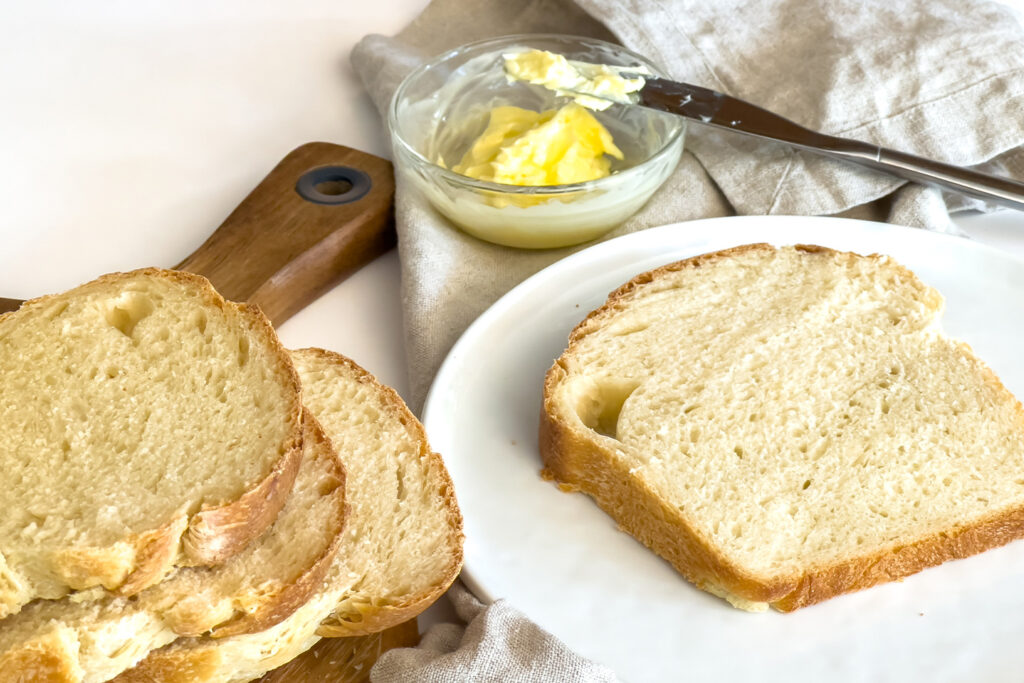
Ways to Use a Sourdough Sandwich Bread Loaf
There are endless ways to use sourdough sandwich bread!
- Make sandwiches. I know, you would’ve never thought of this had I not suggested it.
- Make toast with butter and jams, or even avocado toast.
- Make standard French toast or French toast casserole for breakfast.
- Dice it and use it in breakfast egg casseroles.
- Use it for bread pudding.
- Make croutons with it.
- Give it as a gift!
Fresh-Baked Bread for Lunch Schedule
While the amount of time that this dough takes from start to finish is sometimes about 24 hours, the actual hands-on time is minimal! Here’s how you can fit this beautiful bread into even a busy schedule, and get it done in time for lunch!
Day 1:
- In the early or mid afternoon, feed the sourdough starter so that it is nice and bubbly by that evening.
- That evening, make your dough and perform all of the stretch and folds. Allow to rise overnight.
Day 2:
- The next morning, shape the dough into the bread loaf pan and allow to complete the final rise.
- Just before lunch, score and bake the dough!
Sourdough Sandwich Bread
Course: Natural Food18
slices20
minutes45
minutes130
kcalGet the absolutely perfect flavor and texture from this sourdough sandwich bread recipe! It doesn’t taste “sour” thanks to all the additional ingredients. It’s soft and fluffy, and has the perfect balance of texture and sweetness, for sandwiches, toast, casseroles, and more!
Ingredients
1/2 cup sourdough starter, active and bubbly
3/4 cup milk (you can use raw or pasteurized milk if you’re comfortable with it, or you may substitute for an equal amount of water if desired)
1/2 cup filtered water
2 1/4 tsp. sea salt
2 tbsp. honey (you may substitute sugar or maple syrup if desired)
3 3/4 cups all-purpose flour
2 tbsp. salted butter, melted
Directions
- In a large bowl, carefully stir the sourdough starter, milk, water, salt, and honey together with a spatula.
- Add the flour, and stir. Add the melted butter last, and then use your hands to combine everything thoroughly. Cover the dough, and allow to sit for about 30 minutes.
- After 30 minutes, perform stretch and folds around the edge of the bowl. Using your hands, stretch the dough from the sides of the bowl and fold it into the center. Rotate the bowl slightly, and repeat until all sides have been folded in (this will take about 6-10 folds).
- About an hour later, repeat this stretch-and-fold process, and then once more an hour after that. This is a total of 3 stretch-and-fold sessions.
- Cover the bowl with wrap or a tea towel, and allow the dough to rise at room temperature for 8-16 hours, or until doubled in size.
- Once the dough has risen, punch it down, and shape it into a taught log.
- Place into a thoroughly buttered bread pan, seam side down. Cover and allow to rise for 1-2 hours, or until fluffy and risen.
- Preheat the oven to 375 degrees.
- Use a bread scoring knife to cut a design into the top of your bread. Bake, uncovered, for 40-50 minutes, until bread is baked through and golden brown on top.
- Remove from the oven, and allow to cool for 10-15 minutes before removing from the pan and transferring to a cooling rack. Enjoy!
Notes
- Approximate Nutritional Information (per serving, one slice): 130 calories, 25g carbs, 2g fats, 3g protein, 302 mg sodium, 2g sugars
- For retaining the most moisture in the dough, do not slice into it until it has completely cooled! You’ll get about 18 slices if you cut it into standard 1/2” pieces.
- Store leftovers in an airtight bag or container for up to 4-6 days.

