
One of the first natural swaps that I started tackling was skincare. Making my own DIY face and body moisturizer seemed like an easy and doable swap because it takes less than five minutes to make. It is just as (if not more) effective than “regular” face creams, but without any harmful substances. Learn how you can make this moisturizer and change your skin with only two ingredients!
The Impact of Natural Skincare
I remember when I was caught in a vicious skincare cycle. I would develop a skin issue, then treat the issue with chemicals, then a new issue would emerge, then I would treat the new issue with more chemicals, and so on. My face was flaking, dry, full of acne and rosacea, had an uneven skin tone, and it felt tight when I smiled.
After getting fed up with that, I knew it was time for a change.
I’ve learned so much about how to have healthier skin. I definitely get breakouts here and there still (when I just can’t resist the craving for a cherry cola), but overall my skin is miles ahead of where it used to be. I now have no rosacea and hardly ever get flaking skin.
It wasn’t until a couple of years ago that I really started to realize the impact that the food I eat and the products I use to have on my skin. One of the first and easiest switches I made was my moisturizer. I had no idea how quick and easy it would be to make an all-natural moisturizer that could be used from head to toe!
Once you try it, you’ll be asking yourself “where has this been all my life?!”.

Homemade Face and Body Cream
There are so many variations of DIY face moisturizer recipes. Most of them have similar ingredients, so I did a deep dive into the different ingredient options before settling on my recipe.
I wanted the best, easiest to make, and most effective cream possible. Did I mention I also wanted it to take me less than five minutes to make?
That was a tall order.
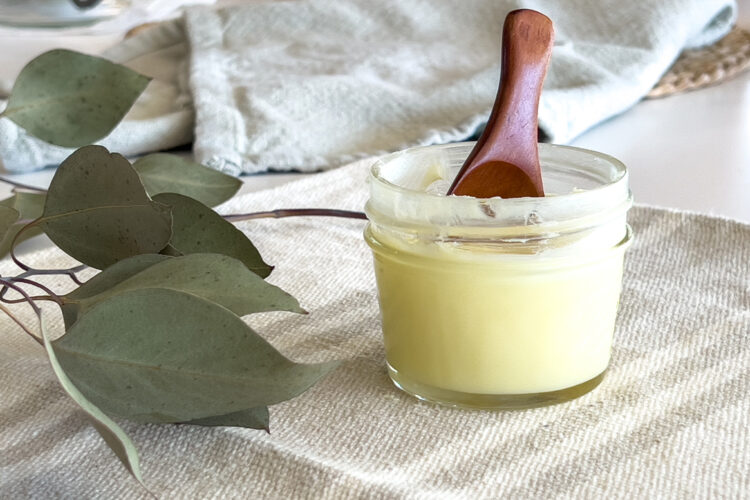
I finally landed on this beautiful recipe. It is smooth and creamy, fast absorbing, has no scent, has a beautiful texture, and it does a stellar job at moisturizing the skin.
Oh, and it really does take less than 5 minutes to throw together.
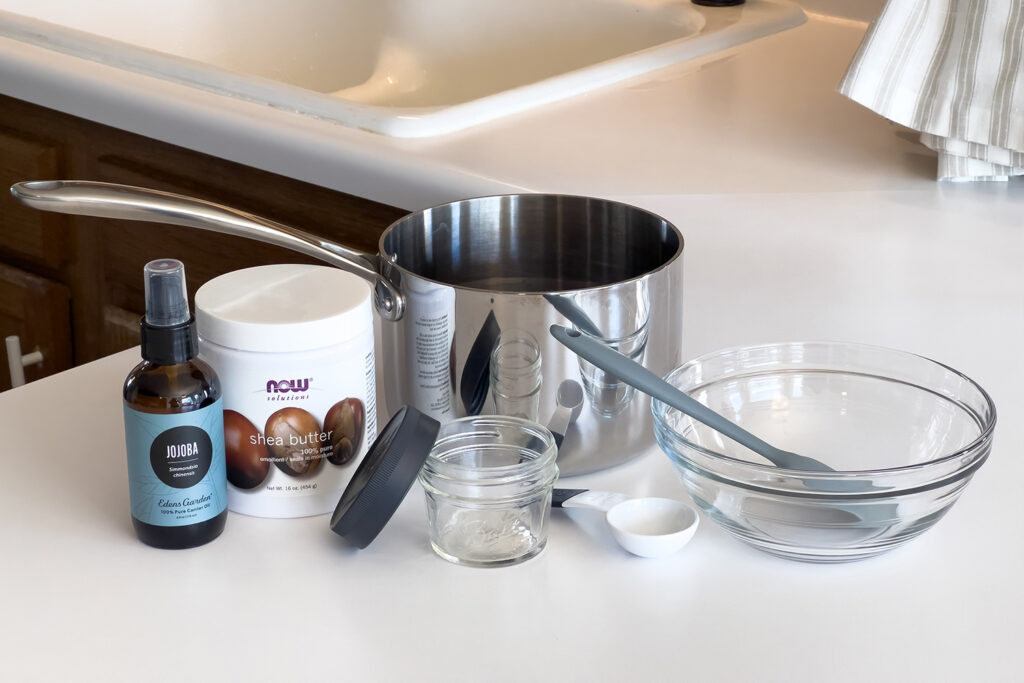
Supplies You’ll Need
Reusable Supplies
- A 4 oz. (or larger) jar: I like this jar from Amazon with this lid. You can use anything you have, even vintage jars are fun and affordable options!
- A pot and a bowl: I used my smallest pot from my stainless steel cookware set, and one of the medium bowls from my Duralex bowl set. These can be any size as long as they fit together (for creating a double broiler).
- A spatula: I love the size of the small one in this set on Amazon for homemade skincare.
- Measuring spoons: I use these measuring spoons on Amazon because they have flat bottoms and can sit stable on the counter without tipping over!
Moisturizer Ingredients
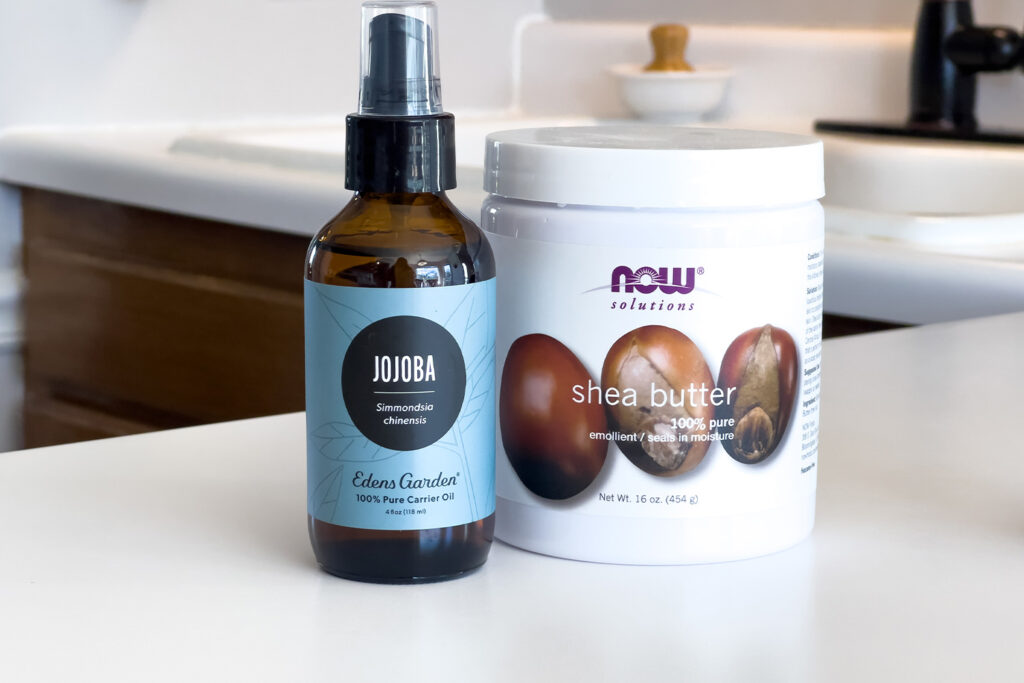
- Jojoba oil: I currently have the Eden’s Garden jojoba oil, but I have also commonly used this brand on Amazon, and I have not noticed a difference in quality. Whatever you get, you want to make sure that it is pure and undiluted.
- Shea butter: I use this shea butter from Amazon, and it’s been fantastic. A jar lasts a long time! You’ll also want to make sure that it is pure and undiluted.
Why These Ingredients?
There are so many DIY moisturizer recipes. Many contain coconut oil, beeswax, olive oil, aloe, or various other good ingredients. How could you ever figure out which one is the best?
I knew I needed to choose an option that was simple to make and didn’t require me to go buy tons of different ingredients. I would probably never take the time to make something that was too complex. So, I needed to choose the best options, and for me, that was jojoba oil and shea butter.
Jojoba Oil
Jojoba oil is a wonderful moisturizer, even all on its own. I actually use jojoba oil straight from the bottle on the daily for my face in the mornings. It sinks into the skin quickly, making it wonderful even under makeup (as long as I don’t get it near my eyes before applying mascara, since it breaks down the mascara and gives me raccoon eyes ha!).
Benefits of jojoba oil:
- It’s naturally antibacterial, making it great for acne-prone skin
- Will not clog pores (like some coconut oil does)
- It’s hypoallergenic
- Regulates oily and dry skin
- Contains natural Vitamin E, so it’s good for smoothing scars
- Helps to maintain the skin’s natural pH balance
Basically, over time, it can improve many of the skin issues that we face on a regular basis.
Shea Butter
Shea butter has many wonderful qualities as well. Using it in this recipe also gives a beautiful, smooth texture to the product. It’s the powerhouse for providing real moisture. While I typically use jojoba oil alone under makeup in the mornings, I use this DIY face and body moisturizer for my head-to-toe night cream. You could see noticeable skin improvement even after one use.
Benefits of shea butter:
- It’s naturally antibacterial and antifungal
- It’s deeply moisturizing
- It is an antioxidant, making it ideal for aiding in cell turnover
- Soothes common ailments such as sunburns, scars, bug bites, and eczema
How To Make The Face and Body Moisturizer
Ingredients
- 2 tbsp. (1/8 cup) Jojoba oil
- 4 tbsp. (1/4 cup) Shea butter
Instructions
- Add enough water to cover the bottom of the pot, and heat on the stovetop until simmering.
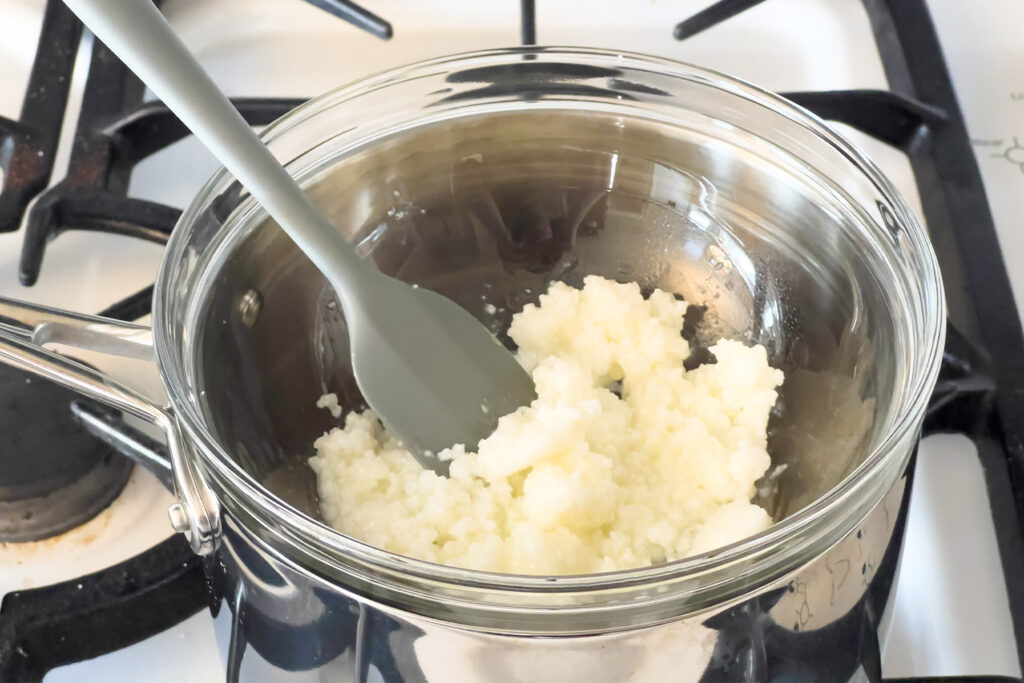
- While the pot of water is warming up, place shea butter into the bowl for the double boiler.
- Put the bowl with the shea butter on top of the pot to melt the shea butter.
- Stir it with a spatula until completely melted, about 2 minutes.
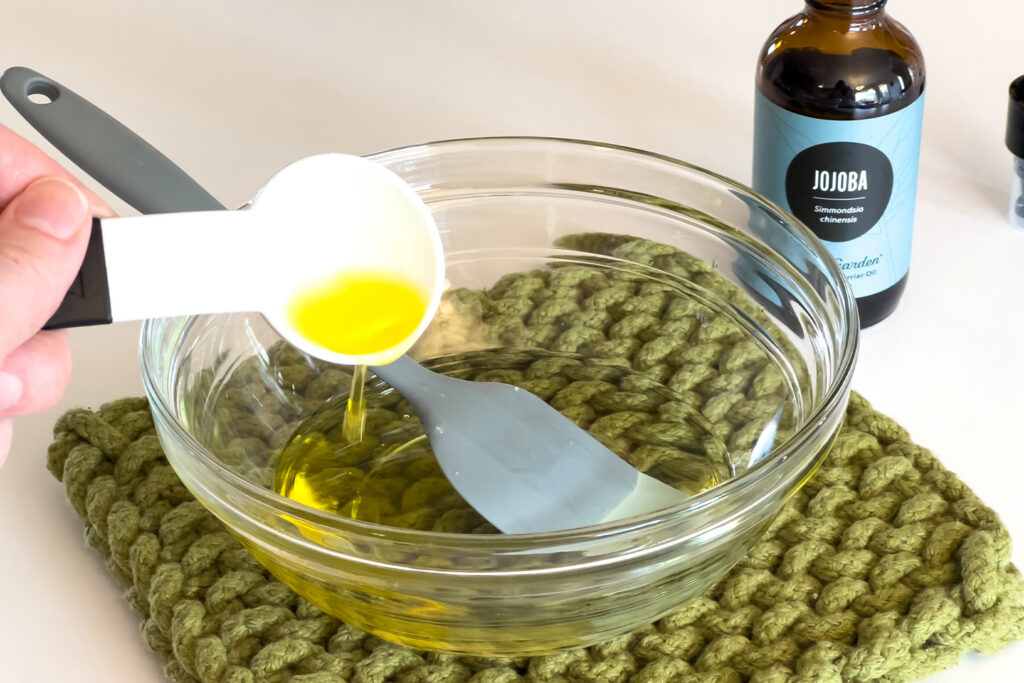
- Once melted, remove the bowl, and add jojoba oil to the shea butter. Stir thoroughly until combined.
- Pour into your storage jar, leaving the lid off while it cools.
- Allow the mixture to cool to the touch, and then place in the refrigerator until solid. This should take about 1 hour. As it cools, you’ll see it go from a liquid to a semi-solid.
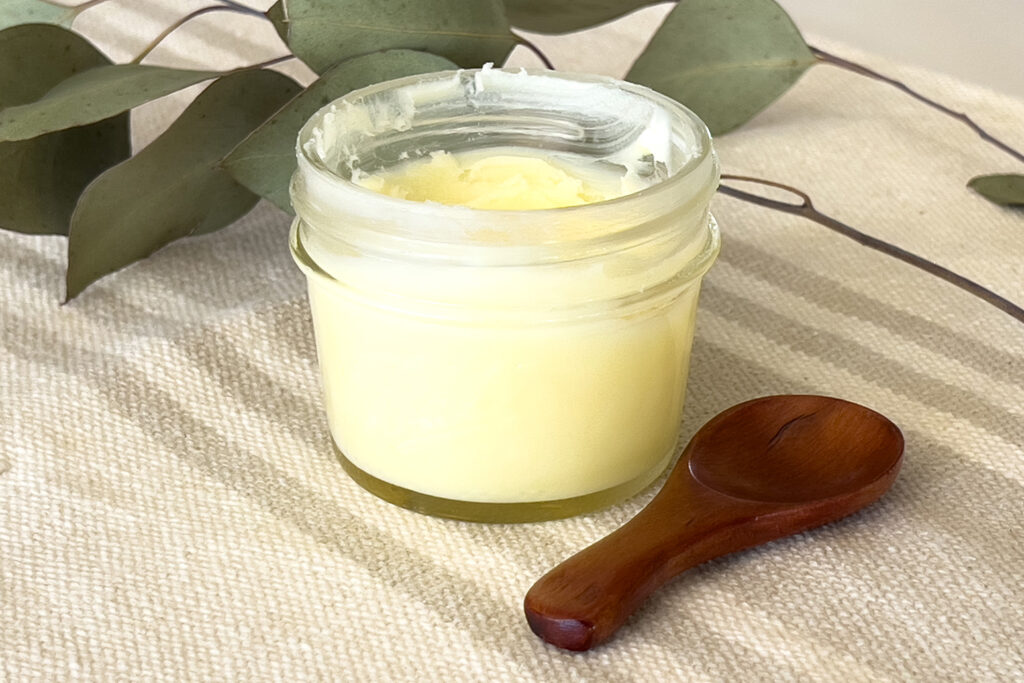
- Place the lid on the jar, and enjoy! This moisturizer can be stored at room temperature for 3-6 months.
Can I add essential oils?
You absolutely can! Some of the reasons why I do not add essential oils are because it’s easier to have fewer ingredients, it keeps the scent neutral so that anyone in the house can use it, and I am not limited by the essential oils when it comes to where/how I can use the cream.
If scented face/body creams are your thing, then add some essential oils! You’ll want to add them immediately after you have stirred everything else together. Anywhere from 15-20 drops would be sufficient for this size jar.
Some common oils for face and body creams are lavender or tea tree.
What if I want whipped body butter instead of the DIY face moisturizer?
You may whip the cooled moisturizer in a bowl with a stand mixer if you would like a lighter, fluffier consistency. I don’t find it necessary, but it is an option if that is the texture you’re going for. If you do this, you’ll want to store it in a larger (6-8oz.) jar.
Since the texture is already so smooth and creamy, it really doesn’t need to be whipped to be easy to use. I don’t personally whip mine. It’s whatever you prefer!
What skin types can use this DIY face and body moisturizer?
This moisturizer is perfect for all skin types.
For oily skin: This recipe has ingredients that help balance oil production and aid in preventing acne.
For dry skin: This recipe has ingredients that deeply moisturize the skin, making it ideal for soothing dry, cracked, or flaking skin.
Can children use this moisturizer?
Yes! This DIY moisturizer is perfect for everyone, from newborns to adults! The ingredients are gentle and non-toxic. As always though, check with your doctor or pediatrician if you have any concerns. Also, check the product bottles of the ingredients for any allergens.
How long does it stay shelf stable?
This moisturizer does not contain any preservatives. Therefore, it is shelf stable for up to 6 months. However, if you are going to dip your fingers in the jar (which could introduce some contamination into the product) instead of using a spoon (like these adorable wood spoons!), then it is best to use it within 3 months.
I have no doubt though, you’ll love it so much it will be long gone before then!
What are the uses for this DIY face moisturizer?
This moisturizer can be used year around. The list of uses for this moisturizer is almost endless, but here is some inspiration!
- Face cream
- Lip balm
- Body lotion
- Baby’s skin
- Diaper rash
- Stretch marks
- Acne treatment
- Sunburn soother
- Inflammation calmer
- Psoriasis treatment
- Hand and cuticle cream
- Hair and scalp mask
- Eczema soother
- Belly balm for pregnancy stretch marks
- Makeup remover (including waterproof mascara!)
- and more!

DIY Face and Body Moisturizer for All Skin Types
This moisturizer is smooth and creamy, fast absorbing, has no scent, has a beautiful texture, and it does a stellar job at moisturizing the skin.
Keeps your screen on while viewing recipe
Ingredients
2 tbsp. (1/8 cup) jojoba oil
4 tbsp. (1/4 cup) shea butter
Directions
- Add enough water to cover the bottom of the pot, and heat on the stovetop until simmering.
- While the pot of water is warming up, place shea butter into the bowl for the double boiler.
- Put the bowl with the shea butter on top of the pot to melt the shea butter.
- Stir it with a spatula until completely melted, about 2 minutes.
- Once melted, remove the bowl, and add jojoba oil to the shea butter. Stir thoroughly until combined.
- Pour into your storage jar, leaving the lid off while it cools.
- Allow the mixture to cool to the touch, and then place in the refrigerator until solid. This should take about 1 hour. As it cools, you’ll see it go from a liquid to a semi-solid.
- Place the lid on the jar, and enjoy!
Recipe Notes
- Since this moisturizer does not contain any preservatives, it is shelf stable for up to 6 months. However, if you are going to dip your fingers in the jar (which could introduce some contamination into the product), then it is best to use it within 3 months.
Like this recipe?
Follow @everypurposehome on Pinterest for more!
In this post, we talked about natural skincare, how to make a DIY face moisturizer, and why I chose these two specific ingredients for this recipe.
