
Reusable food wraps are all the rage right now, especially the non-toxic ones made with beeswax! However, I find the store-bought options to be quite pricey, in addition to the fact that they tend to include unnecessary ingredients. I was ecstatic when I figured out that you can easily make your own DIY beeswax wraps, and save time and money in the process. Learn how to make them for yourself here!
Supplies Needed
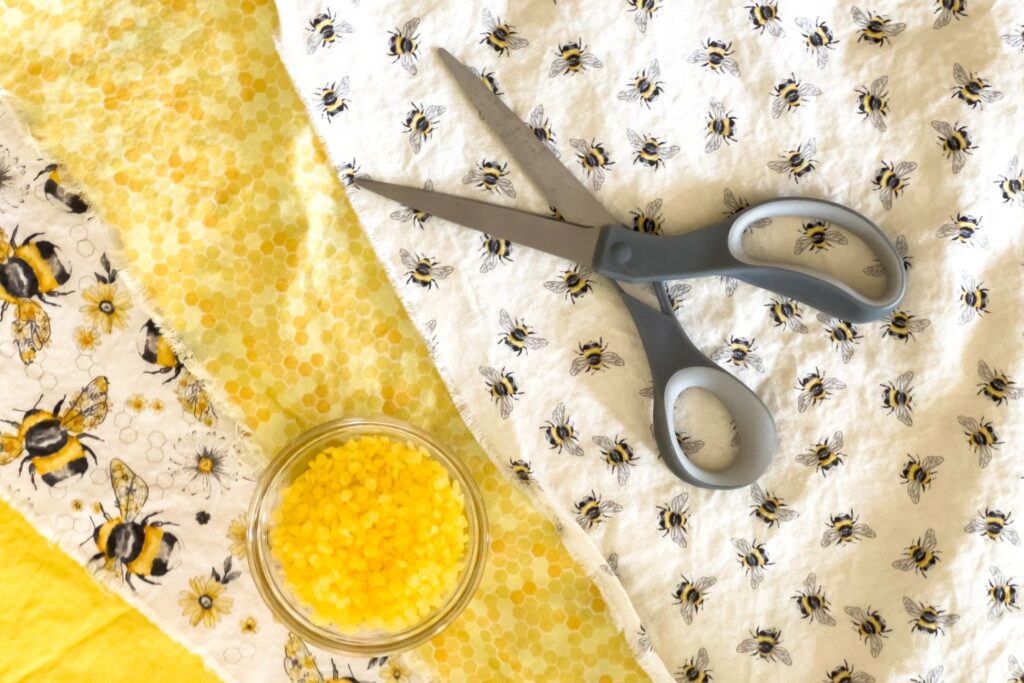
- 100% Cotton Cloth: I purchased mine at a local craft store, but you can purchase your own cloth by the yard, or opt for cotton napkins such as these small napkins, medium napkins, or large napkins. Most reusable food wraps are squares between 10” and 16” each.
- Scissors: You will need a pair of quality scissors to cut your fabric to size, if it is not sized for you already.
- Pure Beeswax: I use organic food-grade beeswax pellets. You’ll need about 1 ounce of beeswax per 12” square of cotton fabric.
- Brush: You will need something to spread the beeswax into the cotton cloth. I used a silicone brush from my spatula set, but you could also use a pastry brush.
- Baking Sheet: You’ll need a baking sheet and parchment paper.
- (Optional) Sandwich Pouch Supplies: To make a DIY beeswax wraps sandwich pouch, you’ll need buttons, thread, a needle, and twine.
How to Make Beeswax Wraps
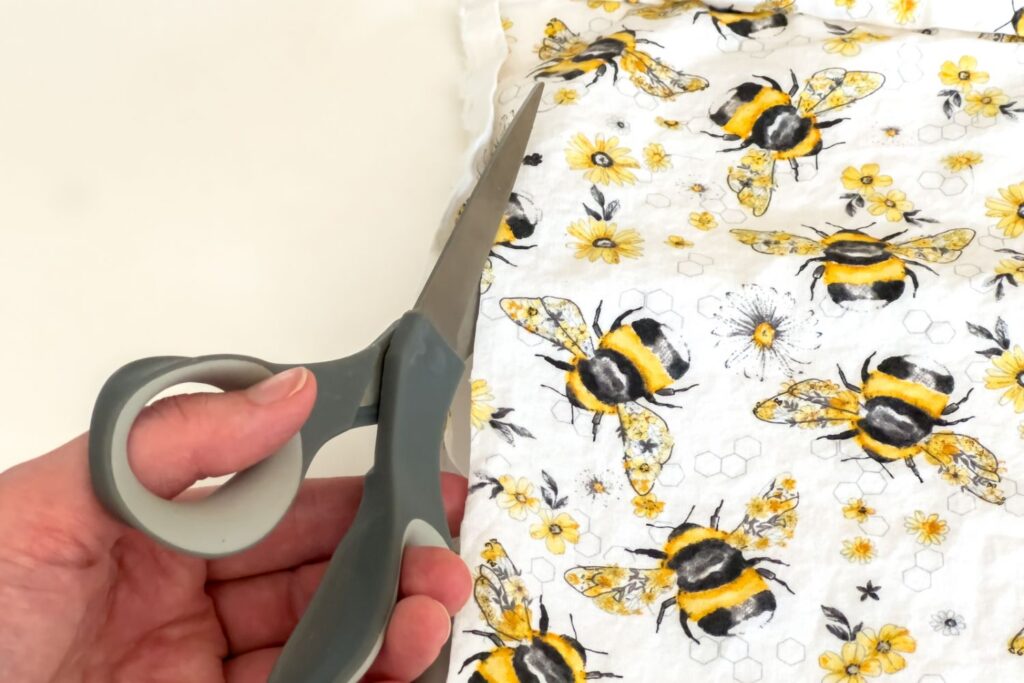
Wash and dry your cotton fabric. Cut it to the desired size for your beeswax wraps.
Preheat the oven to 200 degrees F.

Lay the fabric flat on a lined baking sheet, and sprinkle the entire surface with beeswax.
Heat in the oven for about 5-8 minutes, or just until the beeswax is melted. Do not leave cloth in the oven unattended.
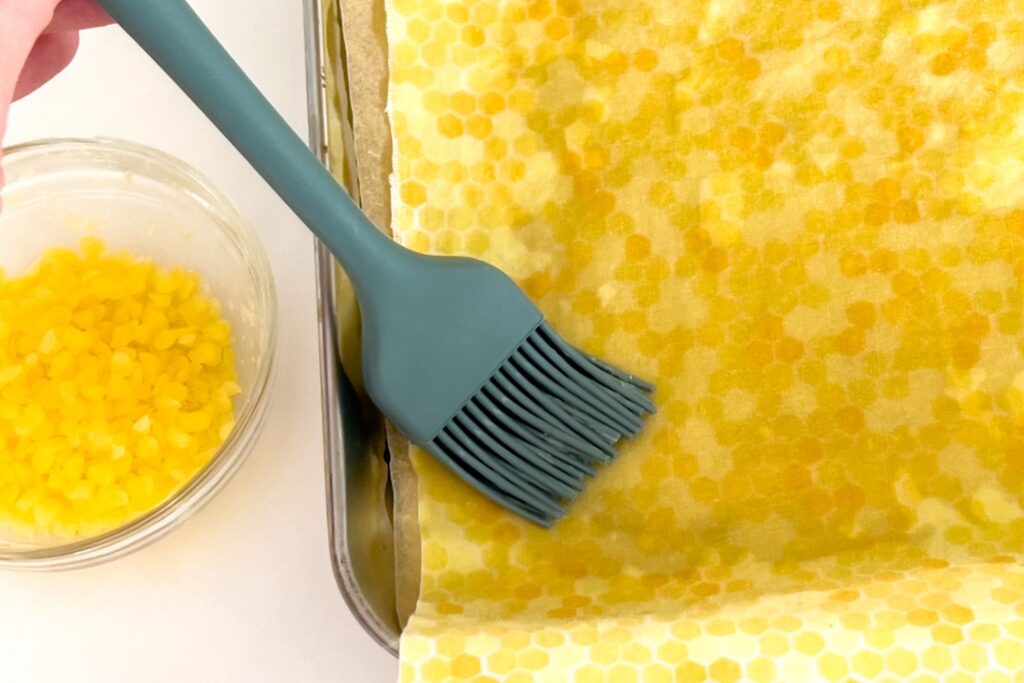
Use the brush to spread the beeswax evenly over the entire fabric. It will soak through and saturate both sides of the fabric, so there is no need to flip the fabric over.
Place back into the oven for about 1 minute just to insure that the beeswax has melted evenly throughout.
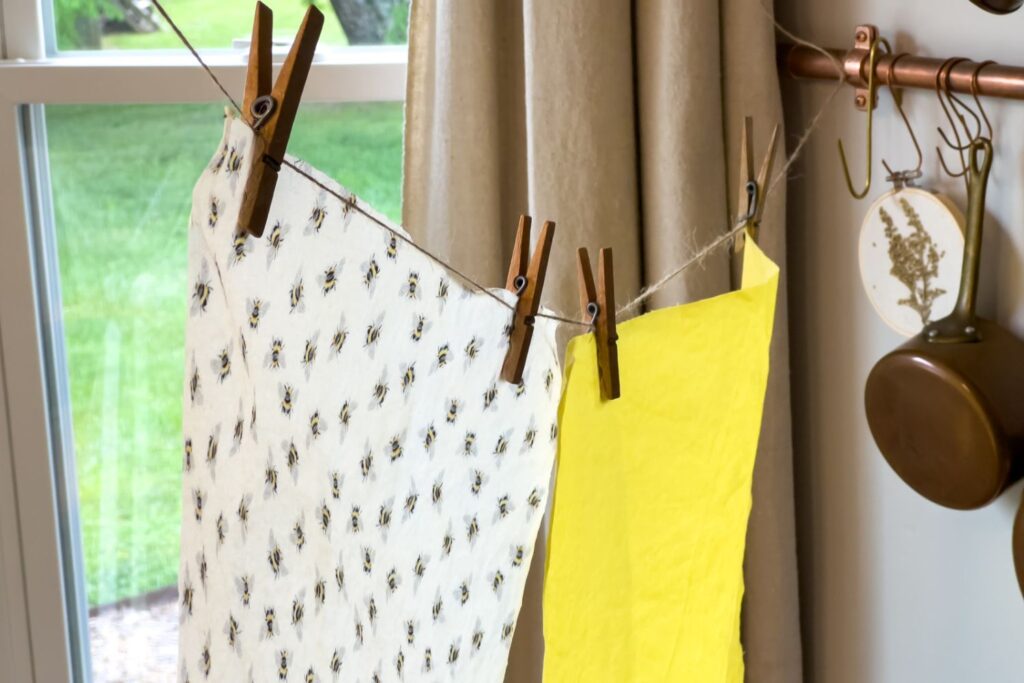
Remove from the oven, and immediately lift the fabric off the baking sheet before the beeswax begins to solidify. Either hold it in the air for about 3 minutes until the beeswax hardens, or you can clip onto a clothes line. Once the beeswax has completely hardened, the wraps are ready to use!
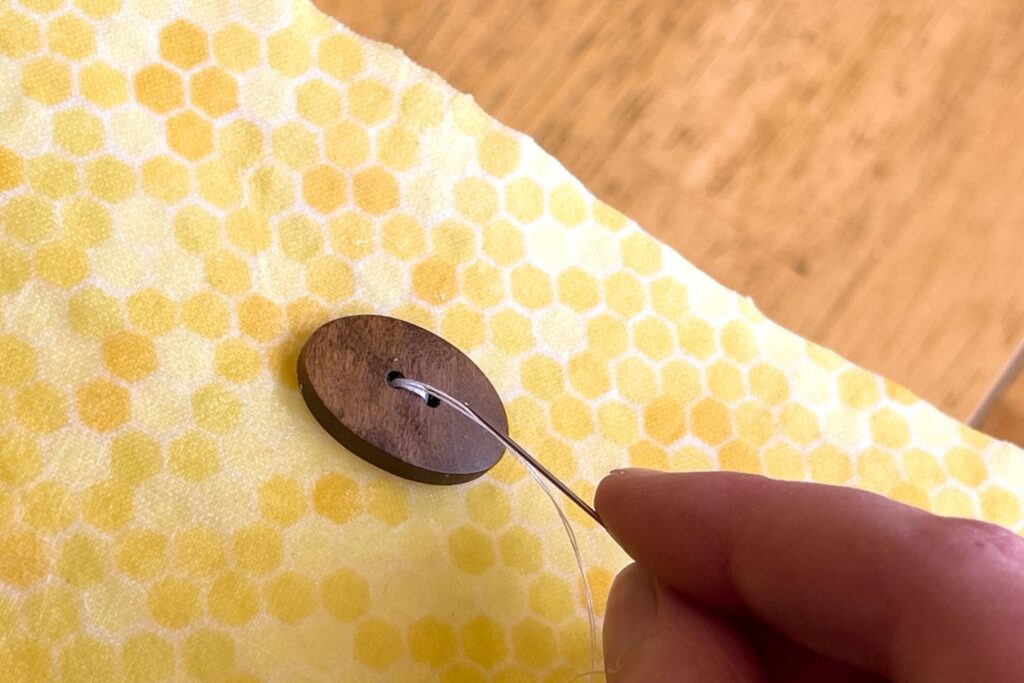
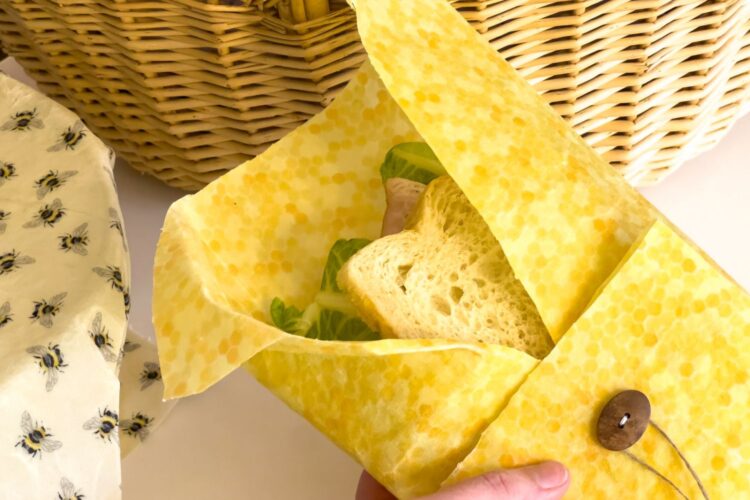
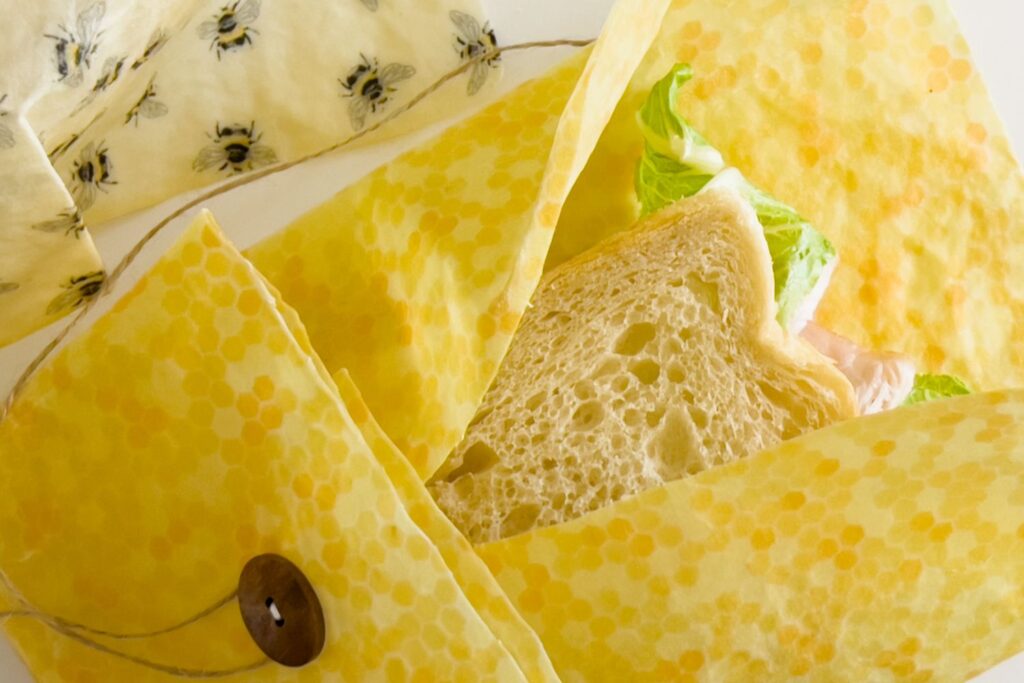
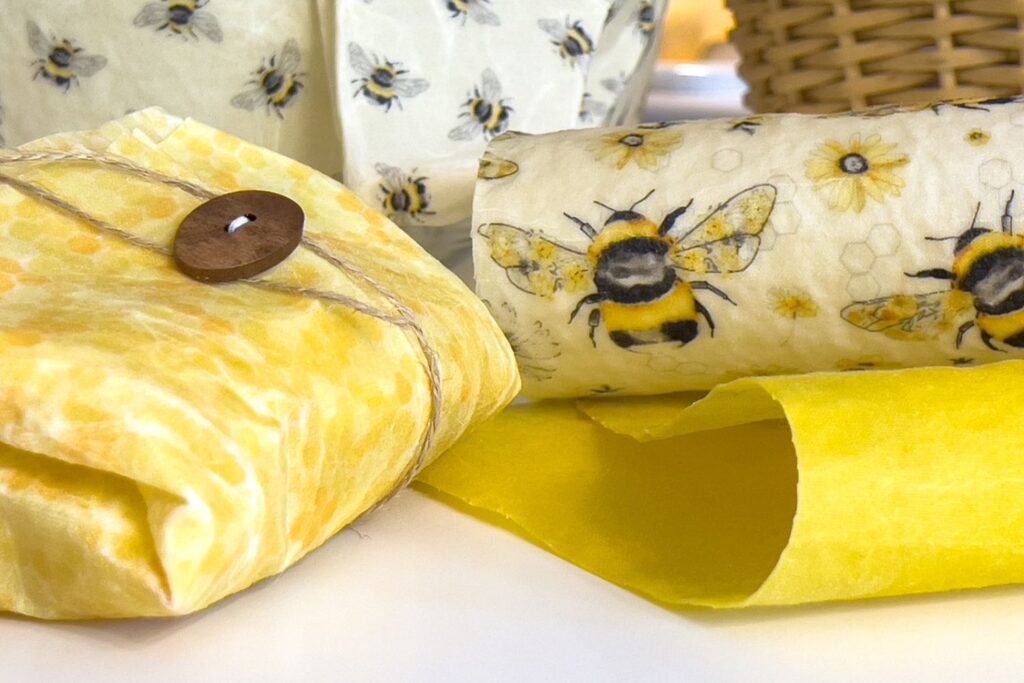
Optional: For a sandwich pouch option, fasten a button onto the upper center of your beeswax wrap, and use twine to secure the wrap in place around your sandwich.

What size beeswax wrap should I make?
The best size for your DIY beeswax wrap will depend on what you will do with it! You may want to make multiple sizes for different applications.
- 10” square wrap: Perfect for small snack storage.
- 12” square wrap: Perfect for storing leftover cheeses or produce.
- 14” square wrap: Perfect for use as a sandwich wrap.
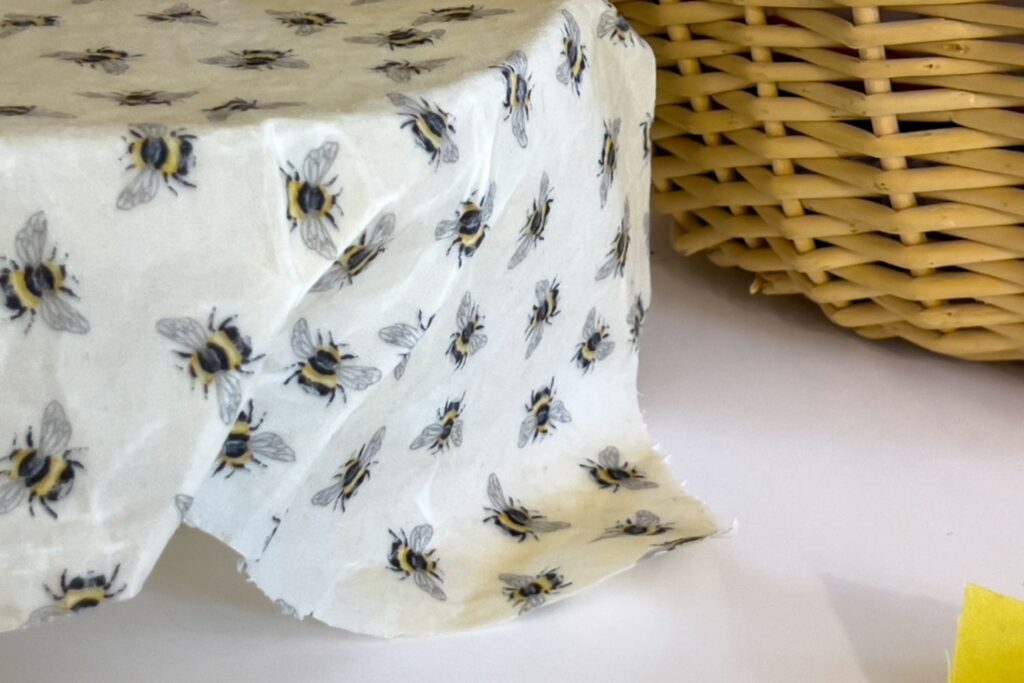
- 16” square wrap: Perfect for covering large bowls.
How to Use Beeswax Wraps
Beeswax wraps are the ultimate reusable food wrap that is excellent at keeping leftovers fresh, packing lunches, covering bowls, and more. The warmth from the food or your hands will heat the beeswax just enough to make it tacky, so that it sticks to itself or smooth surfaces and creates a seal.
Some of the best uses for beeswax wraps include:
- Wrapping sandwiches
- Storing leftovers
- Packing lunches
- Picnic preparations
- Covering sourdough bread dough while rising
How to Care For Beeswax Wraps
Hand Wash in Cold Water
The fact that beeswax melts easily is both a perk and a downside when it comes to DIY beeswax wraps. The good news is that even just the warmth from your hands is enough to soften the beeswax so that it becomes tacky and sticks to itself. The bad news is that these wraps can only be hand washed in cold water in order to prevent melting and therefore washing away the beeswax. Do not wash in the washing machine.
Refresh Beeswax Over Time
Because the beeswax on these wraps is constantly being washed, and reused, the wax may begin to wear away over time. If this happens, you will have to add more beeswax through the original steps to keep the wrap fresh and functional. This should only need to happen about once per year if the wrap is properly cared in the mean time.
Do Not Heat
Because beeswax melts easily, you will not want to us this in the microwave, oven, or in any other heating element. This would cause the beeswax to melt, which would ruin the wrap and render it ineffective.

DIY Beeswax Wraps (Reusable Food Wrap)
15
minutesKeeps your screen on while viewing recipe
Directions
- Wash and dry your cotton fabric, then cut to the desired size.
- Preheat the oven to 200 degrees F.
- Lay the fabric flat on a lined baking sheet, and sprinkle the entire surface with beeswax. Heat in the oven for about 5-8 minutes, or just until the beeswax is melted. Do not leave cloth in the oven unattended.
- Use the brush to spread the beeswax evenly over the entire fabric. It will soak through and saturate both sides. Place back into the oven for about 1 minute just to insure that the beeswax has melted evenly throughout.
- Remove from the oven, and immediately lift the fabric off the baking sheet before the beeswax begins to solidify. Either hold it in the air for about 3 minutes until the beeswax hardens, or you can clip onto a clothes line. Once the beeswax has completely hardened, the wraps are ready to use!
- Optional: For a sandwich pouch option, fasten a button onto the upper center of your beeswax wrap, and use twine to secure the wrap in place around your sandwich.
Like this recipe?
Follow @everypurposehome on Pinterest for more!

)