
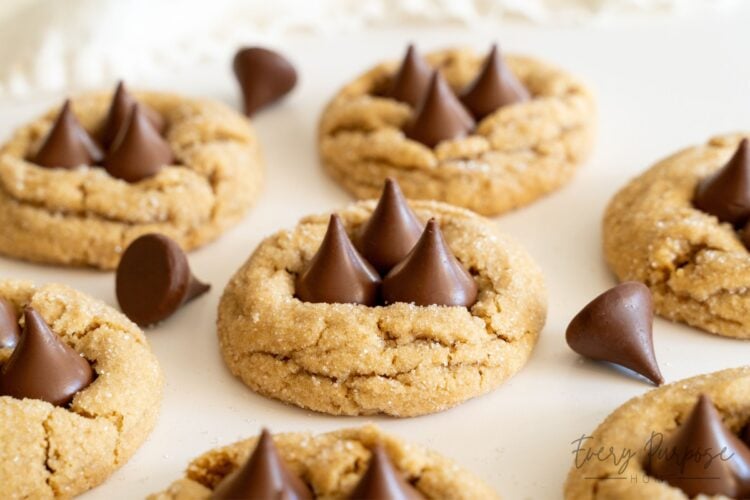
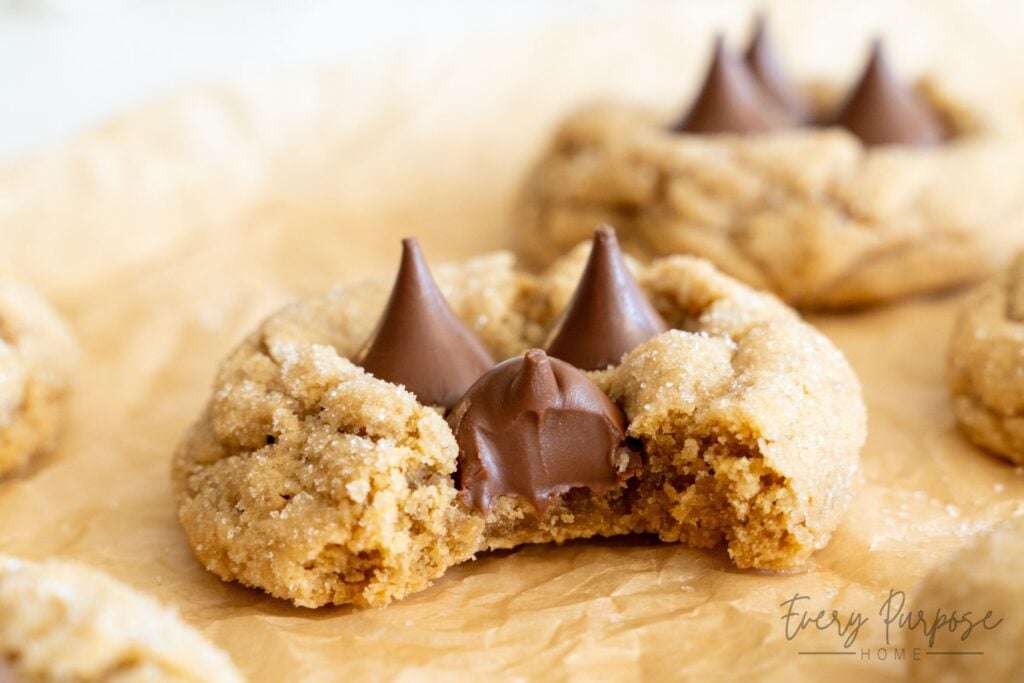
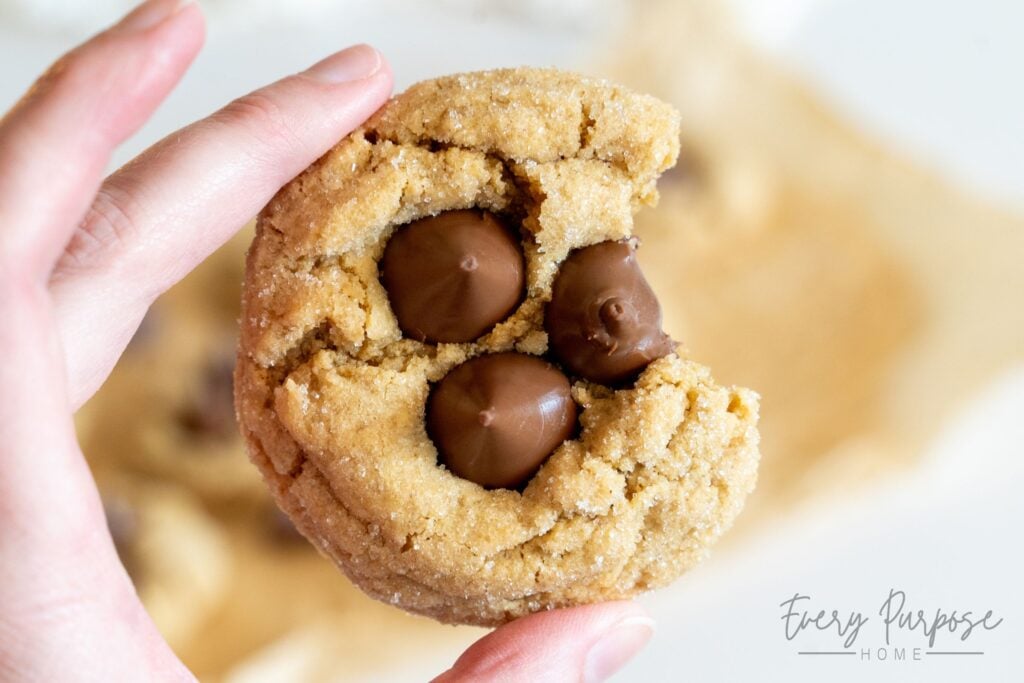
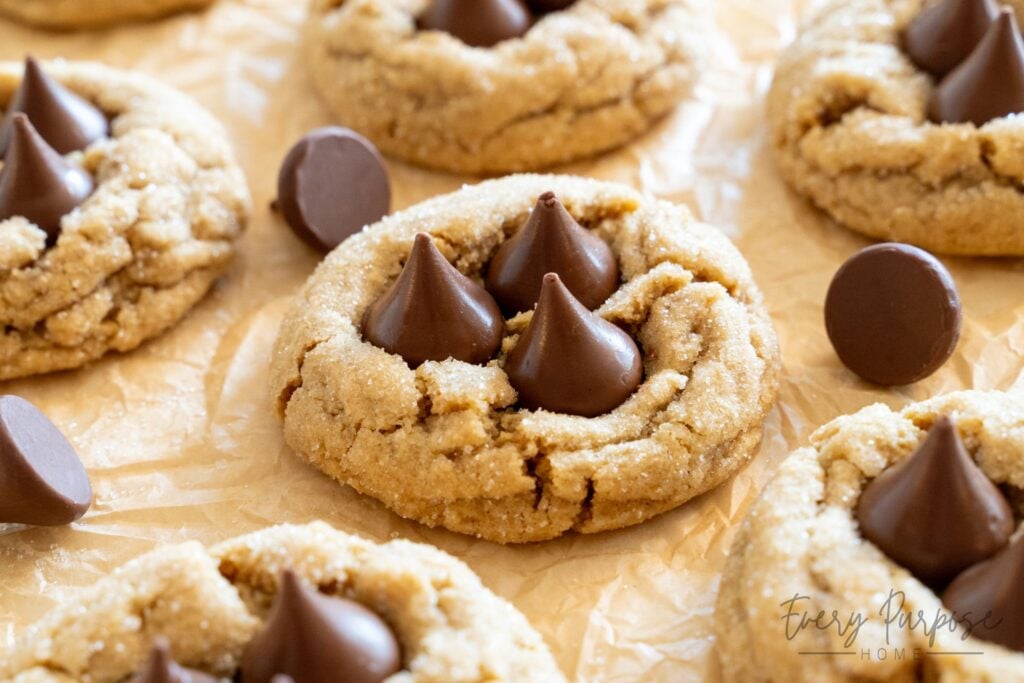
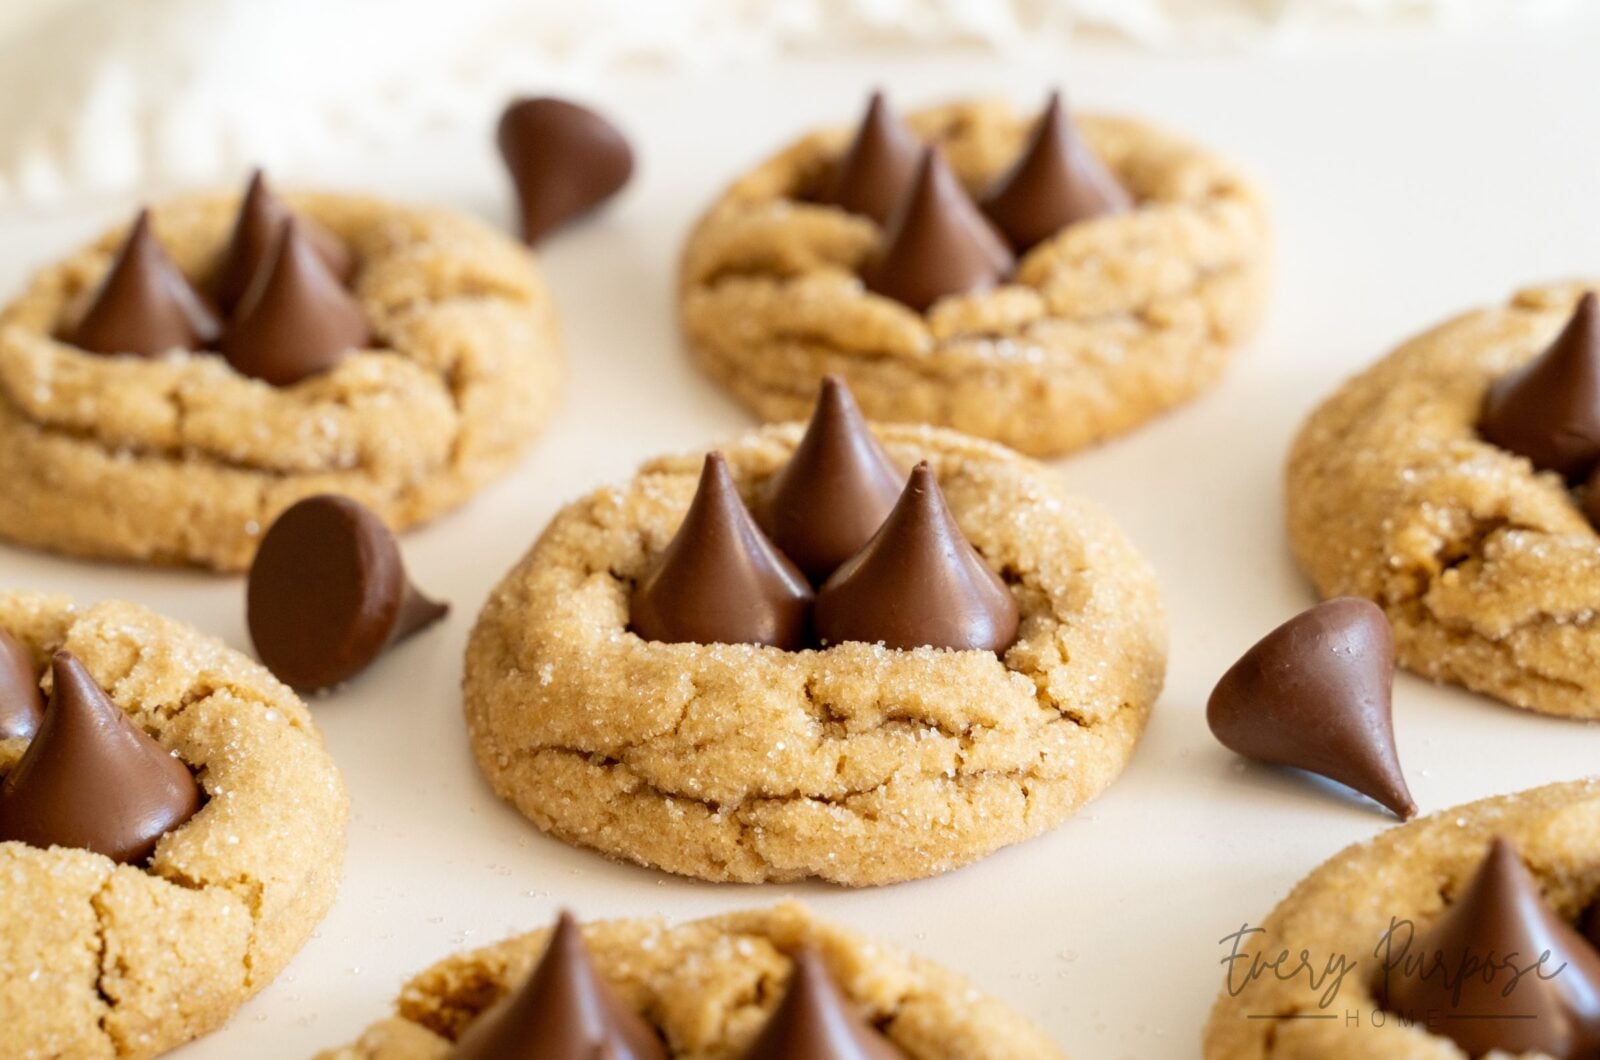
These Large Sourdough Peanut Butter Blossoms put an extra-special spin on nostalgic peanut butter kiss cookies! Each thick, completely soft (never dry!) cookie is made with natural peanut butter and sourdough starter, rolled in sparkling sugar, then topped with three milk chocolate kisses arranged like the center of a flower. The extra kisses provide the most perfect balance of chocolate and peanut butter. With no chilling required and the option to use active starter or discard, they’re easy to make but look every bit as special as they taste!
Essentials for the Perfect Sourdough Cookie
- Digital Kitchen Scale: Thick, soft, and pillowy peanut butter blossoms depend on the right balance of flour, starter, and moisture. A digital kitchen scale removes the guesswork so your cookies spread properly while keeping those soft centers. I have used this exact scale in my kitchen for years, and it has never failed me!
- Stand Mixer: Properly mixing the butter and sugars creates the foundation for that dense, bakery-style texture. A quality stand mixer fitted with the paddle attachment makes quick work of this thick dough, but a handheld electric mixer works too. Just be careful not to overmix once the flour is added!
- Large Cookie Scoop: These large, bakery-style cookies are the perfect size for pressing in three chocolate kisses! A large cookie scoop portions the dough evenly so every cookie bakes at the same rate, giving you set edges and soft centers without some cookies becoming overdone while others remain underbaked.
Ingredients
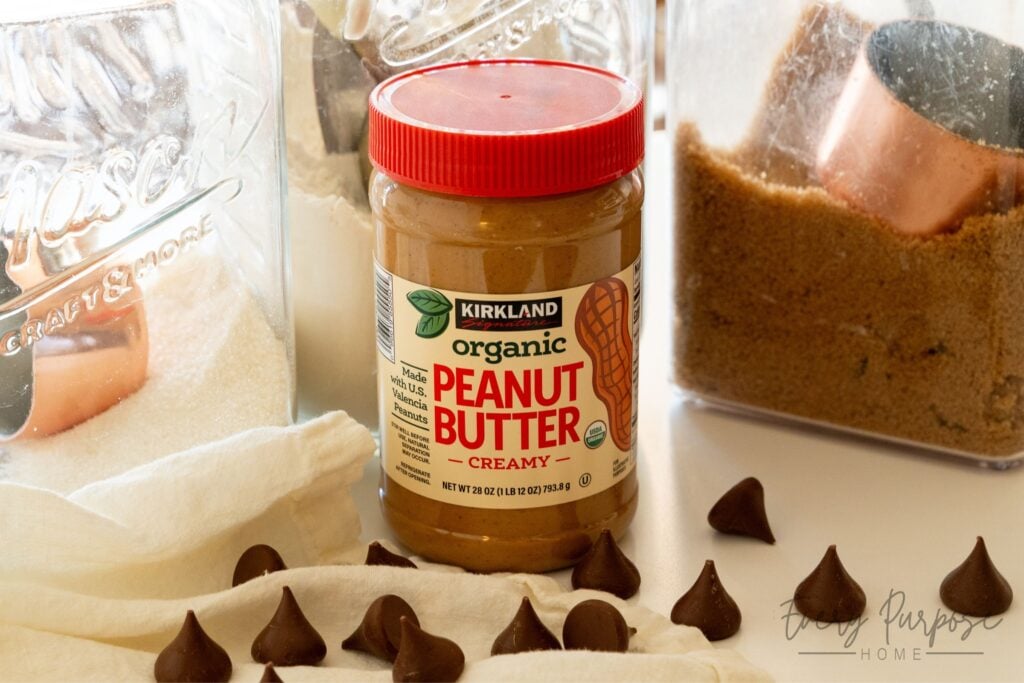
- ⅔ cup natural peanut butter (175g): I use a natural salted, unsweetened, dry-roasted peanut butter for a deep peanut flavor. Stir extremely well before measuring! I have not tested this with mainstream peanut butters such as Jif or Skippy. If using unsalted, add another ⅛ tsp salt.
- 1 cup light brown sugar, packed (220g): Keeps the cookies soft while balancing the unsweetened peanut butter.
- 2 tbsp granulated sugar (25g): Adds sweetness and helps create softly crackled edges.
- ½ cup salted butter, softened (113g): Use “dent soft” butter, meaning it should indent with resistance when pressed, remaining cool to the touch and not shiny or oily. This usually takes 30–60 minutes at room temperature. To use unsalted butter, add ¼ tsp additional salt.
- ½ cup sourdough starter, active or discard, stirred down (150g): Either works! Cold starter helps keep this no-chill dough cool.
- 2 large egg yolks (40g): Skipping the egg whites helps to create a dense, completely soft center that is never cakey.
- 2 tsp vanilla extract (10g): Rounds out the roasted peanut butter and milk chocolate flavors.
- 1 tsp salt (6g): Balances the sweetness and enhances the peanut butter and chocolate.
- 1⅔ cups all-purpose flour, scooped directly from the bag and leveled (not spooned or sifted) (263g): This amount balances the fluid natural peanut butter while keeping the cookies soft. For best accuracy, weigh it.
- 1 tsp baking soda (6g): Provides lift, spread, and crackled tops. Use baking soda, not baking powder.
- ⅓ cup granulated sugar, for rolling (66g): Creates the sparkling, lightly crackled exterior.
- 48 chocolate kisses (3 per cookie): Three per cookie provide plenty of creamy milk chocolate in every bite. Using three kisses in the center of a large and thick peanut butter cookie really is the defining factor that sets these apart!
How to Make Large Sourdough Peanut Butter Blossoms
Step 1: Preheat Oven & Prep
Preheat oven to 350°F (175°C). Line two baking sheets with parchment paper. Unwrap the chocolate kisses and set aside. Pro Tip: Place the kisses in the freezer while the cookies bake to help them hold their shape when pressed into the warm cookies.
Step 2: Cream the Peanut Butter, Sugars & Butter
Beat the peanut butter, brown sugar, granulated sugar, and softened butter until creamy, uniform, and slightly aerated, about 2 minutes. If you see chunks of butter, keep mixing! This works best with a stand mixer (paddle attachment) or handheld electric mixer.
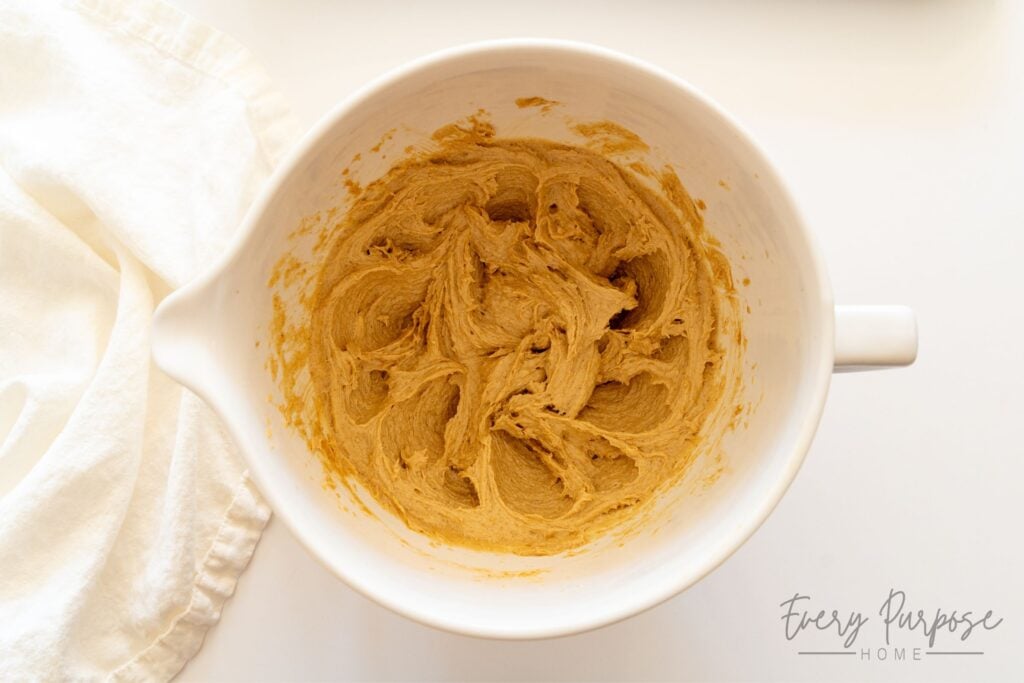
Step 3: Add the Wet Ingredients
Add the sourdough starter, egg yolks, vanilla extract, and salt. Beat until smooth and frothy. Pro Tip: Scrape down the sides of the bowl to ensure the starter and peanut butter are fully incorporated with no streaks remaining.
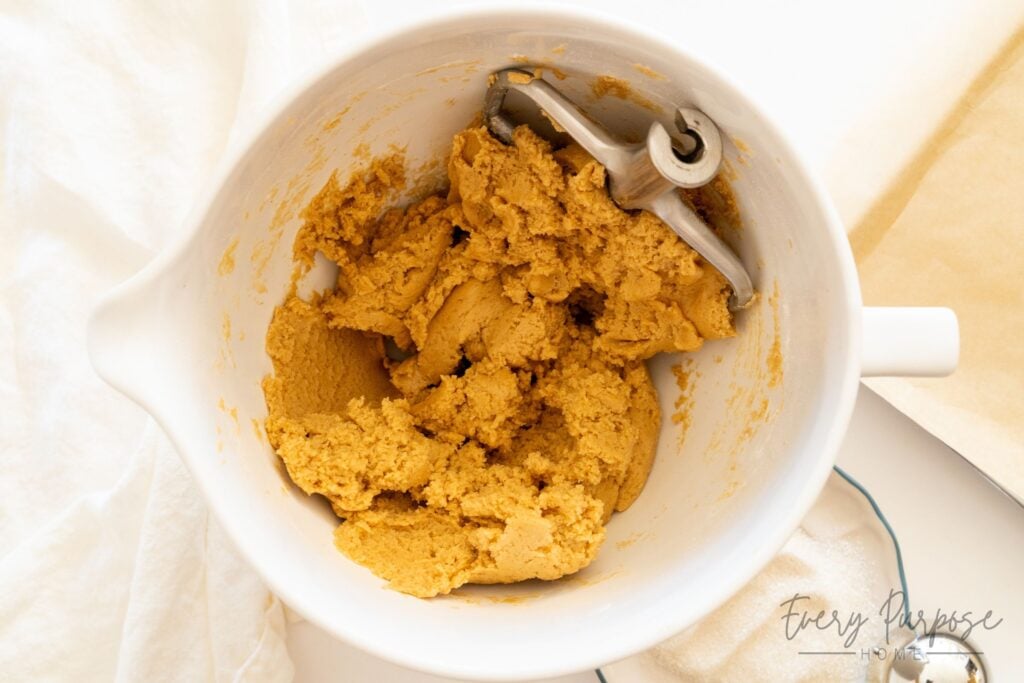
Step 4: Incorporate the Dry Ingredients
Add the flour and sprinkle the baking soda evenly over the top. Turn the mixer to low speed and stir just until the flour disappears. The dough will be thick. Critical Step: Do not overmix. Overmixing develops too much gluten and can make the cookies tough rather than soft.
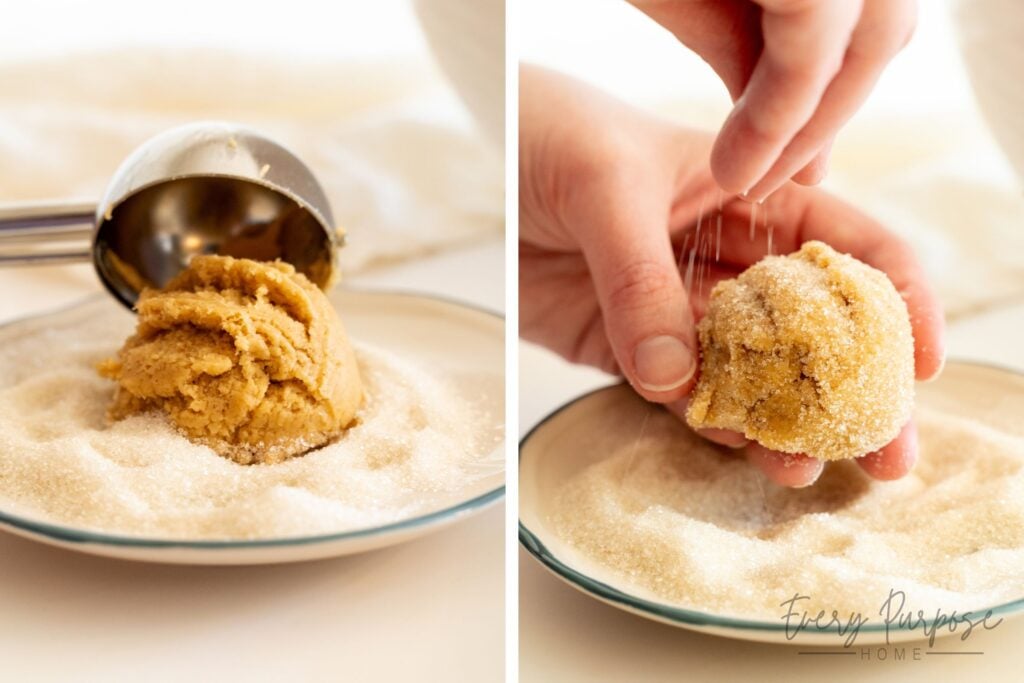
Step 5: Scoop & Roll
Portion the dough into large scoops using a cookie scoop or spoon (3 tbsp / 63g each). Roll each scoop thoroughly in granulated sugar, then place 8 cookie dough balls onto each prepared baking sheet. Do not flatten. Keeping the dough rounded creates the thick, pillowy centers needed to hold three chocolate kisses.
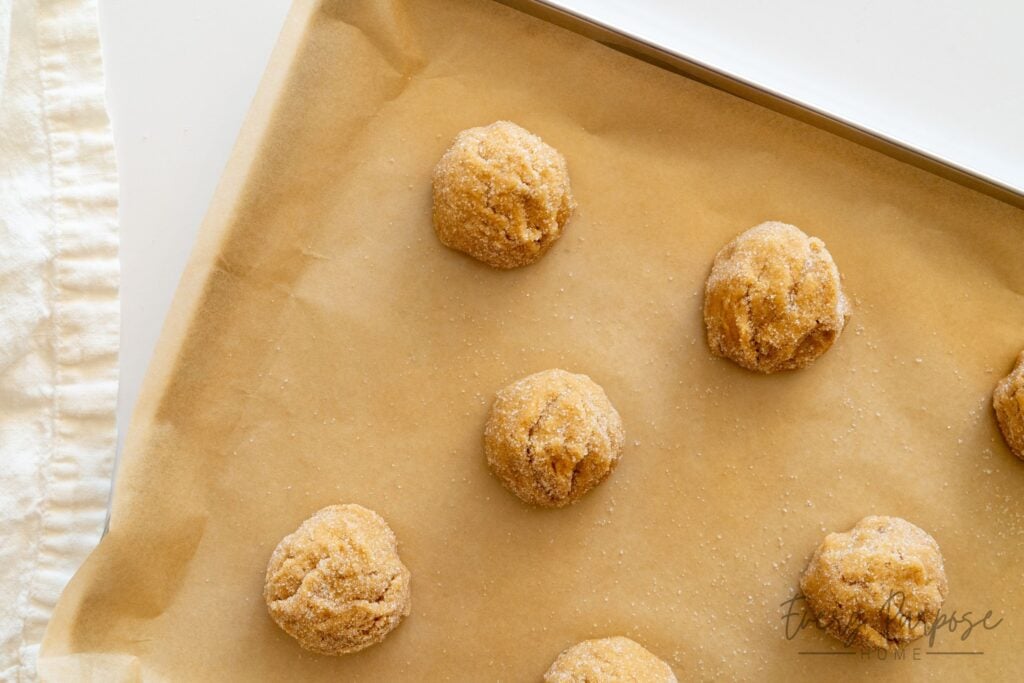
Step 6: Bake & Add the Chocolate Kisses
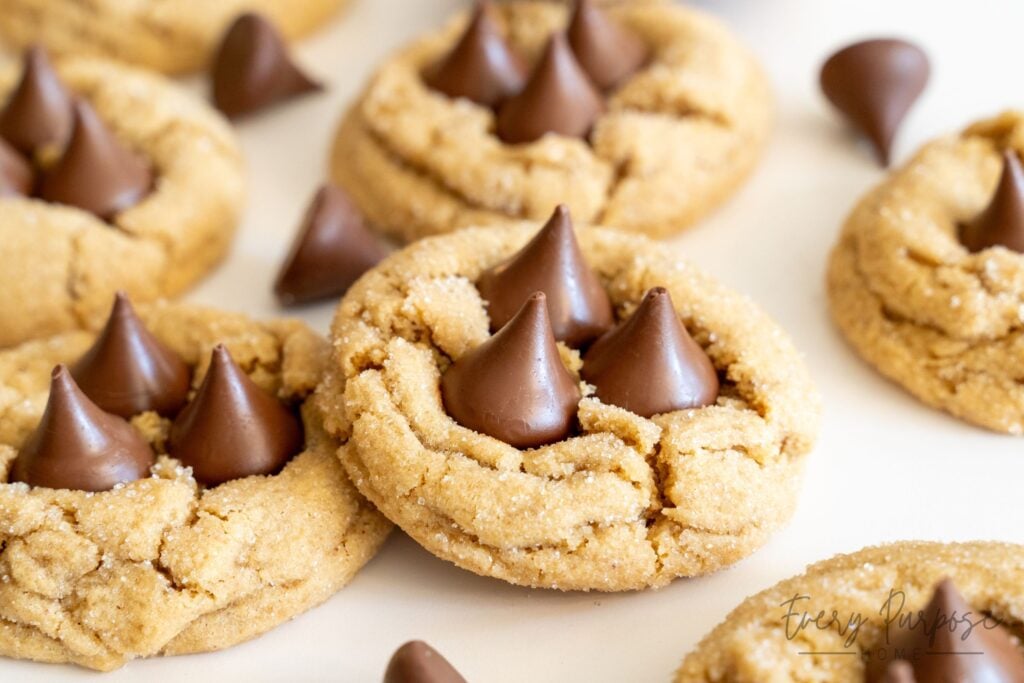
Bake one sheet at a time for 14–16 minutes, rotating the pan halfway through. Remove when the edges are set and slightly golden but the centers still look pillowy and slightly underbaked. Immediately press 3 chocolate kisses into the center of each cookie, arranging them closely together in a triangle. Repeat with the second baking sheet. Recipe makes 16 cookies.
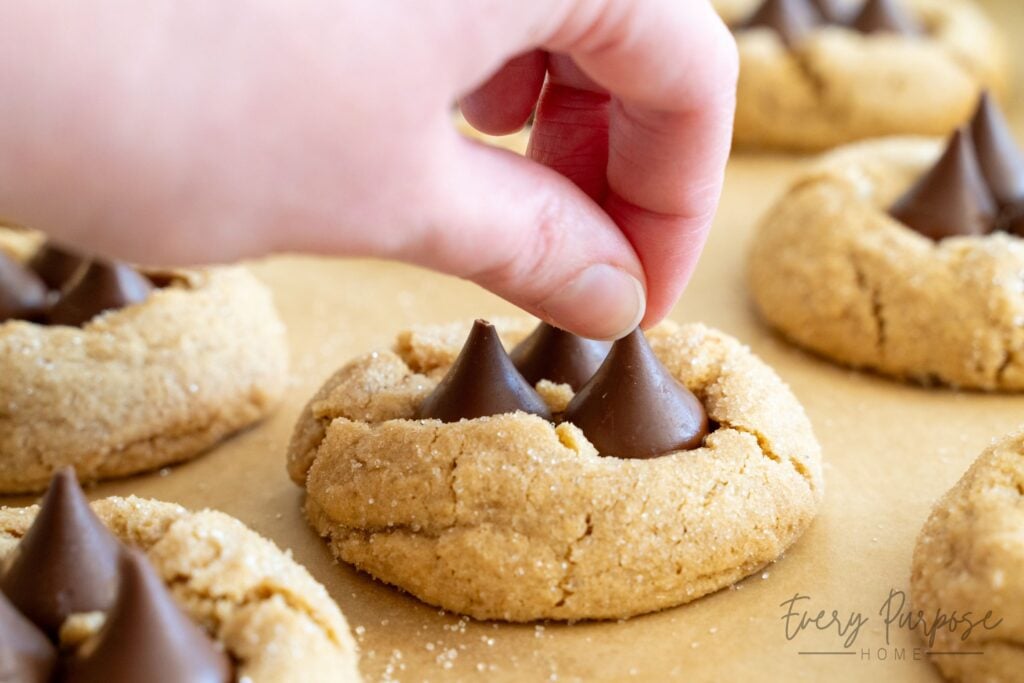
Step 7: Cool on Baking Sheet
Allow the cookies to set on the hot baking sheet for 7 minutes before transferring to a wire rack. Moving them too early may cause them to fall apart. Avoid touching the chocolate kisses until they have cooled and firmed again.
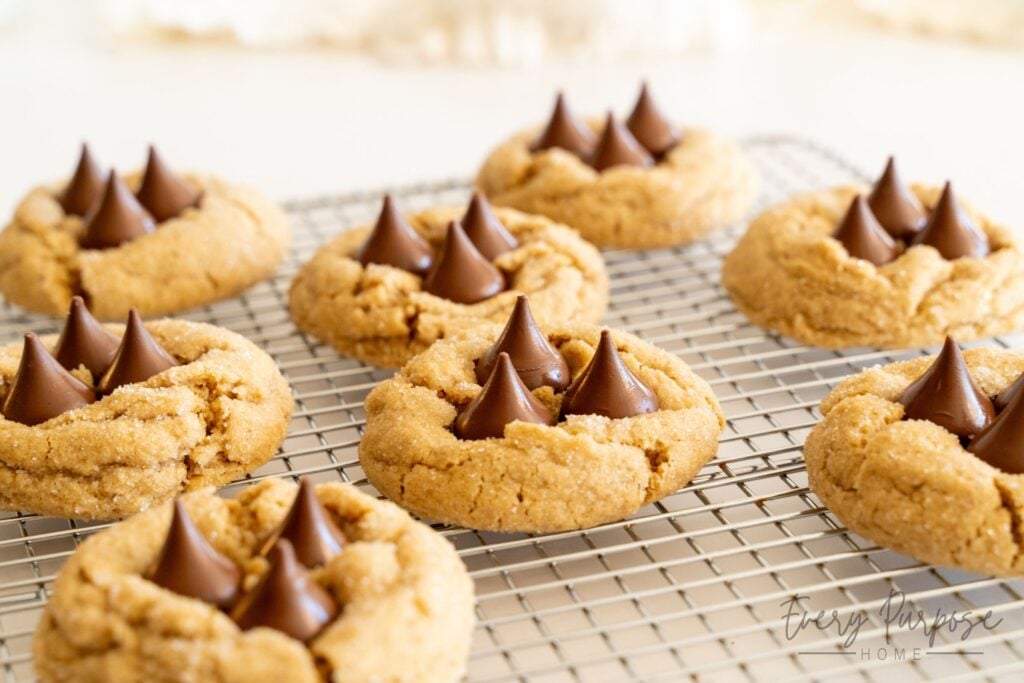
Storage Tips
Store completely cooled cookies in an airtight container for up to 5 days at room temperature.
Why This Recipe Works
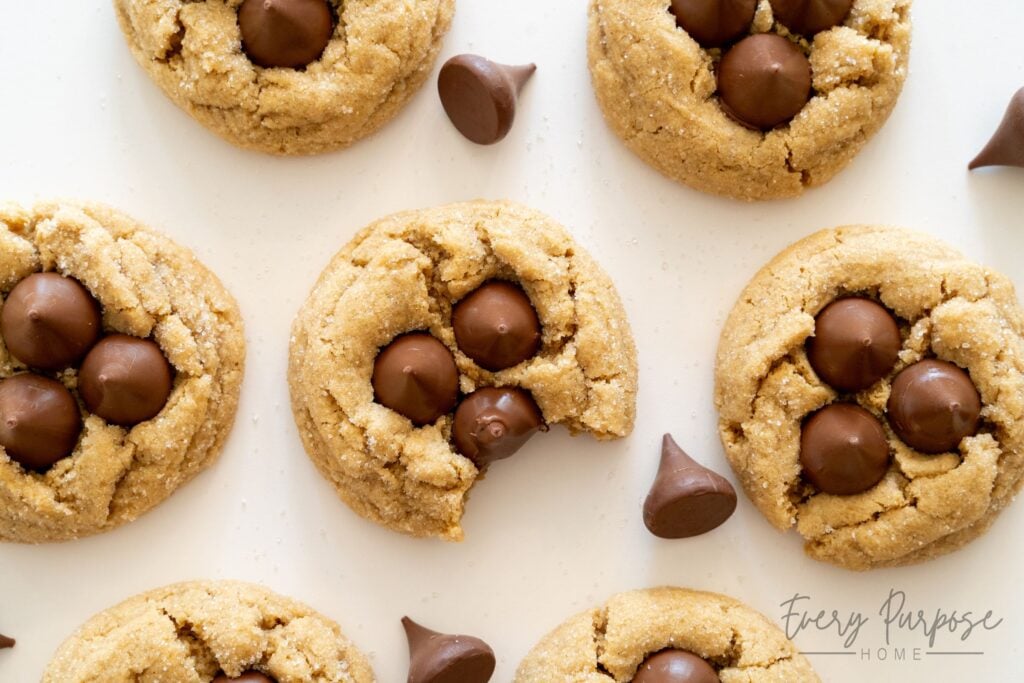
These large peanut butter blossoms are intentionally sized to hold three chocolate kisses beautifully, creating an eye-catching chocolate center with plenty of chocolate in every cookie. This recipe is also formulated specifically for natural peanut butter, which is typically more fluid than mainstream brands. The formula is carefully balanced with flour to create a thick, scoopable dough without drying out the cookies, while brown sugar and egg yolks keep the centers dense and completely soft rather than cakey. It’s also designed to hold its shape without chilling.
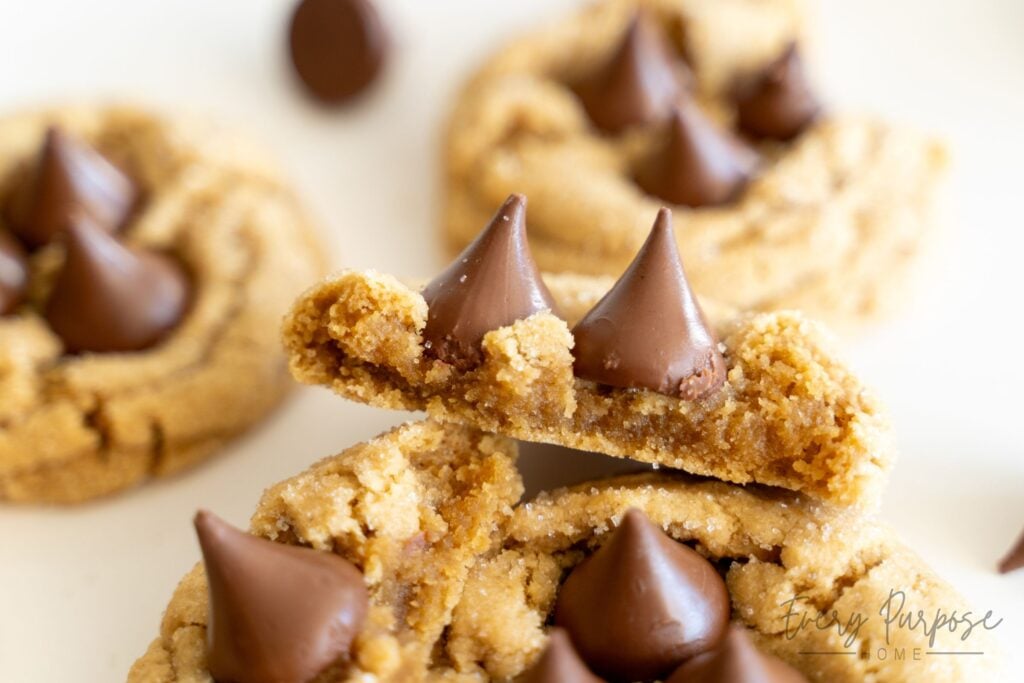
Leaving the dough balls rounded creates thick, pillowy cookies with beautiful cracks for the three chocolate kisses to nestle into. A sparkling sugar coating adds softly crackled edges, while three kisses instead of one provide plenty of creamy milk chocolate in every bite!
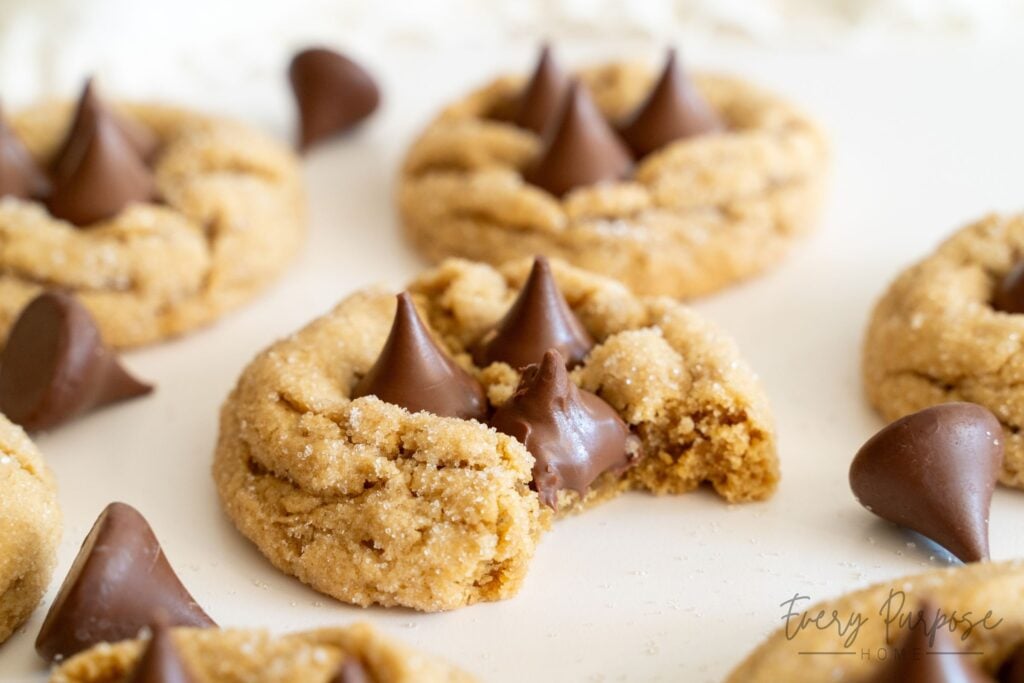
The Sourdough Cookie Lady Tips
- Use well-stirred natural peanut butter. Natural peanut butter separates, so completely stir the oil back into the peanut solids before measuring. I recommend a salted, unsweetened, dry-roasted variety for the deepest peanut flavor. If using unsalted peanut butter, add another ⅛ tsp salt.
- Freeze the chocolate kisses first. Unwrap the kisses and place them in the freezer while the cookies bake. This helps them hold their pointed shape when pressed into the hot cookies. If you want to serve the cookies immediately without regard to the kisses staying perfect, then leave them at room temperature so they soften beautifully before taking a bite!
- Keep the dough balls rounded. Roll them in sugar, but do not flatten them. Their tall, rounded shape won’t spread much, which creates thick, pillowy cookies with enough room for three chocolate kisses.
- Let the butter become “dent soft.” To keep this a no-chill recipe, the butter should indent easily when pressed but still feel cool and offer some resistance. It should not look melted, shiny, or oily.
- Do not overbake the cookies. Remove the peanut butter cookies when the edges are set but the centers still look pillowy and slightly underbaked. They will continue to firm up on the hot baking sheet, creating a completely soft center instead of a dry or cakey texture.
- Measure the peanut butter, flour, and sourdough starter by weight if possible. The balance between the fluid natural peanut butter, flour, and starter moisture determines how much the cookies spread. Weighing these ingredients prevents cookies that are either too loose or overly thick and dry.
Frequently Asked Questions
Will these cookies taste sour?
The sourdough discard acts as a flavor enhancer, adding subtle depth that balances the peanut butter and chocolate. To ensure the cookies do not taste sour, use starter or discard that has been fed within the last two weeks. Older discard and the long-fermented option may create a more noticeable tang.
Can I use active starter instead of discard?
Absolutely! Both active starter and sourdough discard work well here. Because the dough is mixed and baked immediately, the starter does not need to be active for leavening. I usually use discard straight from the fridge.
Can I use regular peanut butter instead of natural peanut butter?
This recipe was formulated specifically for natural peanut butter, which is typically more fluid than mainstream brands. I have not tested it with peanut butter such as Jif or Skippy, which may produce different results than intended. For the intended texture, use well-stirred natural peanut butter and measure it by weight.
Are there other names for this type of cookie?
Yes! These cookies are also commonly called peanut butter Kiss cookies or Hershey’s Kiss cookies. The original cookie was named Black-Eyed Susans before it became known as Peanut Butter Blossoms. The defining feature of my recipe, however, is the larger size with three chocolate kisses instead of one!
Are peanut butter blossoms supposed to crack when adding the chocolate kisses?
Yes! Some cracking is desirable and gives peanut butter blossoms their signature appearance. Use a light hand and press each kiss only deeply enough to hold it securely. Pressing too firmly can split the cookie and create cracks that are very large. The goal is to nestle the kisses into the soft center, not bury them.
Do I have to freeze the chocolate kisses?
Freezing is not required, but it helps the kisses hold their pointed shape after they are pressed into the hot cookies. Unwrap and freeze them while the cookies bake so they are ready to use immediately. If you’re serving the cookies immediately, I prefer to leave the kisses at room temperature so that they are perfectly soft and melty when serving, but that is just a preference!
Why did my cookies come out cakey instead of soft?
Cakey cookies are commonly caused by adding too much flour, using whole eggs instead of egg yolks, or overbaking. Weigh the flour, use only the yolks, and remove the cookies when the edges are set but the centers still look pillowy and slightly underbaked. Mix on low speed only until the flour disappears to avoid a tough, bread-like crumb.
Do I have to chill the dough before baking?
No! This is a no-chill recipe, so the cookies can be baked immediately. For a long-fermentation option, refrigerate the dough for up to 3 days. Before baking, let it sit at room temperature for about an hour, or until soft enough to scoop and roll.
Can I freeze sourdough cookie dough?
Absolutely! For best results, follow this flash-freezing method:
- Scoop: Portion the sourdough peanut butter blossom dough into scoops (3 tbsp / 63g each) and place them on a parchment-lined baking sheet. They can be close together, but make sure they are not touching. Do not roll them in sugar yet.
- Flash Freeze: Place the sheet in the freezer for about 1 hour, or until the dough balls are firm to the touch.
- Store: Transfer the frozen dough balls into a gallon freezer bag. They can be stored in the freezer for up to 3 months!
Pro Tip: Double the recipe and intentionally freeze an extra batch! This gives you ready-to-bake sourdough peanut butter blossoms whenever that sweet tooth hits. Just make sure you have plenty of chocolate kisses on hand!
Tips For Baking Frozen Dough:
Thaw Partially: For best results, allow frozen dough to sit at room temperature for 30–60 minutes before baking. Once the surface has softened, roll each dough ball in granulated sugar. This helps achieve a texture and baking time nearly identical to a fresh batch of dough.
Potentially Increase Bake Time: You may need to add 1–2 minutes to the baking time if the dough is still colder than fresh dough would be.
Add the Chocolate Kisses: Immediately after removing the cookies from the oven, press 3 chocolate kisses into the center of each cookie as directed in the recipe.
How to Make Long-Fermented Sourdough Peanut Butter Blossom Cookies
To long-ferment the dough for deeper flavor and a slower fermentation option that some bakers prefer, follow these simple directions:
- Prepare: Follow the recipe directions to make the dough, but do not scoop or roll it in sugar yet.
- Cold Ferment: Cover the bowl with plastic wrap, or transfer to an airtight container. Refrigerate for 1–3 days. Note: The longer the dough ferments, the more noticeable the sourdough tang may become.
- Bring to Room Temp: Dough temperature significantly affects how much the cookies spread. Remove the dough from the refrigerator about 1 hour before baking, or allow it to rest until it is soft enough to scoop easily.
- Scoop & Bake: Portion the softened dough into scoops (3 tbsp / 63g each), roll thoroughly in granulated sugar, and bake according to the recipe directions. Immediately press 3 chocolate kisses into each warm cookie.
Troubleshooting: These cookies are intentionally thick and do not spread as widely as many of my other sourdough cookie recipes. If they remain unusually thick, however, the dough was probably still too cold when it went into the oven.

Love this recipe? Pin it to your sourdough board and follow The Sourdough Cookie Lady on Pinterest for more!
Large Sourdough Peanut Butter Blossoms Recipe:
Large Sourdough Peanut Butter Blossoms (3 Kisses Each!)
These large sourdough peanut butter blossoms are thick, soft, and packed with rich peanut butter flavor! Rolled in sparkling sugar and topped with three chocolate kisses each, these cookies are an irresistible no-chill twist on the nostalgic classic. These cookies are also known as sourdough peanut butter kiss cookies or sourdough Hershey’s kiss cookies!
16
10
minutesmin15
minutesmin340
kcalKeeps your screen on while viewing recipe
Recommended Equipment
- For Best Accuracy:Digital Kitchen Scale
- For Easy Mixing:Stand Mixer
- For Uniform Cookies:Large Cookie Scoop
Ingredients
⅔ cup natural peanut butter (175g) see notes for tips
1 cup light brown sugar packed (220g)
2 tbsp granulated sugar (25g)
½ cup salted butter softened (113g) see softness notes
½ cup sourdough starter active or discard, stirred down (150g) I use cold starter to prevent the dough from becoming too warm
2 large egg yolks (40g)
2 tsp vanilla extract (10g)
1 tsp salt (6g)
1⅔ cups all-purpose flour scooped directly from the bag and leveled off (not spooned and leveled) (263g)
1 tsp baking soda (6g)
⅓ cup granulated sugar for rolling (66g)
48 chocolate kisses (3 per cookie)
Directions
- Preheat & Prep: Preheat oven to 350°F (175°C). Line two baking sheets with parchment paper. Unwrap the chocolate kisses and set aside. Pro Tip: Putting the kisses in the freezer while the cookies bake will help them hold their shape even more once pressed into the cookies.
- Cream Peanut Butter, Sugars, & Butter: In a large bowl or stand mixer fitted with a paddle attachment, beat peanut butter, brown sugar, granulated sugar, and softened butter until well combined and aerated, about 2 minutes.
- Add Wet: Beat in sourdough starter, egg yolks, vanilla extract, and salt until smooth and frothy, scraping the sides of the bowl as needed.
- Incorporate Dry: Add all-purpose flour, then sprinkle the baking soda evenly over the top. Stir on the lowest speed until just incorporated. Dough will be thick. Do not over-mix.
- Scoop & Roll: Portion the dough using a large cookie scoop or spoon (3 tbsp / 63g each). Roll each scoop thoroughly in granulated sugar. Place 8 cookie dough balls onto each prepared baking sheet, spacing them evenly. Do not flatten.
- Bake & Add Chocolate Kisses: Bake one sheet at a time for 14–16 minutes, rotating the pan halfway through. The edges should be set and slightly golden, but the centers should look pillowy and slightly underbaked. Immediately after removing the cookies from the oven, gently press 3 chocolate kisses into the center of each cookie, arranging them closely together in a triangle. Cookies will firm up as they cool. Bake in two batches. Recipe makes 16 total cookies.
- Cool on Baking Sheet: Allow to cool on the baking sheet for 7 minutes before transferring to a wire rack.
Recipe Notes
- • Natural Peanut Butter: This recipe was tested with Kirkland Signature Organic Creamy Peanut Butter, which is dry roasted, salted, and unsweetened. Stir the peanut butter extremely well before measuring so the oil and peanut solids are fully combined. I have not tested this recipe with mainstream peanut butter such as Jif or Skippy. If you try it, let us know how it goes in the comments! If using unsalted peanut butter, add another ⅛ tsp sea salt.
• Peanut Butter Troubleshooting: Natural peanut butter is typically more fluid than other peanut butters, so the flour is measured to balance that additional fluidity. If the dough is still too soft to scoop, add 1-2 tbsp additional flour to help it thicken.
• To Store: Cookies will keep at room temp in an airtight container for up to 5 days.
• To Freeze: Freeze dough scoops in an airtight freezer bag for up to 3 months. Thaw at room temp for 30–60 minutes before rolling in sugar, baking, and pressing the chocolate kisses in.
• ”Dent Soft” Butter: Temperature is key. The butter has reached dent-soft consistency when it indents easily when pressed but is still cool and offers resistance. It should not be room temperature, oily, greasy, or shiny. Allow cold butter to sit out for 30–60 mins, or warm in the microwave at 50% power for 8-15 seconds. If using unsalted butter, add an extra ¼ tsp salt to the dough.
• Flour: For best accuracy, weigh the flour. If measuring by volume, the measurements are designed for you to scoop directly from the bag, avoiding the tedious sifting or spoon-and-level method.
• Sourdough Starter: Active or discard works. I use cold discard straight from the fridge since it’s always handy, and the chilled starter helps the dough stay cold for a no-chill cookie dough.
• Long Fermentation: For long fermentation, cover and refrigerate the dough for 1–3 days. Before baking, allow the dough to sit at room temperature until it is soft enough to scoop, about 1 hour. Then continue with the directions of rolling in sugar, baking, and topping with chocolate kisses.
Approximate Nutrition Information
- Servings: 16
- Calories: 340kcal
- Fat: 16g
- Saturated Fat: 7g
- Cholesterol: 45mg
- Sodium: 335mg
- Carbohydrates: 45g
- Fiber: 2g
- Sugar: 27g
- Protein: 6g
from my baking sheet to yours,


)
These look so good! Can’t wait to make them this fall!
I love the long ferment option. Such a tasty treat!
Thank you Tessa! I’m so glad you’ve enjoyed these!
~Marlene, The Sourdough Cookie Lady
Yum! My husband loves this kind of cookie and I love making large cookies, so this sounds like the perfect recipe to try!
Thank you Kirsten! My husband loves these as well!
~Marlene, The Sourdough Cookie Lady
Incredible cookies! Love how massive they are!
Thank you, Annabelle! The chocolate-to-peanut butter ratio is my favorite!
~Marlene, The Sourdough Cookie Lady