
It’s amazing how much I have simplified my hair products over the past few years. I used to have an entire drawer full of products, including hair sprays, leave-in conditioners, blow drying sprays, heat protectants, texture sprays and powders, and of course, chemical-heavy dry shampoo sprays. But now, believe it or not, my all-natural DIY Dry Shampoo is the only hair product that I use outside of shampoo and conditioner. It has a variety of uses, it’s non-toxic, and it is extremely cost effective. Learn how to make your own dry shampoo that matches your hair color, below!
Benefits of this DIY Dry Shampoo
My DIY Dry Shampoo has tons of hair benefits. And depending on the ingredients used, it can be nutrient dense for your hair and scalp as well!
This dry shampoo recipe can be used to:
- Absorb oils. Excess oil buildup in the hair is what makes it look and/or feel dirty. So, in between washes, applying the dry shampoo to the root area will help to minimize the unwanted affects of excess oil production.
- Add texture. I no longer use any type of texturizing spray for my hair. Even though my hair is thin, I can get it to look thicker by applying my dry shampoo (even on days when my hair is clean!). It gives my hair grit and volume.
- Deodorize. Just like other areas of our bodies, our scalp and hair can harbor or absorb unwanted odors. Using this dry shampoo can help to remove or minimize those odors, making the hair smell cleaner and not just look cleaner.
DIY Dry Shampoo Ingredient Options
Here is an explanation of what each ingredient does and how it works. You could build your own recipe based on these explanations, or follow one of the recipe options below!
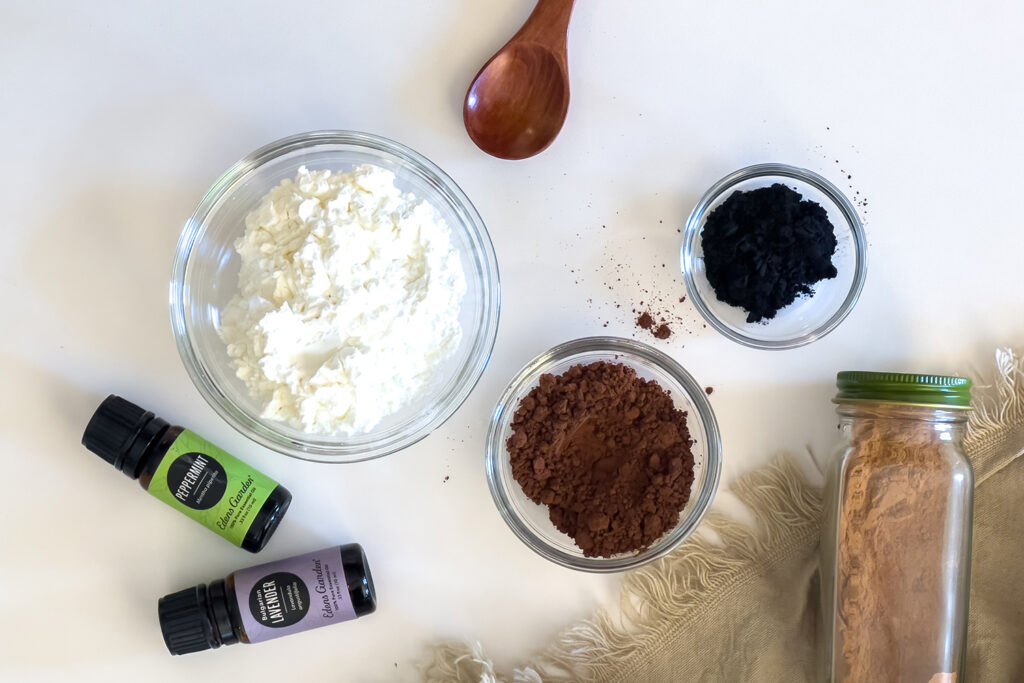
The Base – The Oil-Absorbing Powerhouse
Choose any of or any combination of these to be at least 50% of your final recipe.
Optional Boost – For Added Oil Absorption
Choose any of or any combination of these to be no more than 20% of your final recipe.
- Baking soda (also for absorbing odors)
- Bentonite clay
The Color – To Make it Match Your Hair
Choose any of or any combination of these to be about 30-50% of your final recipe.
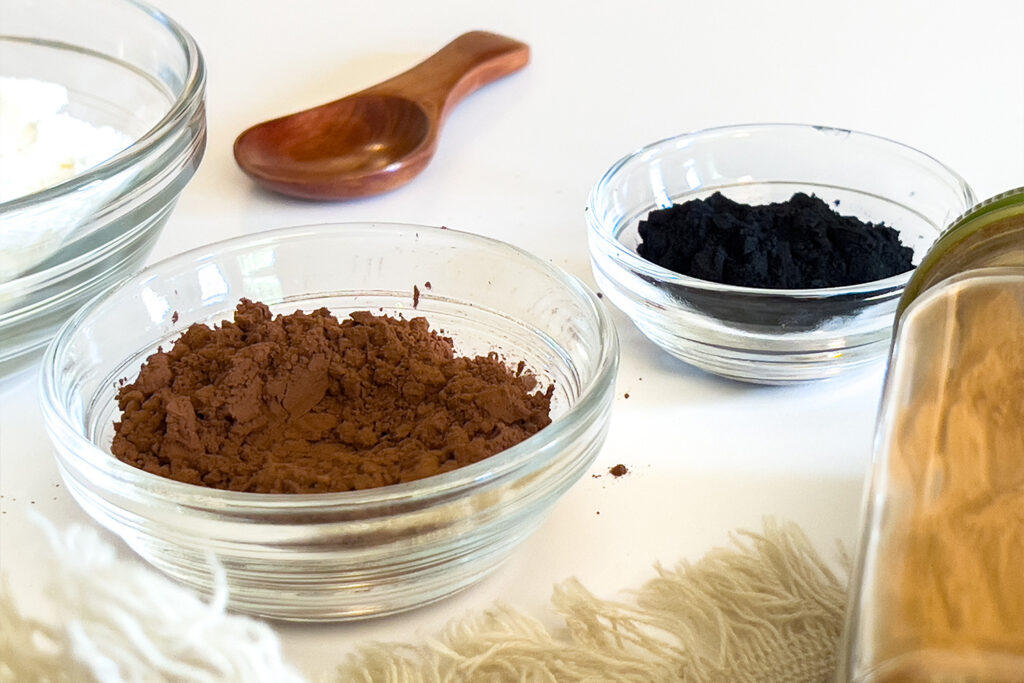
- Cocoa powder or cacao powder (brown)
- Activated charcoal (black)
- Ginger (blonde/gold)
- Cinnamon (red)
Optional Essential Oils – For Pleasant Scent and Added Benefits
Choose any of or any combination of skin-safe essential oils. You can add approximately 1 drop of oil per 1 tbsp. volume of your final recipe.
- Lavender oil (is also soothing)
- Peppermint oil (is also invigorating)
- Lemongrass oil (is also anti-dandruff)
- Tea tree oil (is also cleansing)
- Cedarwood oil (is also scalp balancing)
Recipes
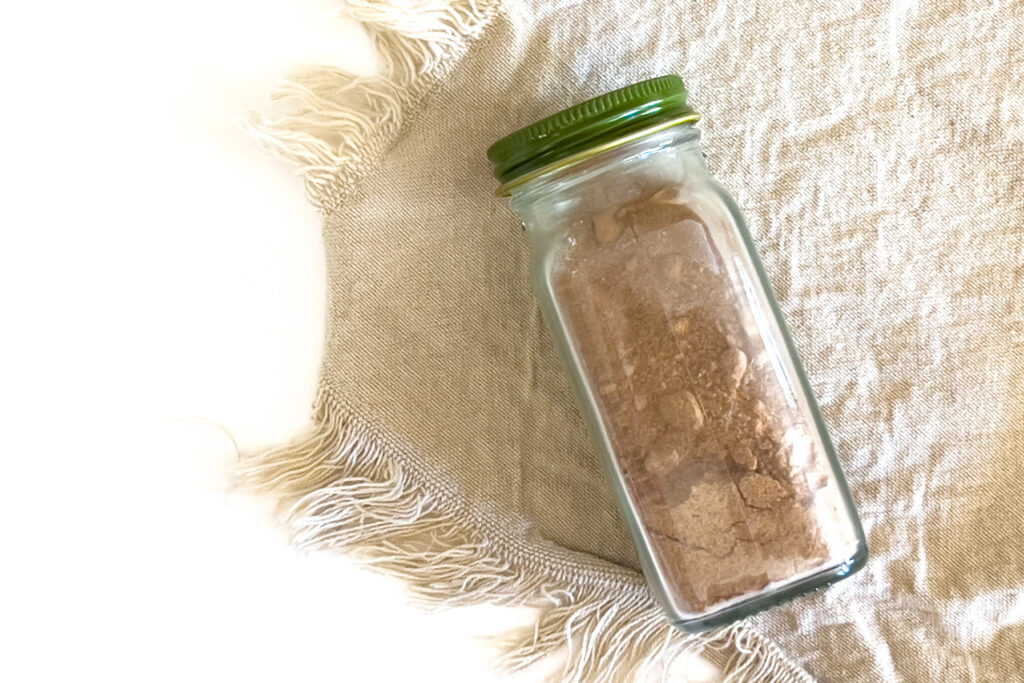
Each of these recipes make 4oz. (1/2 cup) volume, which is great for an 8oz. mason jar. It leaves room in the jar for shaking to mix and for dipping the brush into the powder.
For Light Hair – Blonde, Gray, Silver, or White
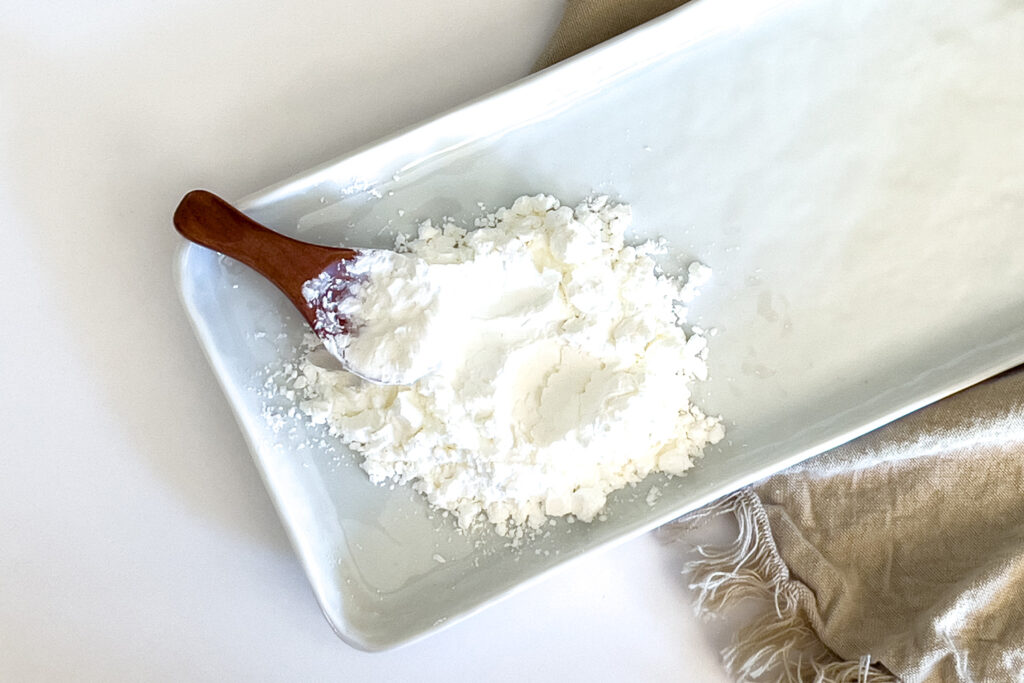
- 1/2 cup cornstarch or arrowroot powder
- Optional: 4-6 drops essential oil of choice
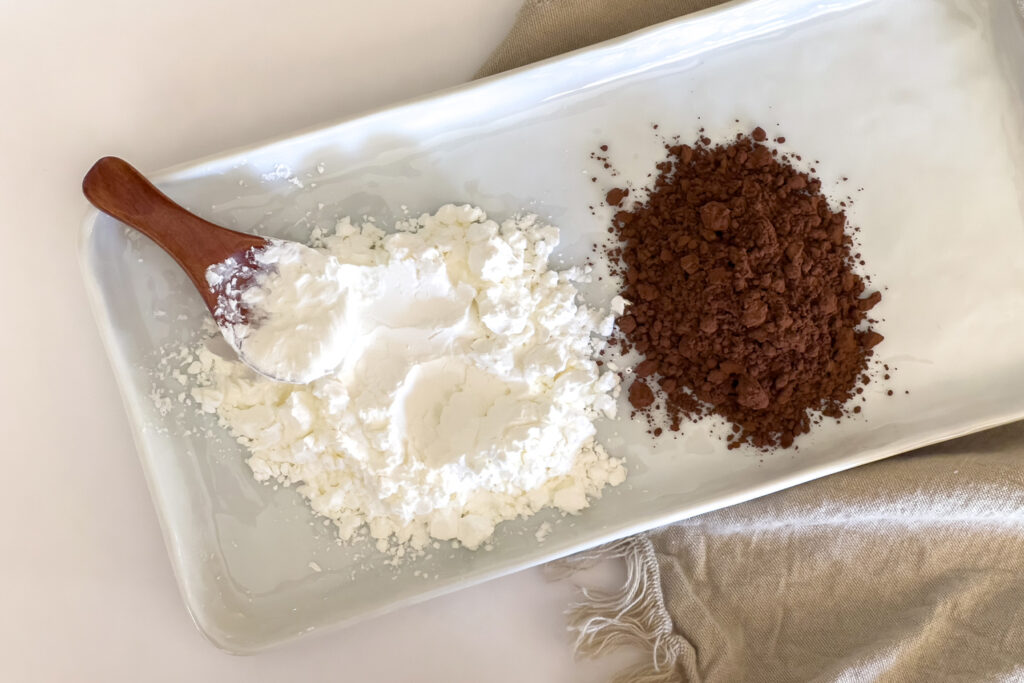
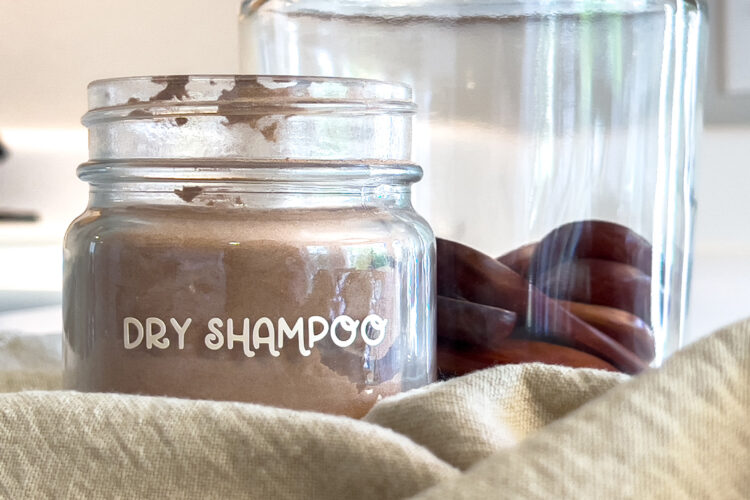
For Medium Hair – Dirty Blonde or Brown (this is the color I use!)
- 1/4 cup cornstarch or arrowroot powder
- 1/4 cup cocoa powder or cacao powder
- Optional: 4-6 drops essential oil of choice

For Dark Hair – Deep Brown or Black
- 1/4 cup cornstarch or arrowroot powder
- 1/8 cup (2 tbsp.) cocoa powder or cacao powder
- 1/8 cup (2 tbsp.) activated charcoal
- Optional: 4-6 drops essential oil of choice
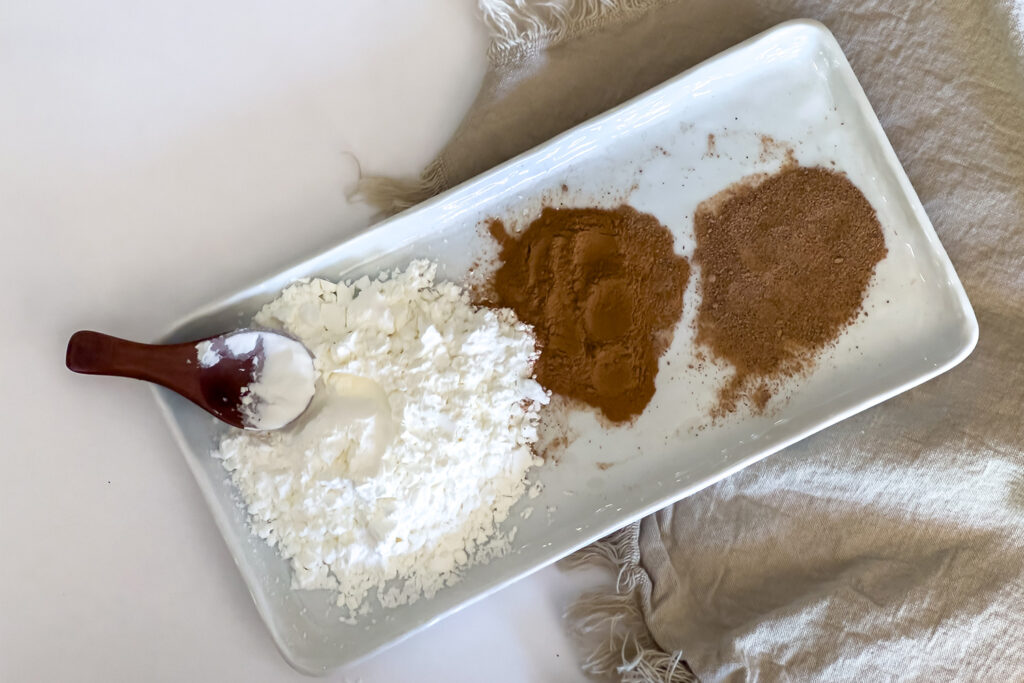
For Red Hair – Rich Red or Strawberry Blonde
- 1/4 cup cornstarch or arrowroot powder
- 1/8 cup (2 tbsp.) ground ginger
- 1/8 cup (2 tbsp.) ground cinnamon
- Optional: 4-6 drops essential oil of choice
Instructions
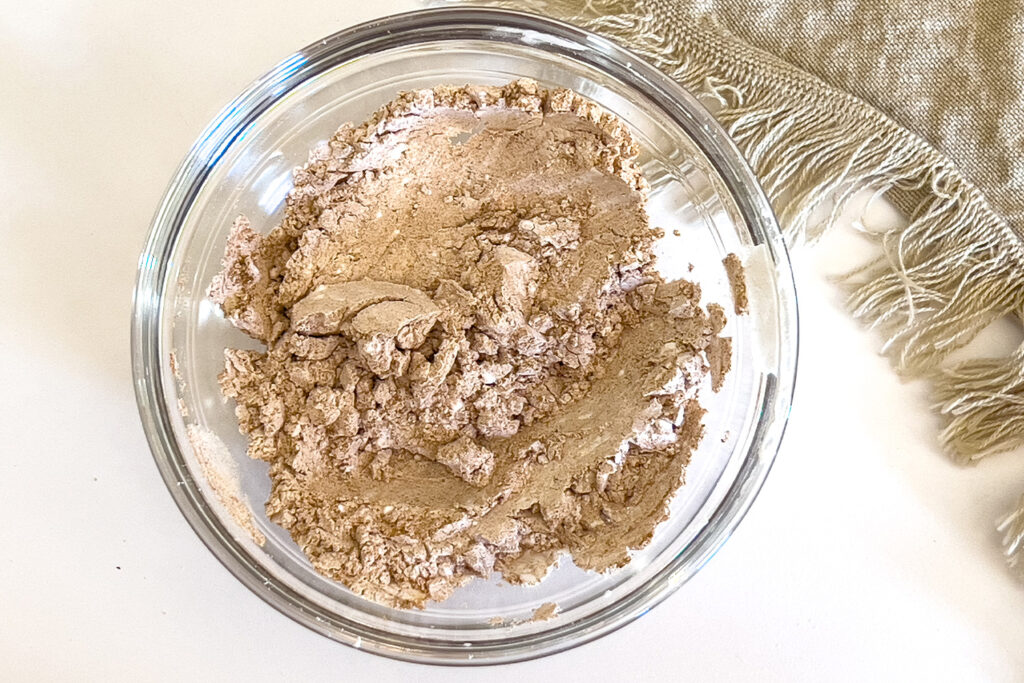
- Measure out each ingredient using a measuring cup or measuring spoon.
- Add each ingredient to a 8oz. mason jar, attach the lid, and gently shake to combine.
- Adjust the ingredient amounts if needed to match your hair color. Enjoy!
How To Use It
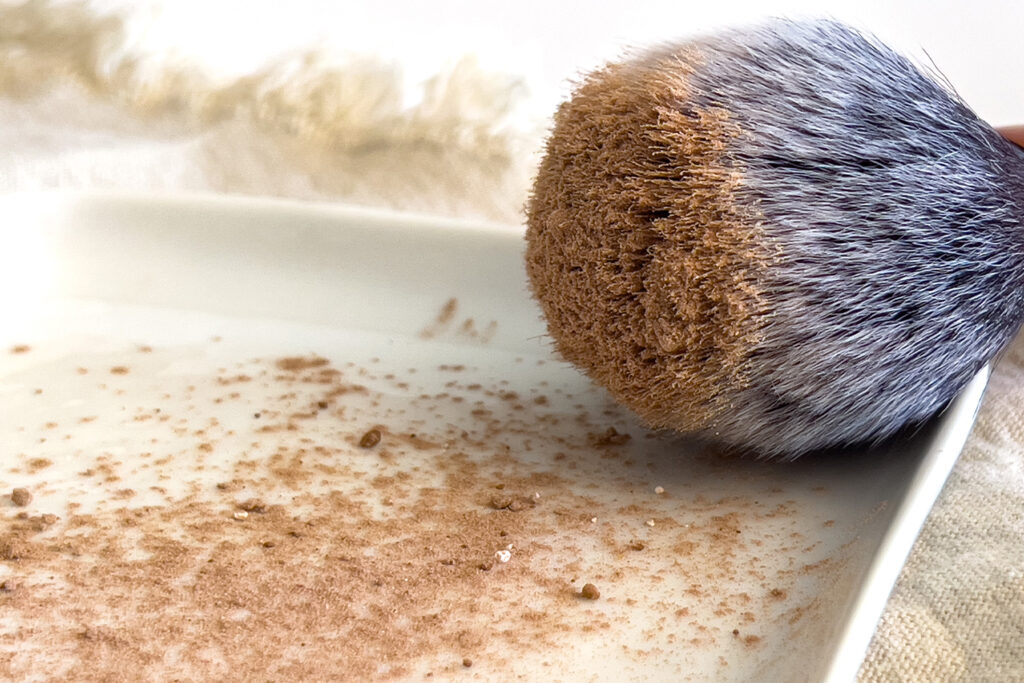
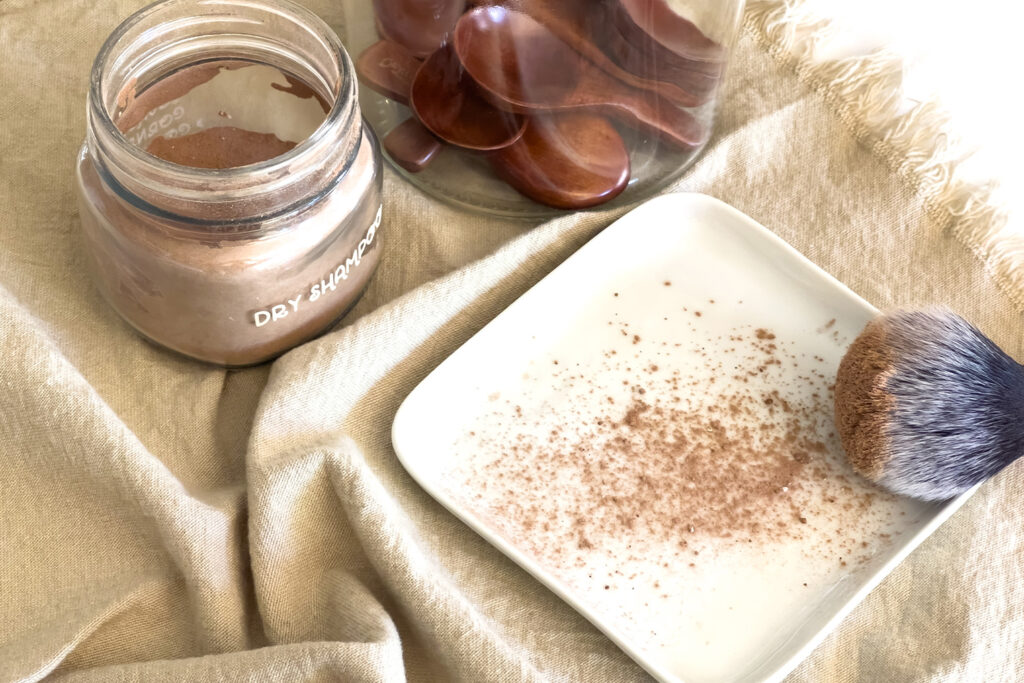
If Using a Makeup Brush
If it is stored in the mason jar, use brush like this fluffy makeup brush to apply it to the hair. Simply dip the brush into the powder, tap the excess powder off, and then dabble it onto the scalp. Make sure to apply it evenly on the entire scalp and hair line.
Once you’ve applied it, use your fingertips to work it through the hair. It will likely look very light or white, but not to worry. Give it a couple of minutes to absorb oils, and then use your finger tips one more time to shake it through your hair. It will disappear without leaving any white residue behind!
If Using a Spice Shaker
If you are using a spice shaker, simply tap or shake it onto your scalp and hairline. Once you’ve applied it, use your fingertips to work it through the hair. It will likely look very light or white, but not to worry. Give it a couple of minutes to absorb oils, and then use your finger tips one more time to shake it through your hair. It will disappear without leaving any white residue behind!
When to Apply
This product gives the hair a good amount of grit. So if you plan to heat style the hair, I recommend heat styling first and then applying the dry shampoo. This will also help to minimize product buildup on hair brushes and hot tools.
How To Store It
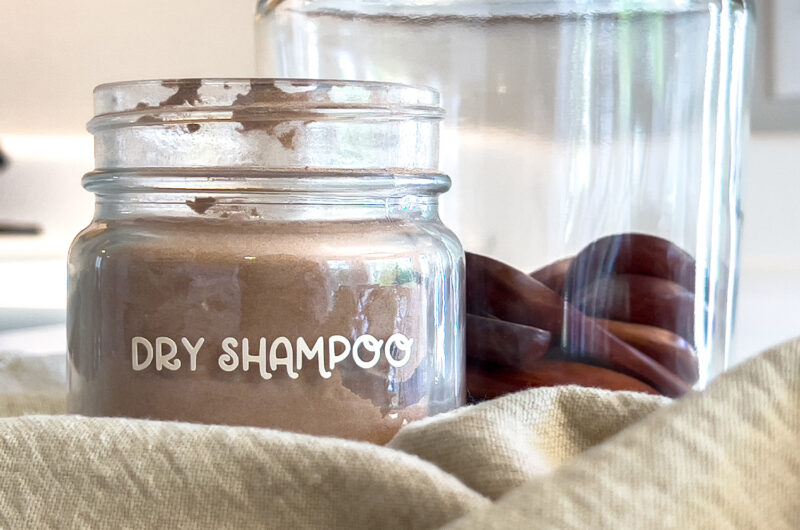
You can store your DIY Dry Shampoo in the mason jar that it was made in. I used my Cricut machine and ivory pearl vinyl to cut labels for my jar, but you could use this non-electric label maker just the same.
The other easy way to store your dry shampoo would be in a spice shaker. To do this, you could use a funnel to easily transfer the powder to the shaker after you’ve made it in the mason jar.
DIY Dry Shampoo, All-Natural and for All Hair Colors
Keeps your screen on while viewing recipe
Ingredients
- For Light Hair – Blonde, Gray, Silver, or White
1/2 cup cornstarch or arrowroot powder
Optional: 4-6 drops essential oil of choice- For Medium Hair – Dirty Blonde or Brown
1/4 cup cornstarch or arrowroot powder
1/4 cup cocoa powder or cacao powder
Optional: 4-6 drops essential oil of choice- For Dark Hair – Deep Brown or Black
1/4 cup cornstarch or arrowroot powder
1/8 cup (2 tbsp.) cocoa powder or cacao powder
1/8 cup (2 tbsp.) activated charcoal
Optional: 4-6 drops essential oil of choice- For Red Hair – Rich Red or Strawberry Blonde
1/4 cup cornstarch or arrowroot powder
1/8 cup (2 tbsp.) ground ginger
1/8 cup (2 tbsp.) ground cinnamon
Optional: 4-6 drops essential oil of choice
Directions
- Measure out each ingredient using a measuring cup or measuring spoon.
- Add each ingredient to a 8oz. mason jar, attach the lid, and gently shake to combine.
- Adjust the ingredient amounts if needed to match your hair color. Enjoy!
Like this recipe?
Follow @everypurposehome on Pinterest for more!
