

If you search for the best way to finish and restore cutting boards, you’ll see an overwhelming number of people recommending mineral oil. However, mineral oil is derived from crude petroleum. I personally didn’t like the idea of rubbing my cutting board with petroleum and then putting food on it. This is why I decided to make my own 100% edible and organic cutting board butter finish with just two ingredients! Learn how to make it, and how I use it, below!
Why Make Your Own Board Butter
The short answer is because it’s nearly impossible to find anything like this that contains clean ingredients. Every other cutting board finish either contains mineral oil, or has other additives that made it not organic or all-natural. It’s also more affordable to make your own!
Supplies Needed
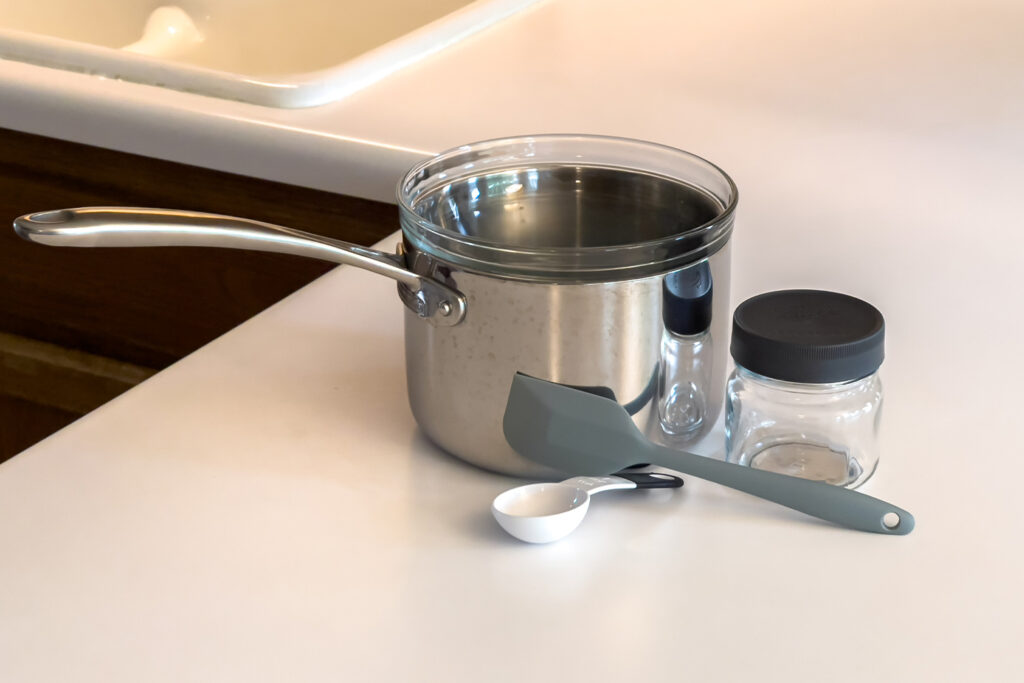
- 4 oz. (or larger) jar
- Small pot and medium bowl to use as a double boiler
- Spatula
- Measuring spoons
Ingredients
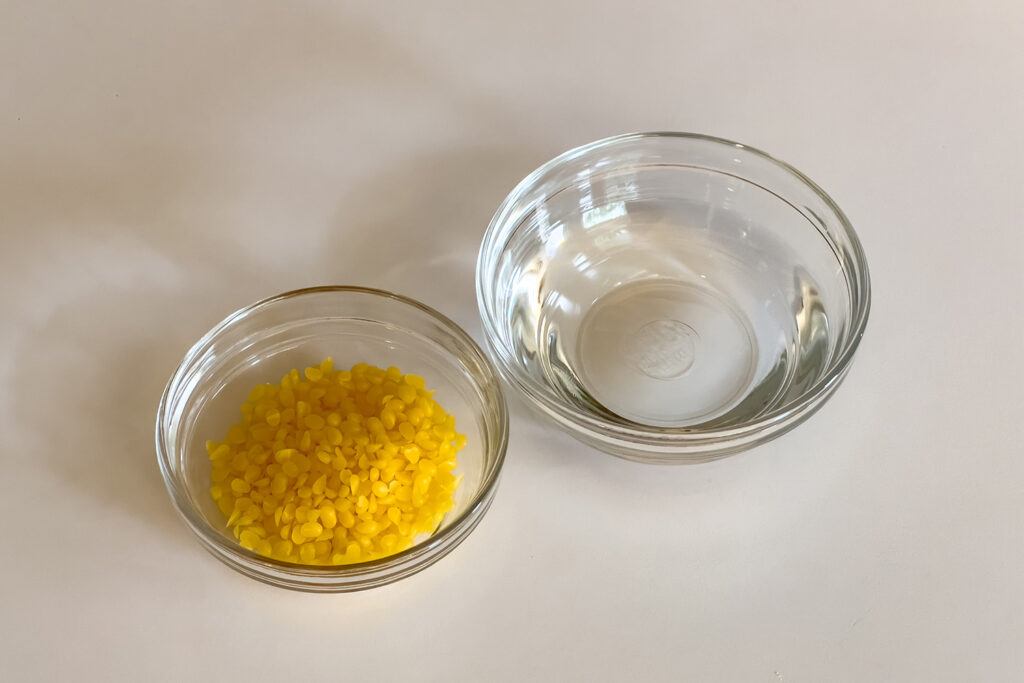
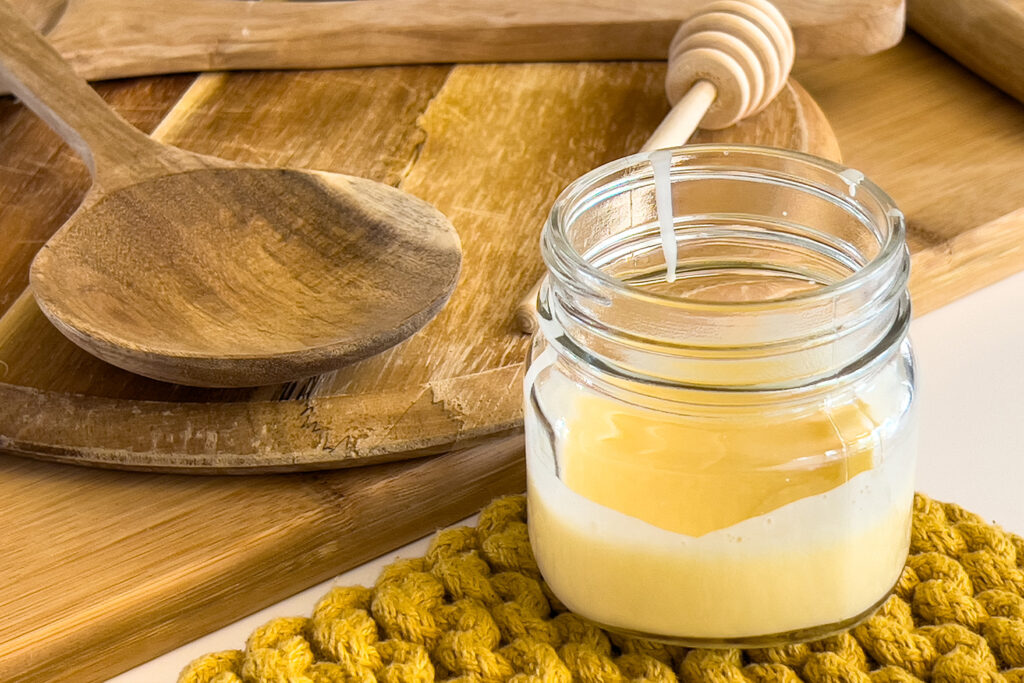
- Fractionated coconut oil (liquid at room temperature)
- Food-grade beeswax
Directions
Add enough water to cover the bottom of the pot, and heat on the stovetop until simmering.
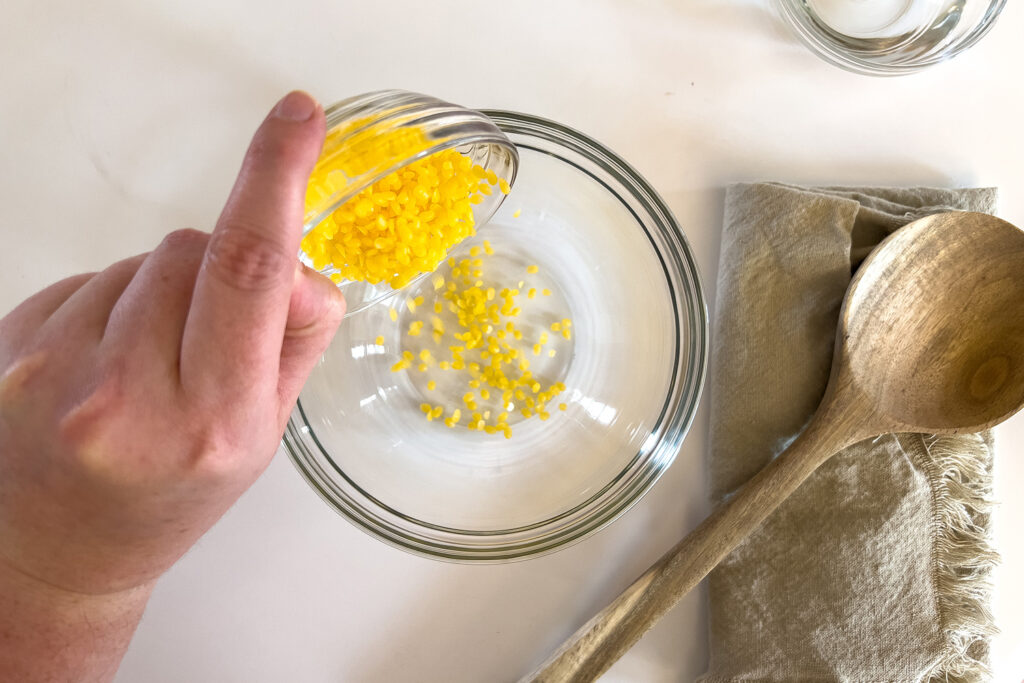
While the pot of water is warming up, place beeswax and the coconut oil into the bowl of the double boiler.
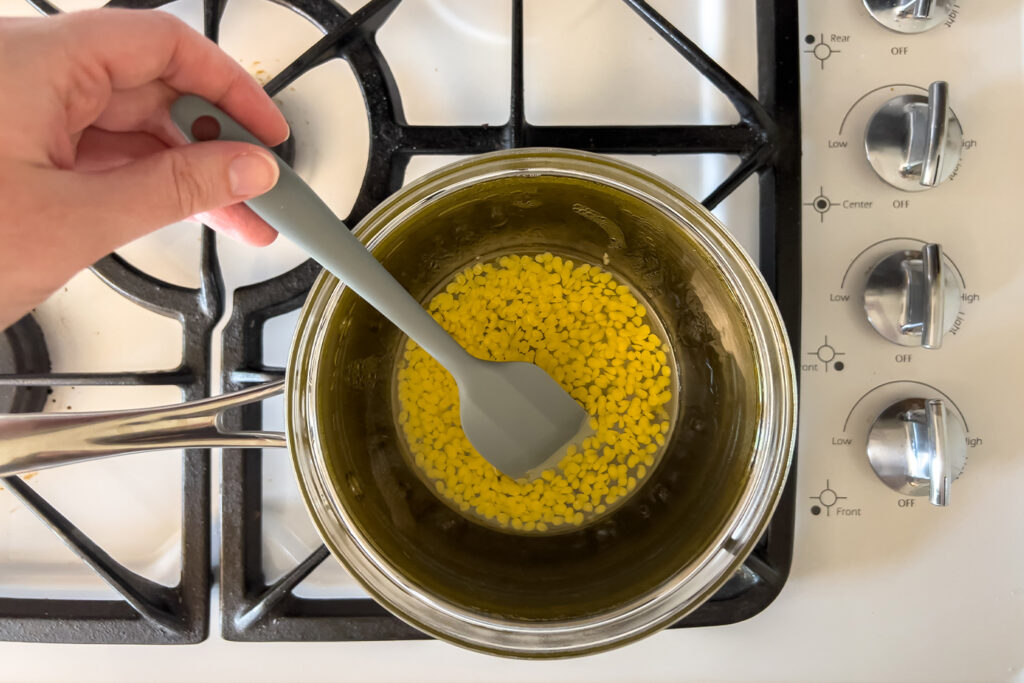
Put the bowl on top of the pot of simmering water.
Stir it with a spatula until the beeswax is completely melted, about 3-5 minutes.
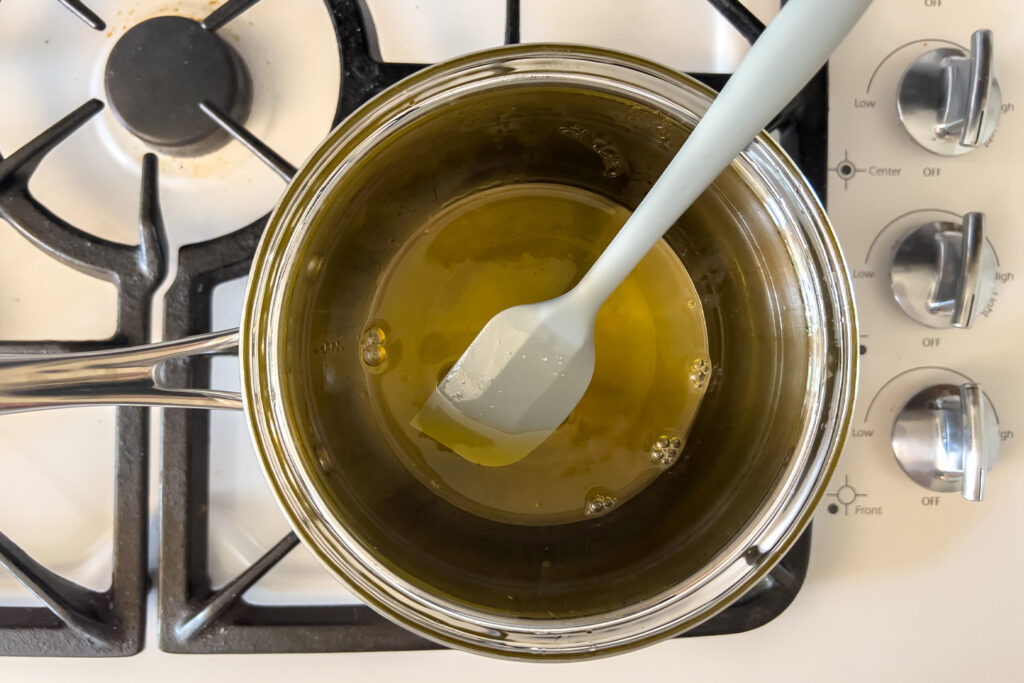
Once melted, remove the bowl from the heat, and stir again thoroughly to make sure it’s combined.
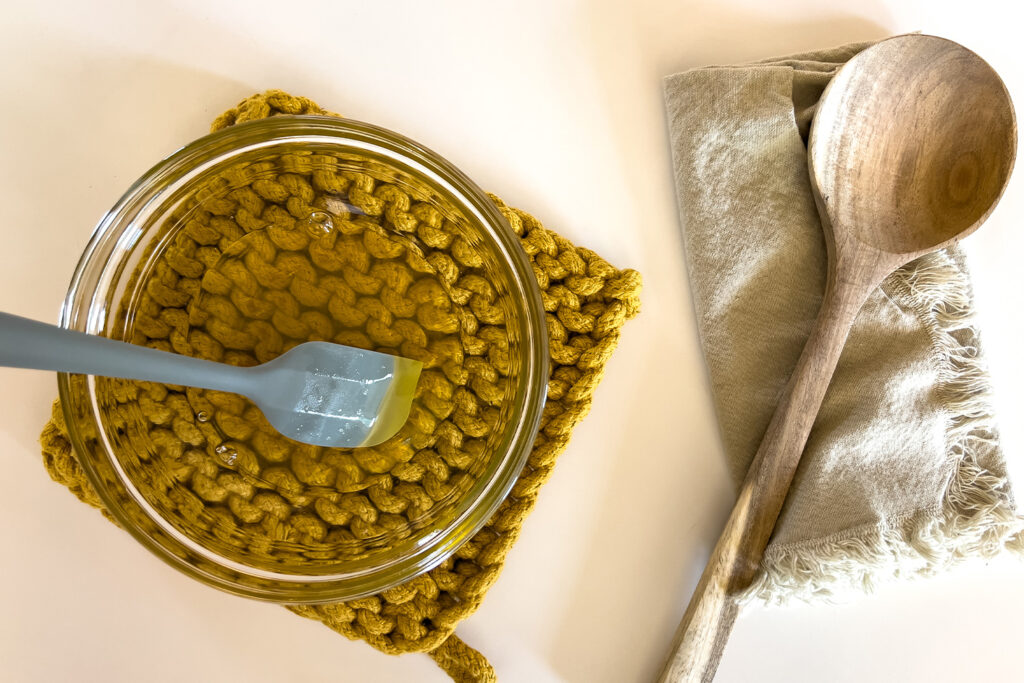
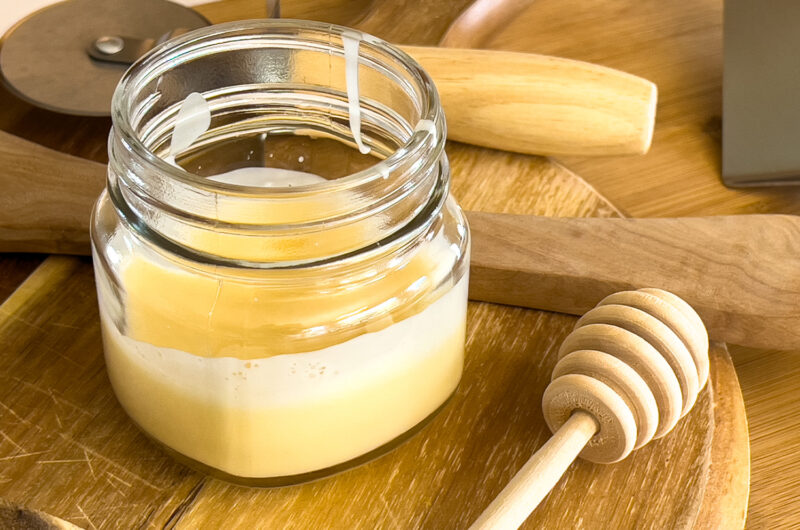
Pour into your storage jar, leaving the lid off until it’s cool to the touch.
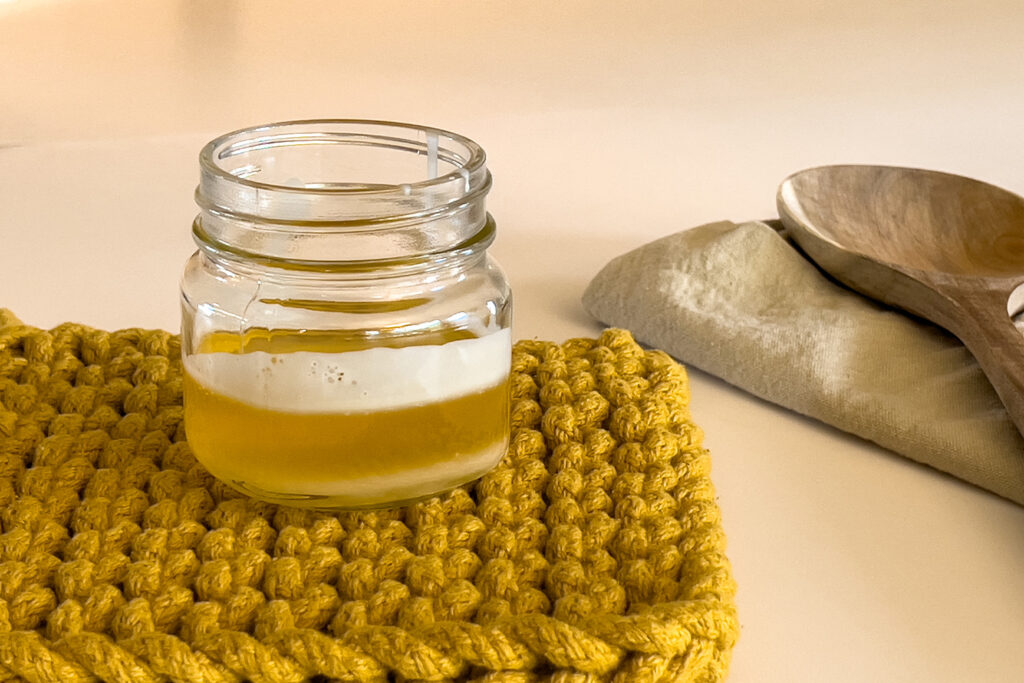
As it cools, you’ll see it go from a liquid to a semi-solid. This will take about an hour.
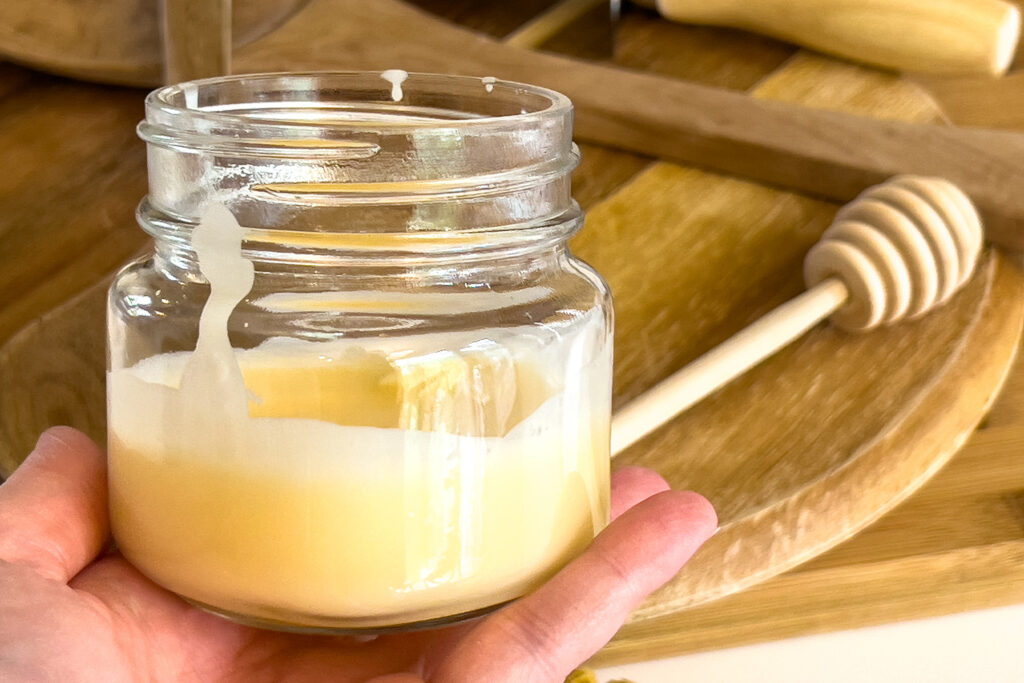
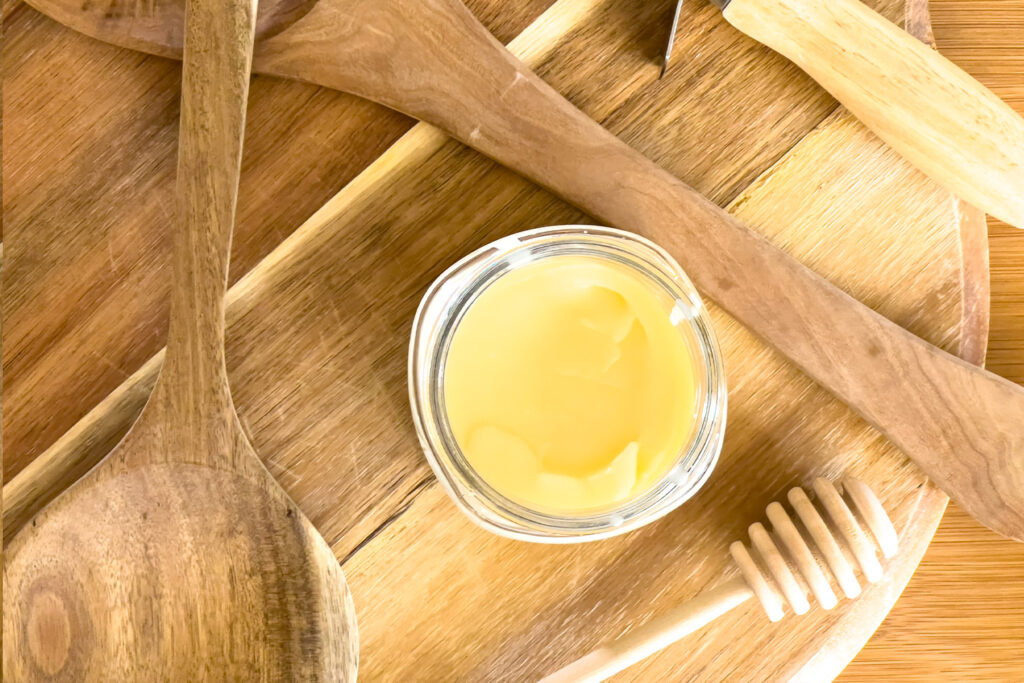
Place the lid on the jar, and it’s ready to use! This organic cutting board butter finish can be stored at room temperature for up to 6-12 months.
How To Use Cutting Board Butter Finish
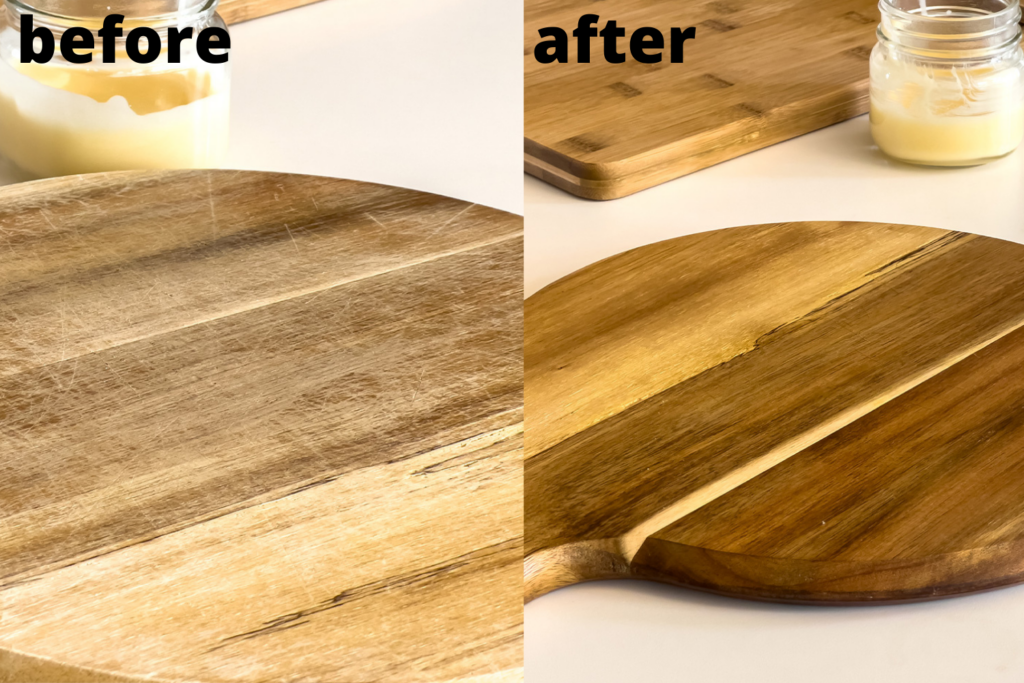
Thoroughly wash your wood cutting board or utensils, and allow it to dry thoroughly overnight.
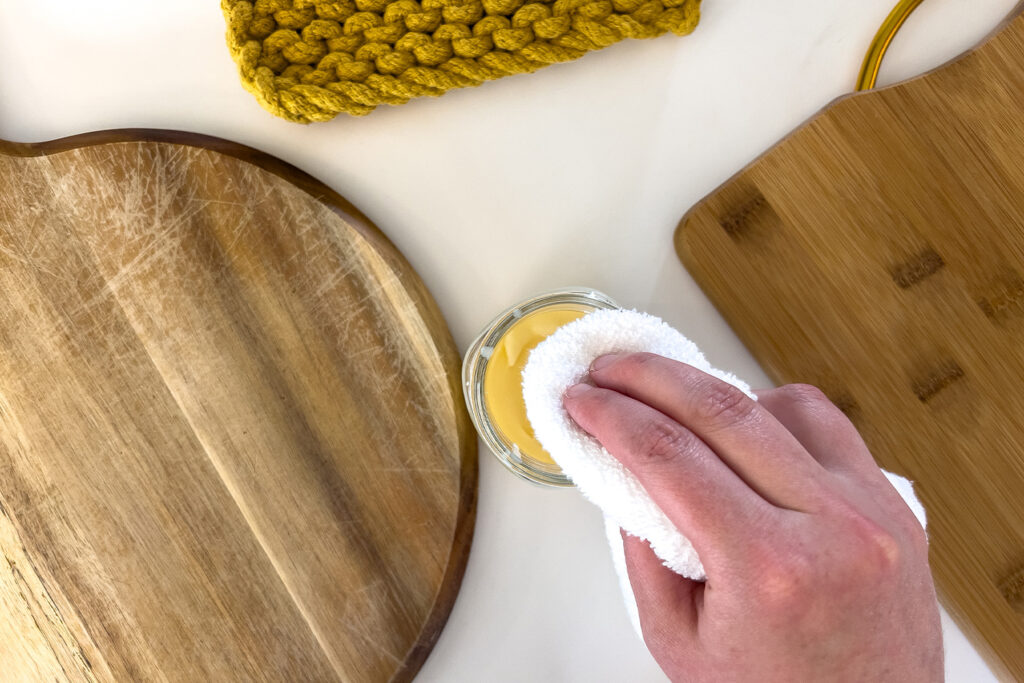
Dip the corner of a clean and dry cloth into your jar of cutting board butter finish. You will need about a quarter sized amount for each side of an average cutting board.
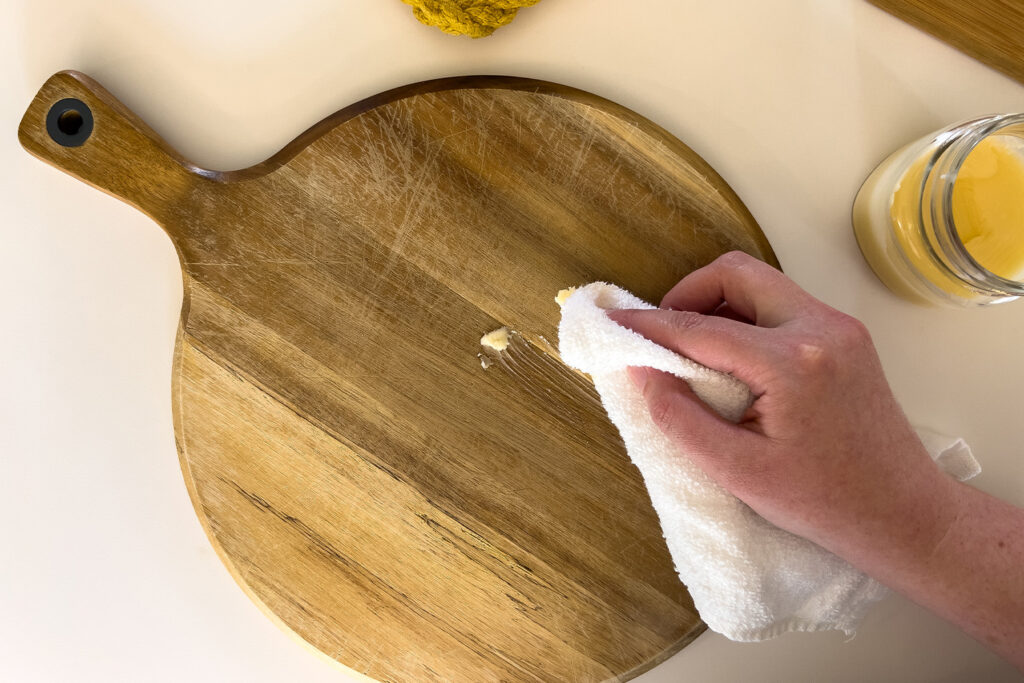
Using circular motions, buff the finish onto every portion of the cutting board.
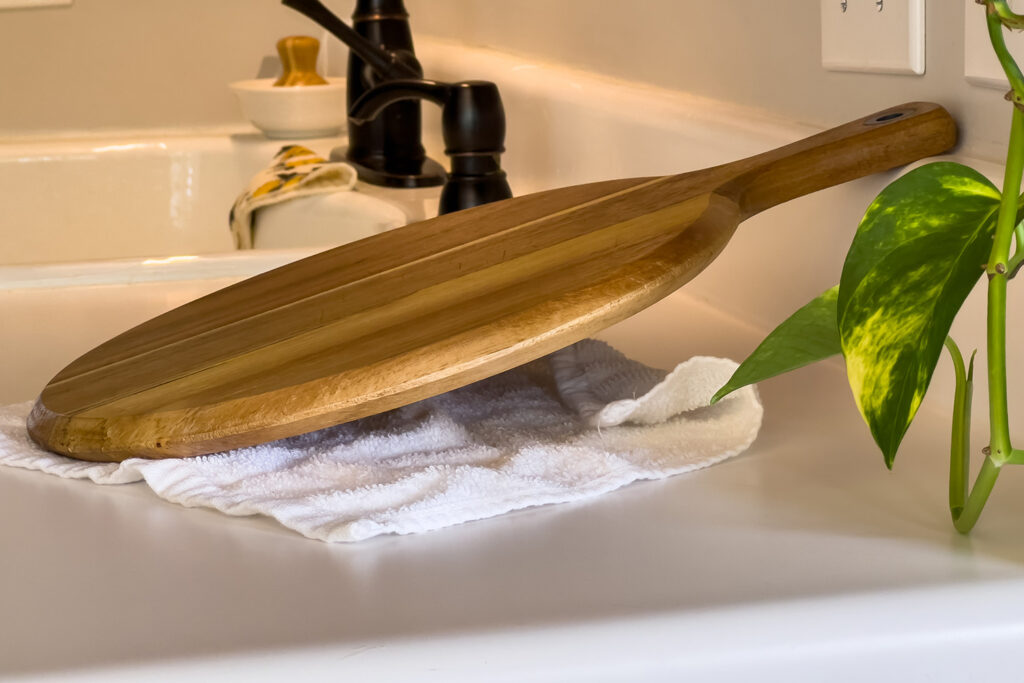
Once you’ve covered the entire board in finish, prop the board up so that neither side is laying flat against anything.
Allow to sit at least 2-6 hours, or even overnight. This gives the coconut oil time to deeply penetrate the wood, and the beeswax time to harden as a protective layer on the outside of your cutting board.
Buff off the excess with a fresh clean cloth.
You can follow this exact same process for the other applications, including wood utensils.
What can this cutting board butter finish be used on?
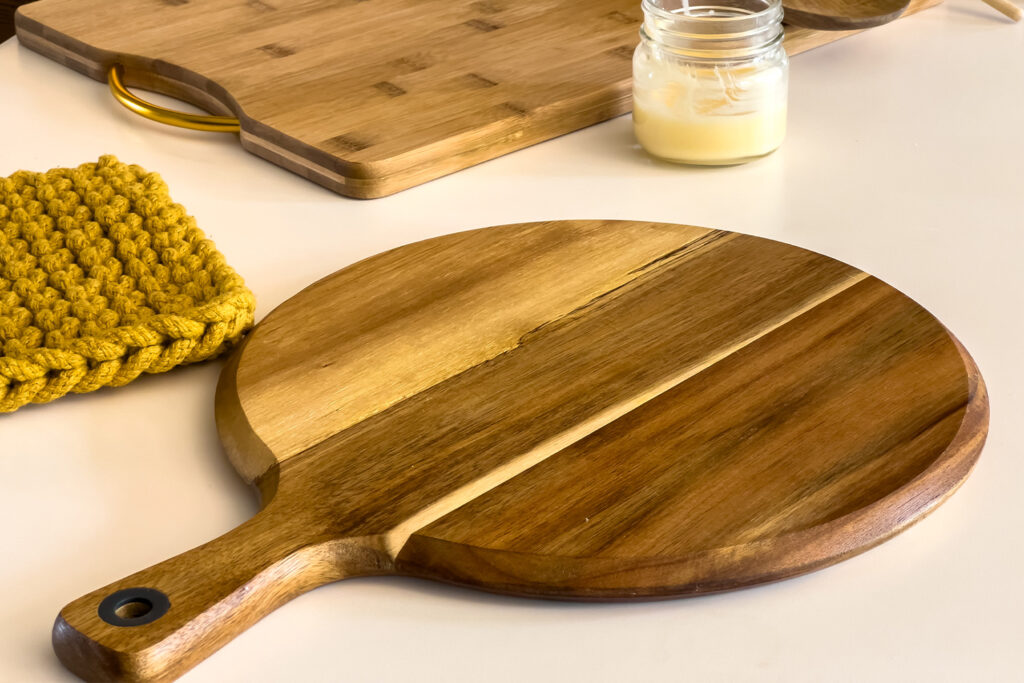
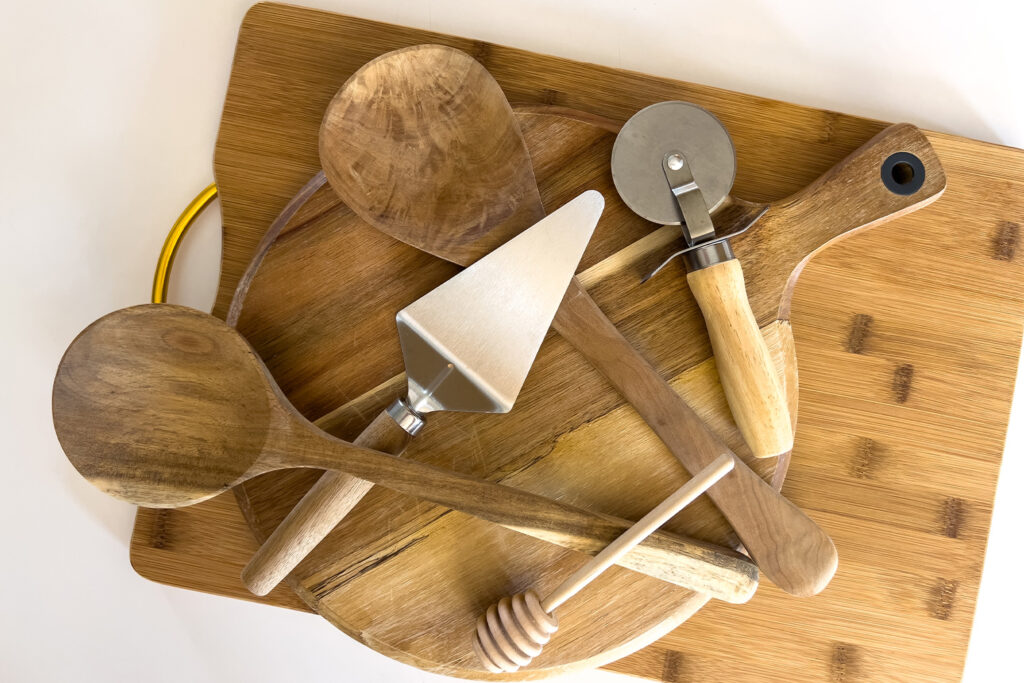
You can use this organic cutting board finish to condition and maintain all of your wood kitchen products, including:
- Cutting boards
- Charcuterie boards
- Wood spoons, spatulas, and other kitchen utensils
- Wood handles on silicone utensils
- You can even use it to revive old wood furniture and kitchen cabinets!
How often should I oil or wax my cutting board or wood utensils?
It’s recommended that you apply finish to your wood cutting boards and utensils about once a month, or when they begin to appear dry or cracked. Maintaining a consistent schedule will keep your boards and utensils in their best shape!
Can I add essential oils?
You may choose to add essential oils to this cutting board butter finish recipe. Popular options include citrus essential oils such as lemon essential oil and orange essential oil. To add essential oils, stir them in once the melted wax and oil has been removed from the heat, just before pouring it into the jar. You can add anywhere from 4-8 drops of oil in this recipe.
Organic Cutting Board Finish (For Wood Utensils Too!)
Keep your cutting boards and wood kitchen utensils in their best shape by making this 100% edible and organic cutting board butter recipe! It’s mineral oil free, easy to make, and takes only two ingredients that you may already have in your home.
Keeps your screen on while viewing recipe
Ingredients
- Supplies:
– 4 oz. (or larger) jar
– Small pot and medium bowl to use as a double boiler
– Spatula
– Measuring spoons- Ingredients:
4 tbsp. fractionated coconut oil (liquid at room temperature)
2 tbsp. food-grade beeswax
Directions
- Create a double boiler by filling the bottom two inches of a small pot with water, and then placing a heat-safe bowl on top of the pot of water. Bring the water to a simmer on the stovetop over medium heat.
- While you’re waiting for it to simmer, place the beeswax and coconut oil in the bowl of the double boiler.
- Allow the beeswax to melt completely (takes about 5-10 minutes), and stir it with a spatula to combine.
- Once fully melted, remove from the heat, and pour the mixture into your storage jar. Leave the lid off while the board butter cools to room temperature (about 1 hour).
- Place the lid on the jar, and it’s ready to use! This organic cutting board butter can be stored at room temperature for up to 6-12 months.
- To Use:
- Thoroughly wash your wood cutting board or utensils, and allow to dry thoroughly overnight. Dip a clean and dry cloth into the organic cutting board butter, and apply thoroughly onto each side of the cutting board or utensil in circular motions. Allow it to sit for 2-6 hours before buffing away the excess. Reapply as needed (recommended once per month).
Recipe Notes
- To Add Essential Oils: To add essential oils to this recipe, stir about 4-8 drops into the melted mixture once it has been removed from the heat (step 4), and stir thoroughly before pouring it into your storage jar and continuing on with the steps. Popular options for oils include citrus essential oils such as lemon essential oil and orange essential oil.
Like this recipe?
Follow @everypurposehome on Pinterest for more!

)