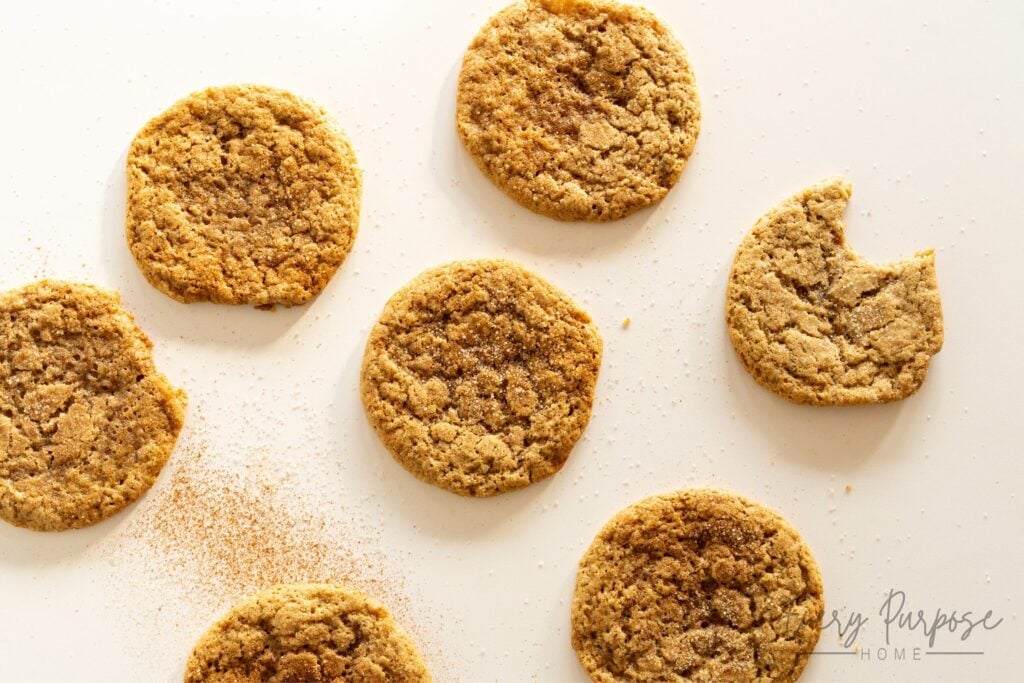
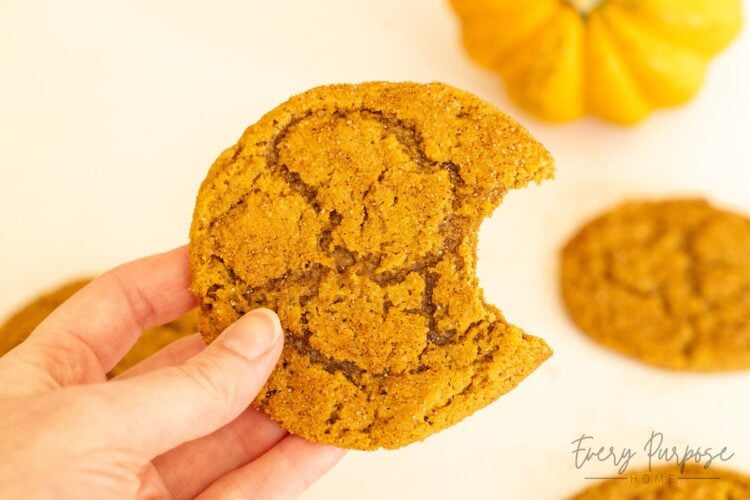
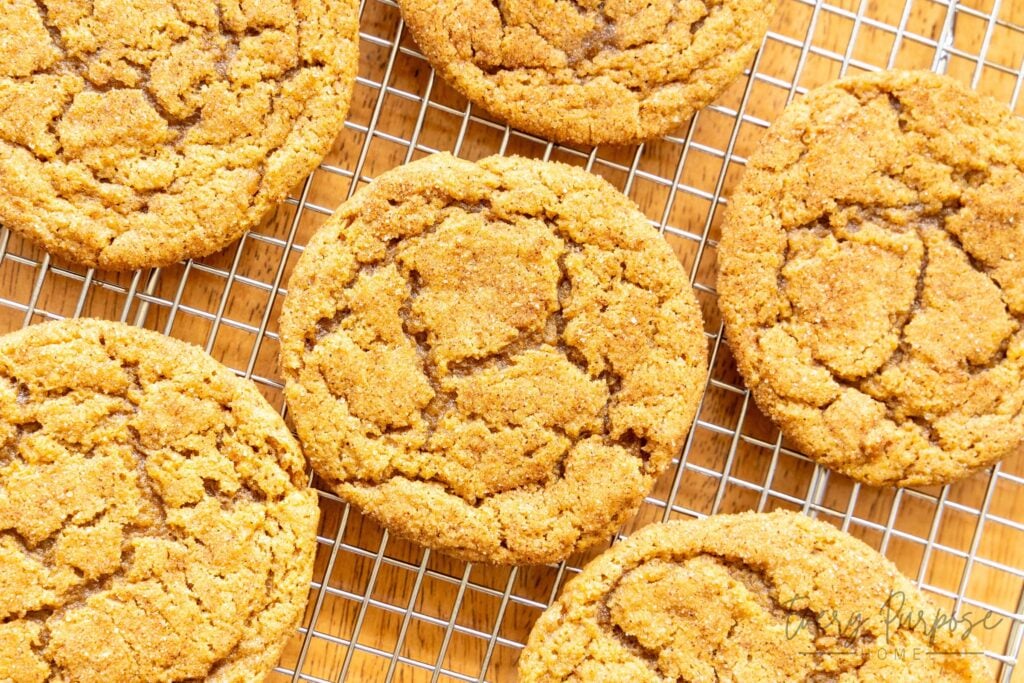
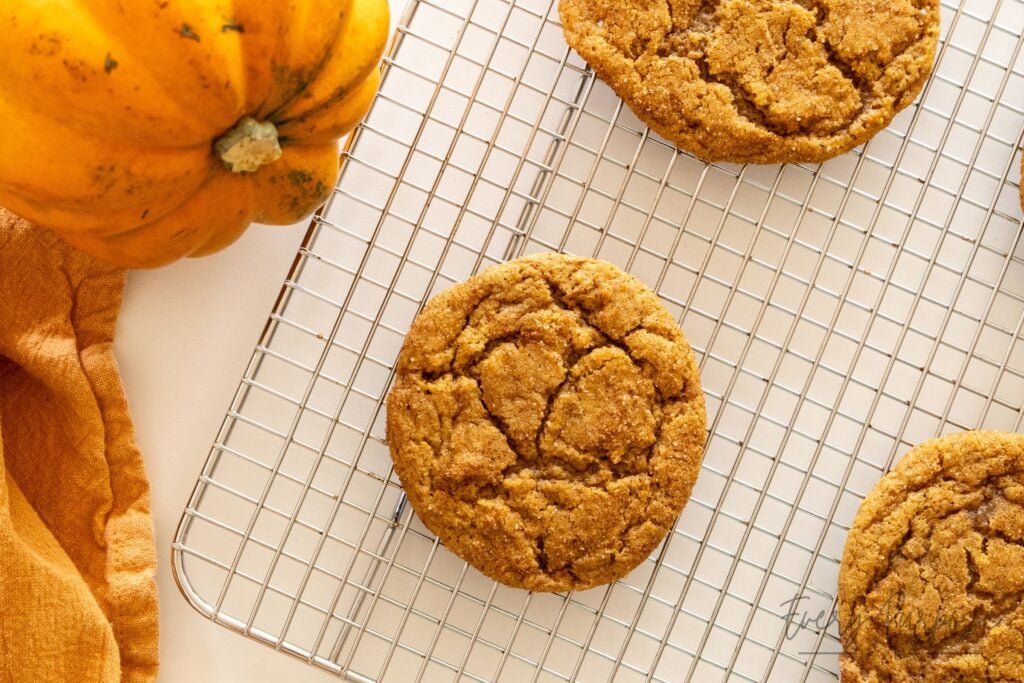
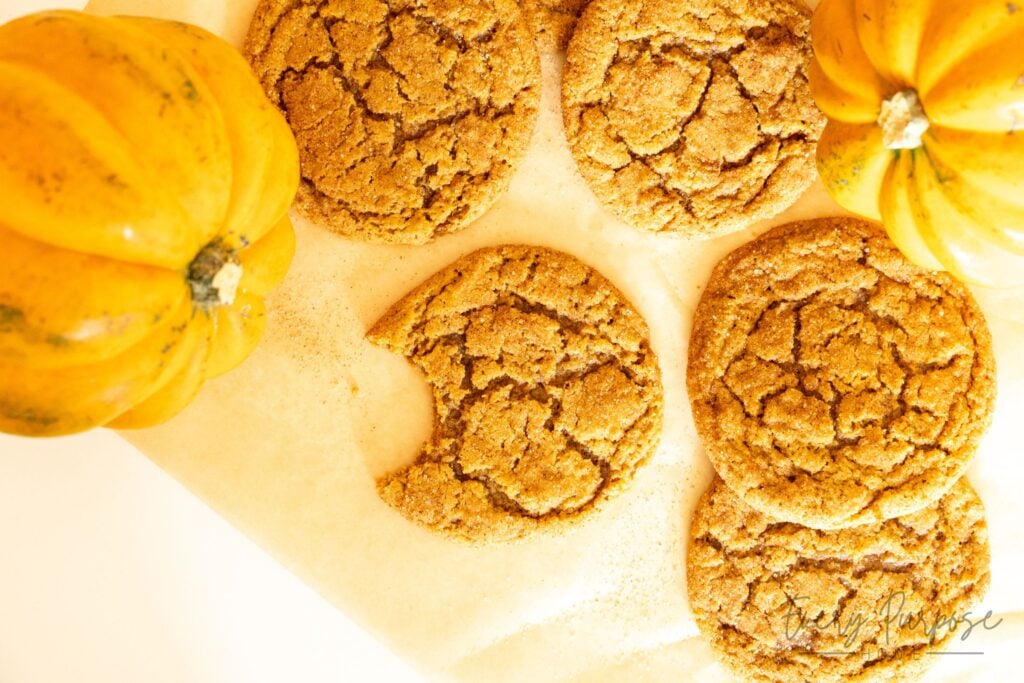
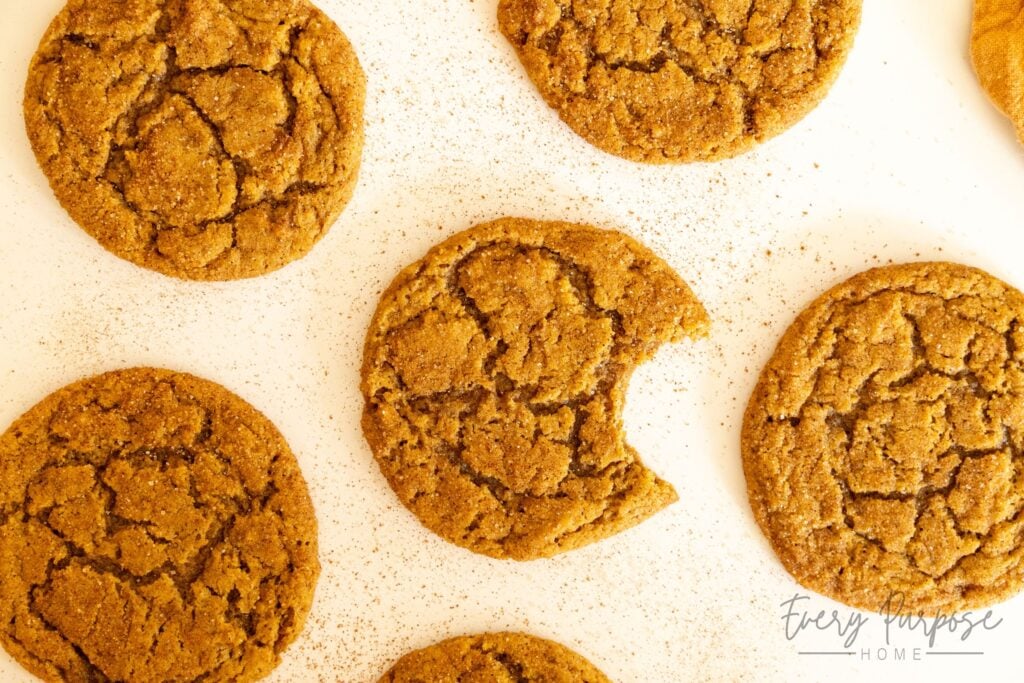
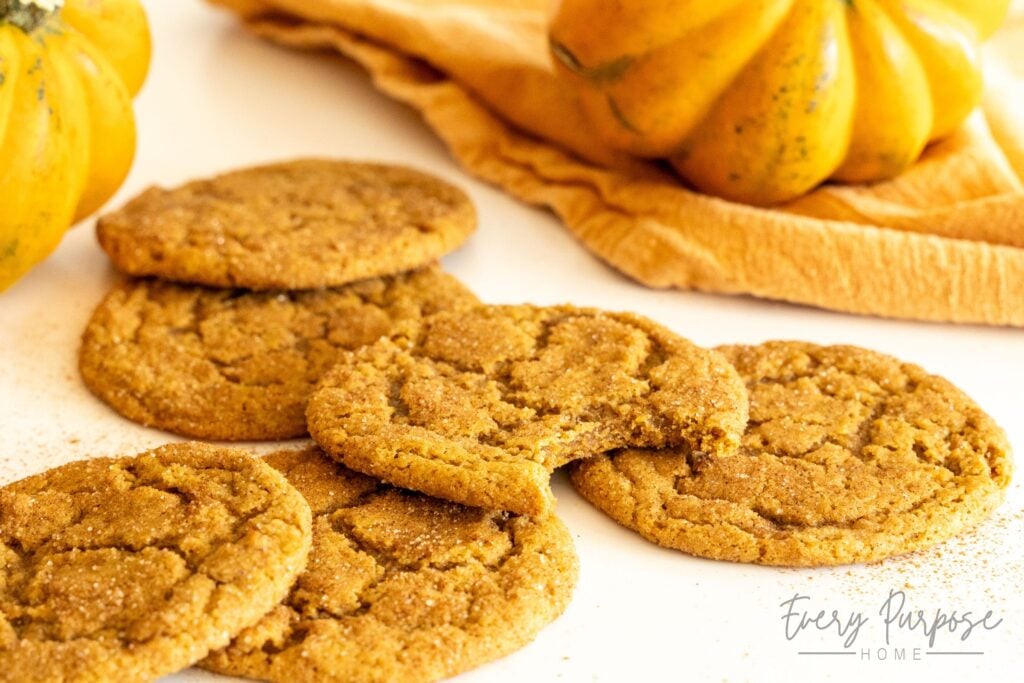
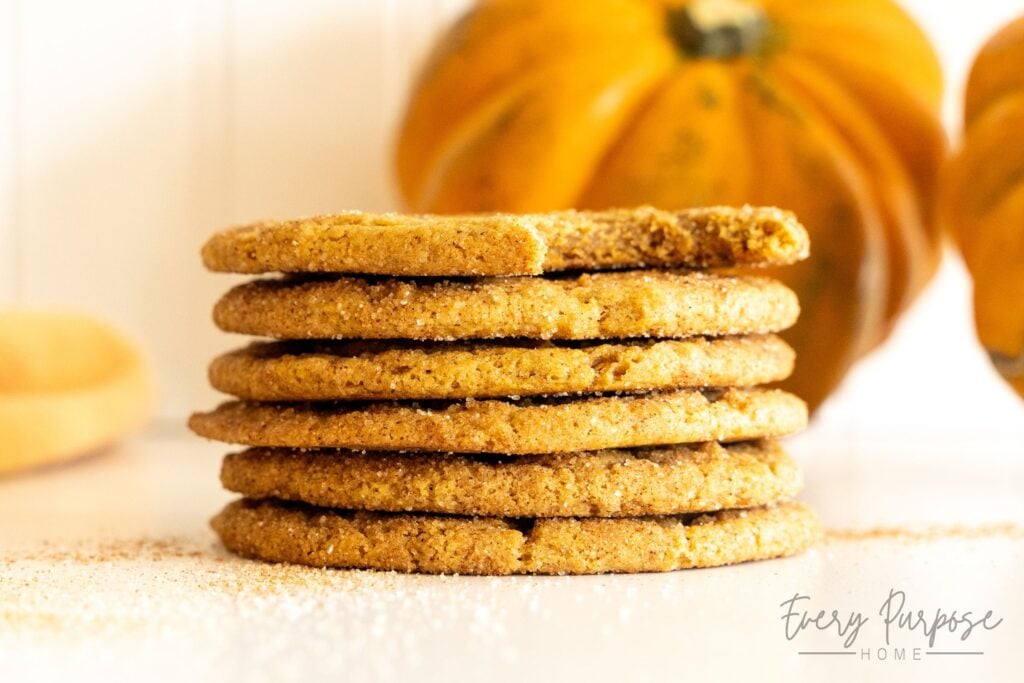
Finally, a pumpkin cookie that actually tastes like a cookie and not a muffin! If you are tired of pumpkin baked goods turning out cakey and fluffy, I have finally cracked the code. These sourdough pumpkin cookies are incredibly dense and chewy, everything a proper cookie should be. Using brown butter and rolled in cinnamon and sugar for a warm pumpkin snickerdoodle feel, this quick dough is ready to bake same-day, making it the perfect recipe to keep in your rotation all fall long.
Essentials for the Perfect Sourdough Cookie
- Digital Kitchen Scale: In my kitchen, a digital scale is a non-negotiable! I have had this exact digital scale for years, and it has never failed me! Measuring by weight is the only foolproof way to ensure accuracy, especially for flour and sourdough starter which are often difficult to measure and can make or break the final texture of the cookies.
- Stand Mixer: A quality stand mixer is a game changer for sourdough cookies. It helps combine the thick dough with ease without over-mixing, which is key for a tender crumb!
- Large Cookie Scoop: Most of my sourdough cookie recipes are designed for making jumbo cookies. Using a large cookie scoop ensures that you get the bakery-style size with even baking every time!
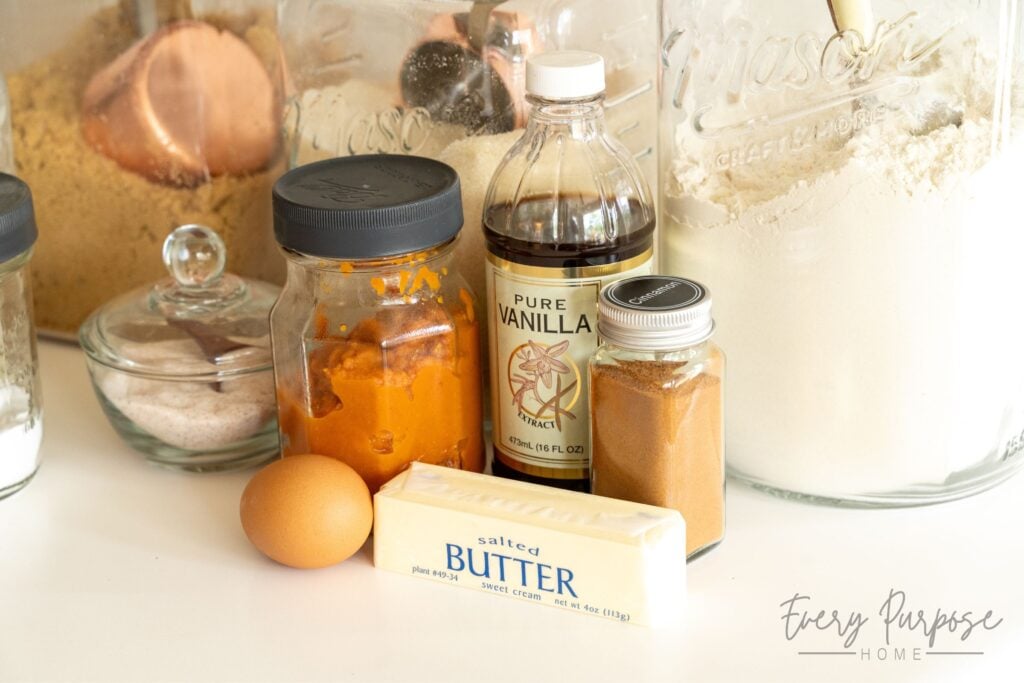
Ingredients
- ½ cup salted butter (113g): Browning the butter in the recipe helps add the deepest caramel flavor and perfect gooey texture! To use unsalted butter, add ¼ tsp additional salt.
- ½ cup canned pumpkin (120g): Using canned pumpkin helps make this a quick and easy recipe! Cooking the pumpkin down concentrates the flavor and helps remove moisture for chewier and gooier cookies.
- 1¼ cups light brown sugar, packed (275g): Pack it tight for the best chew and a perfect spread!
- 1 tbsp granulated sugar (13g): Balances moisture for slightly crisp edges while maintaining the chewy center.
- ⅓ cup sourdough starter, active or discard, stirred down (125g): Active or discard starter works! Stir it down well before measuring by volume. For best accuracy, measure by weight.
- 1 large egg yolk (20g): Yolk only (skipping the egg white) gives the cookies a gooey, dense center that is never cakey.
- 1 tsp vanilla extract (5g): Pure vanilla extract provides the cleanest, best flavor.
- 1 tbsp pumpkin pie spice (7g): You can use pre-mixed pumpkin spice, or you can make your own for this recipe by stirring 2 tsp cinnamon, ½ tsp ground ginger, ½ tsp ground nutmeg, and a dash of cloves. I usually make my own!
- ¾ tsp salt (4.5g): Sea salt is preferred over iodized salt for a cleaner flavor profile.
- 1⅓ cups all-purpose flour, scooped (not spooned or sifted) (210g): I designed this volume measurement to be scooped directly out of the bag (not sifted or spooned and leveled). Pro Tip: For the best accuracy and overall cookie texture, measure flour by weight.
- 1 tsp baking soda (6g): Ensure you are using baking soda, not baking powder. They’re not interchangeable here.
- 3 tbsp cinnamon sugar: To make this, just mix 2½ tbsp granulated sugar and 1½ tsp ground cinnamon in a small bowl. We will roll the cookies in this mixture for the perfect sourdough pumpkin snickerdoodle flavor!
How to Make Chewy Sourdough Pumpkin Cookies
Step 1: Brown & Chill Butter
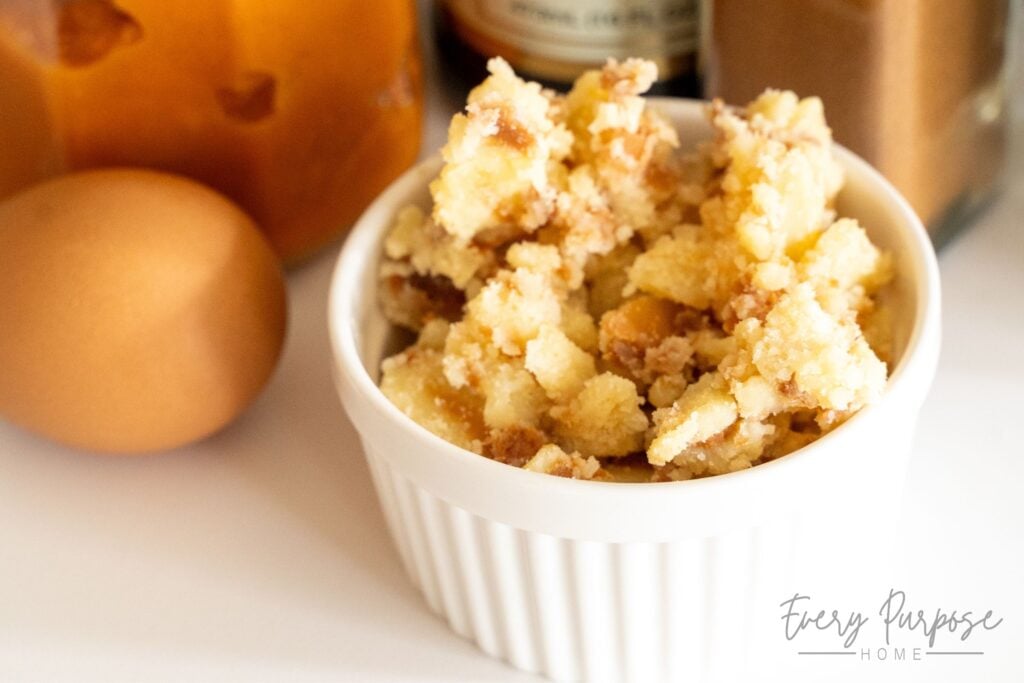
Place your butter in a small saucepan over medium-low heat. Allow it to simmer for about 5-7 minutes, stirring constantly so it doesn’t burn. You will see it foam up, and as that foam dissipates, the butter will quickly turn a beautiful golden color with little brown flecks at the bottom. Once you smell that signature nutty caramel aroma, immediately remove it from the heat! Transfer the brown butter to a shallow bowl and place it in the fridge for about 1 to 1½ hours.
Pro Tip: You want the butter to re-solidify into a “dent soft” consistency before mixing. Re-solidifying the melted brown butter is the secret to preventing the dough from over-spreading in the oven, ensuring your final bake maintains a beautiful, thick, dense, and chewy structure.
Step 2: Reduce & Chill the Pumpkin
Place your canned pumpkin in a small saucepan over medium-low heat. Cook it down, stirring frequently, until most of the liquid has evaporated and it thickens into a paste. You will know it is ready when it deepens into a rich, golden rust color, or when there is barely any loose liquid remaining left. If you prefer to weigh your ingredients, you should be left with about 75g to 85g of concentrated pumpkin. Transfer it to a refrigerator-safe dish and chill completely.
Pro Tip: Why do we reduce the pumpkin? Canned pumpkin holds a lot of excess water. Cooking that moisture out is the absolute most important step to ensuring your cookies turn out perfectly dense and chewy, rather than puffy and cakey. Do not skip this step!
Step 3: Preheat Oven & Prep
Once the butter and pumpkin are completely chilled, preheat oven to 350°F (175°C). Line baking sheet with parchment paper.
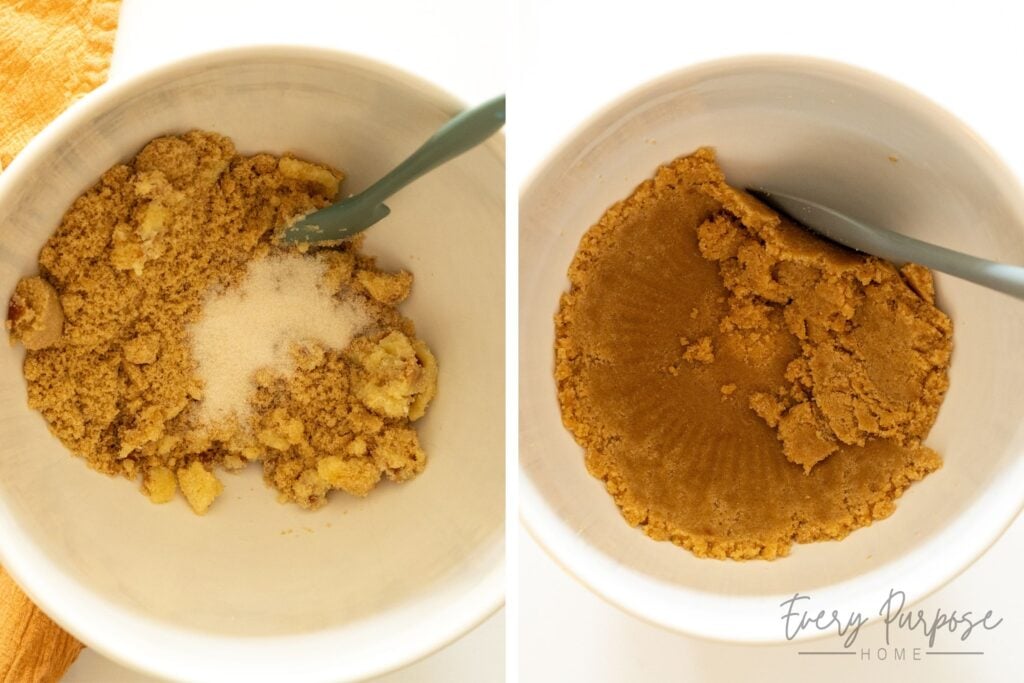
Step 4: Cream the Butter & Sugars
Beat the brown sugar, granulated sugar, and cooled brown butter until the texture is creamy, uniform, and slightly aerated. If you see chunks of butter, keep mixing! This works best with a stand mixer (paddle attachment) or a handheld electric mixer.
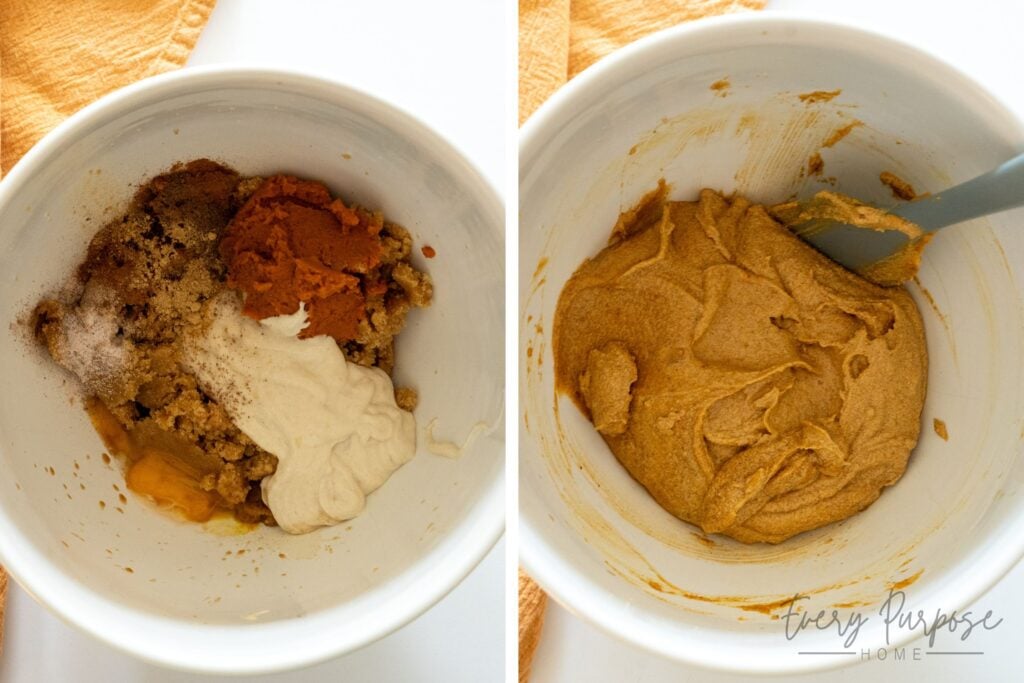
Step 5: Add the Wet Ingredients
Add the sourdough starter, cooled reduced pumpkin, egg yolk, vanilla extract, pumpkin spice, and salt. Beat until smooth and slightly frothy. Pro Tip: Scrape down the sides of the bowl to ensure the starter is fully incorporated with no streaks remaining.
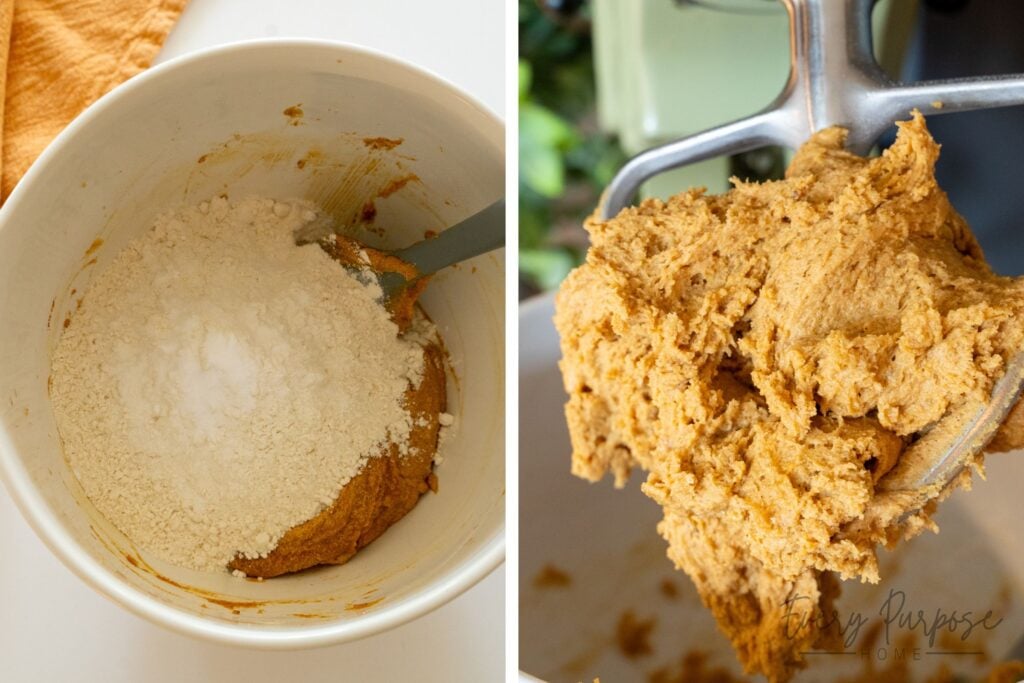
Step 6: Incorporate the Dry Ingredients
Add the flour and sprinkle the baking soda evenly over the top. Turn the mixer to low speed and stir until just combined. Critical Step: Stop mixing when you still see a few tiny streaks of flour remaining. Over-mixing here develops too much gluten, making cookies tough rather than chewy.
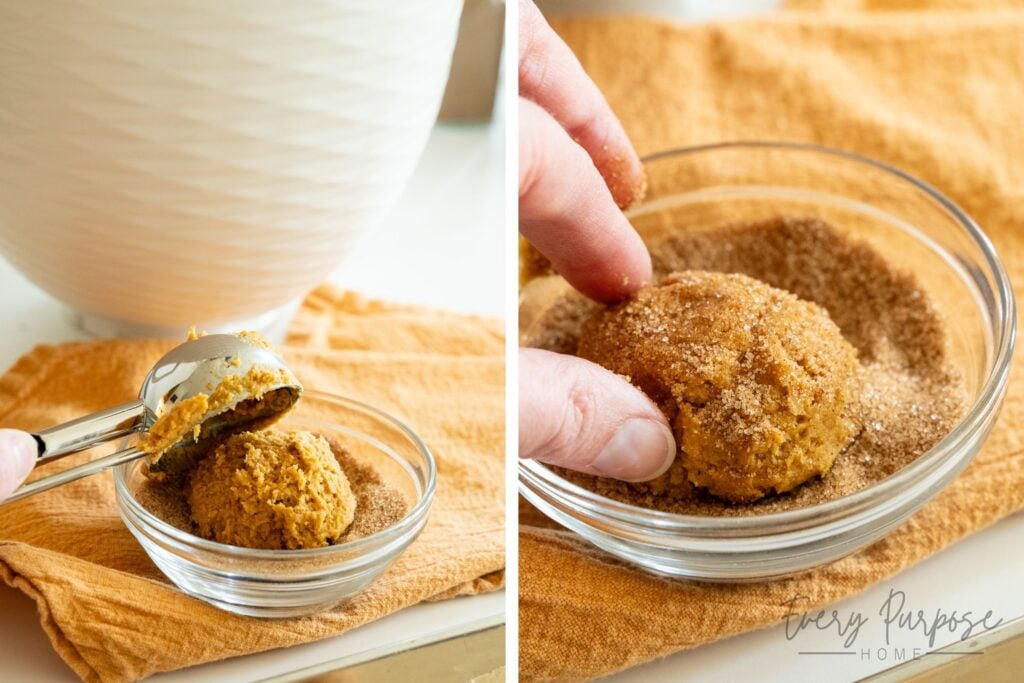
Step 7: Scoop & Roll
Portion the dough into large scoops using a cookie scoop or spoon (3 tbsp / 70g each). Roll each scoop into the prepared cinnamon sugar. Place 6 scoops per baking sheet to allow space for spreading.
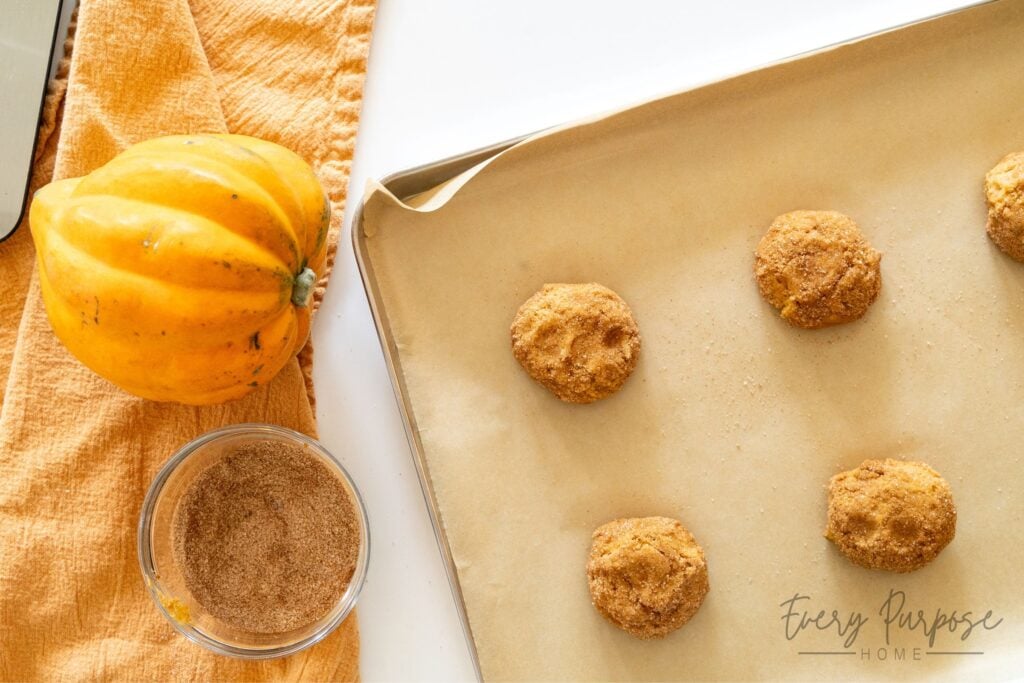
Step 8: Bake
Bake for 12–15 minutes, rotating the pan halfway through. Remove when the edges are set and slightly golden but the centers still look soft. Pro Tip: Immediately tap the baking sheet against the oven rack a few times to deflate the cookies. This creates a denser, gooier texture. Bake in two batches. Recipe makes about 12 cookies.
Step 9: Cool On Baking Sheet
Allow cookies to set on the hot baking sheet for 7 minutes before transferring to a wire rack. Moving them too early may cause them to fall apart.
Storage Tips
- Store completely cooled cookies in an airtight container for up to 5 days at room temperature.
- Pro Tip: Place a slice of bread in the container to keep cookies soft. The cookies will absorb the moisture from the bread (the bread will turn hard!), preventing the cookies from drying out as the days go on.
Frequently Asked Questions
How do you prevent pumpkin cookies from getting fluffy or cakey?
The key to a dense and chewy (NOT cakey) pumpkin cookie is to reduce the moisture content as much as possible. That is exactly why I developed this recipe to eliminate extra liquid at every step. By using browned butter, strictly egg yolks (no whites), and cooking the pumpkin down on the stove, we concentrate the flavor while locking in the perfect texture without extra moisture. If you follow the directions exactly and don’t skip these steps, you will end up with beautifully dense and chewy pumpkin cookies that are not puffy, and actually taste like a delicious cookie instead of a muffin!
Will these cookies taste sour?
The sourdough discard acts as a flavor enhancer, adding a subtle depth that balances the sweetness of the other ingredients. To ensure the cookies do not taste sour, use starter or discard that has been fed within the last two weeks. If you prefer a more complex, tangy profile, the long-fermentation option (1–3 days in the fridge) will allow those distinct sourdough notes to develop further!
Can I use active starter instead of discard?
Absolutely! Both active starter and sourdough discard work perfectly here. Since the baking soda handles most of the leavening, the only difference will be a slightly milder flavor when using an active, recently fed starter.
Can I freeze sourdough cookie dough?
Absolutely! For best results, follow this flash-freezing method:
- Scoop: Portion the sourdough pumpkin cookie dough into balls (3 tbsp / 70g each) and place them on a parchment-lined baking sheet. They can be close together, but make sure they are not touching.
- Flash Freeze: Place the sheet in the freezer for about 1 hour, or until the dough balls are firm to the touch.
- Store: Transfer the frozen dough balls into a gallon freezer bag. They can be stored in the freezer for up to 3 months!
Pro Tip: Double the recipe to intentionally freeze an extra batch! This provides you with ready-to-bake sourdough pumpkin cookies for when that sweet tooth hits.
Tips For Baking Frozen Dough:
Thaw Partially: For best results, allow frozen dough to sit at room temperature for 30–60 minutes before baking. This helps achieve a texture and baking time nearly identical to a fresh batch of dough. Roll them in the cinnamon sugar just before baking.
Potentially Increase Bake Time: You may need to add 1–2 minutes to the baking time if the dough is still colder than fresh dough would be.
How to Make Long-Fermented Pumpkin Sourdough Cookies
To long-ferment the dough for more flavor, gut health, and nutritional benefits, follow these simple directions:
- Prepare: Follow the recipe directions to make the dough.
- Cold Ferment: Cover the bowl with plastic wrap, or transfer to an airtight container. Refrigerate for 1–3 days. Note: After the first day, longer fermentation increases the health benefits, but it also intensifies the tangy flavor.
- Bring to Room Temp: The dough temperature will significantly affect the final texture of your cookies. For the perfect chewy cookie, remove the dough from the fridge about 1 hour before scooping.
- Scoop & Bake: Once dough has come to almost room temperature, scoop (3 tbsp / 70g each), roll in cinnamon sugar, and bake as listed in the directions! Troubleshooting: If your cookies turn out more cake-like instead of chewy, it was likely due to a dough temperature that was still too cold.

Love this recipe? Pin it to your sourdough board and follow The Sourdough Cookie Lady on Pinterest for more!